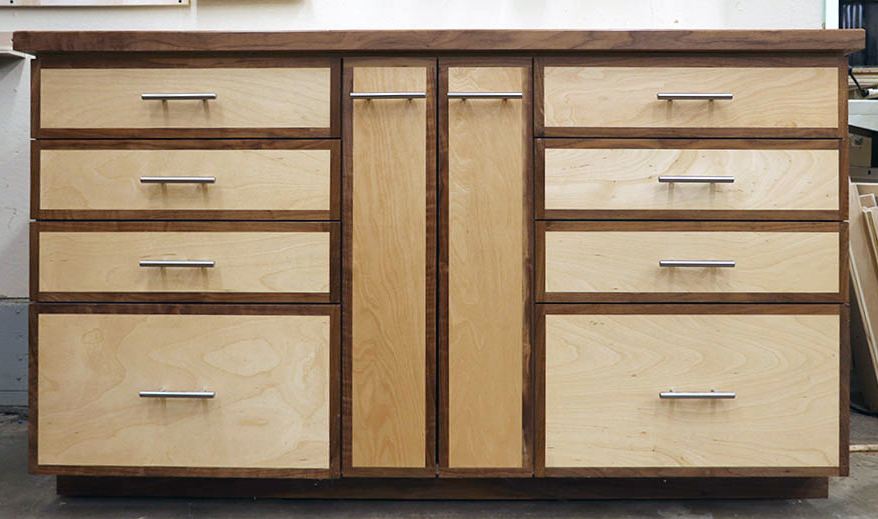
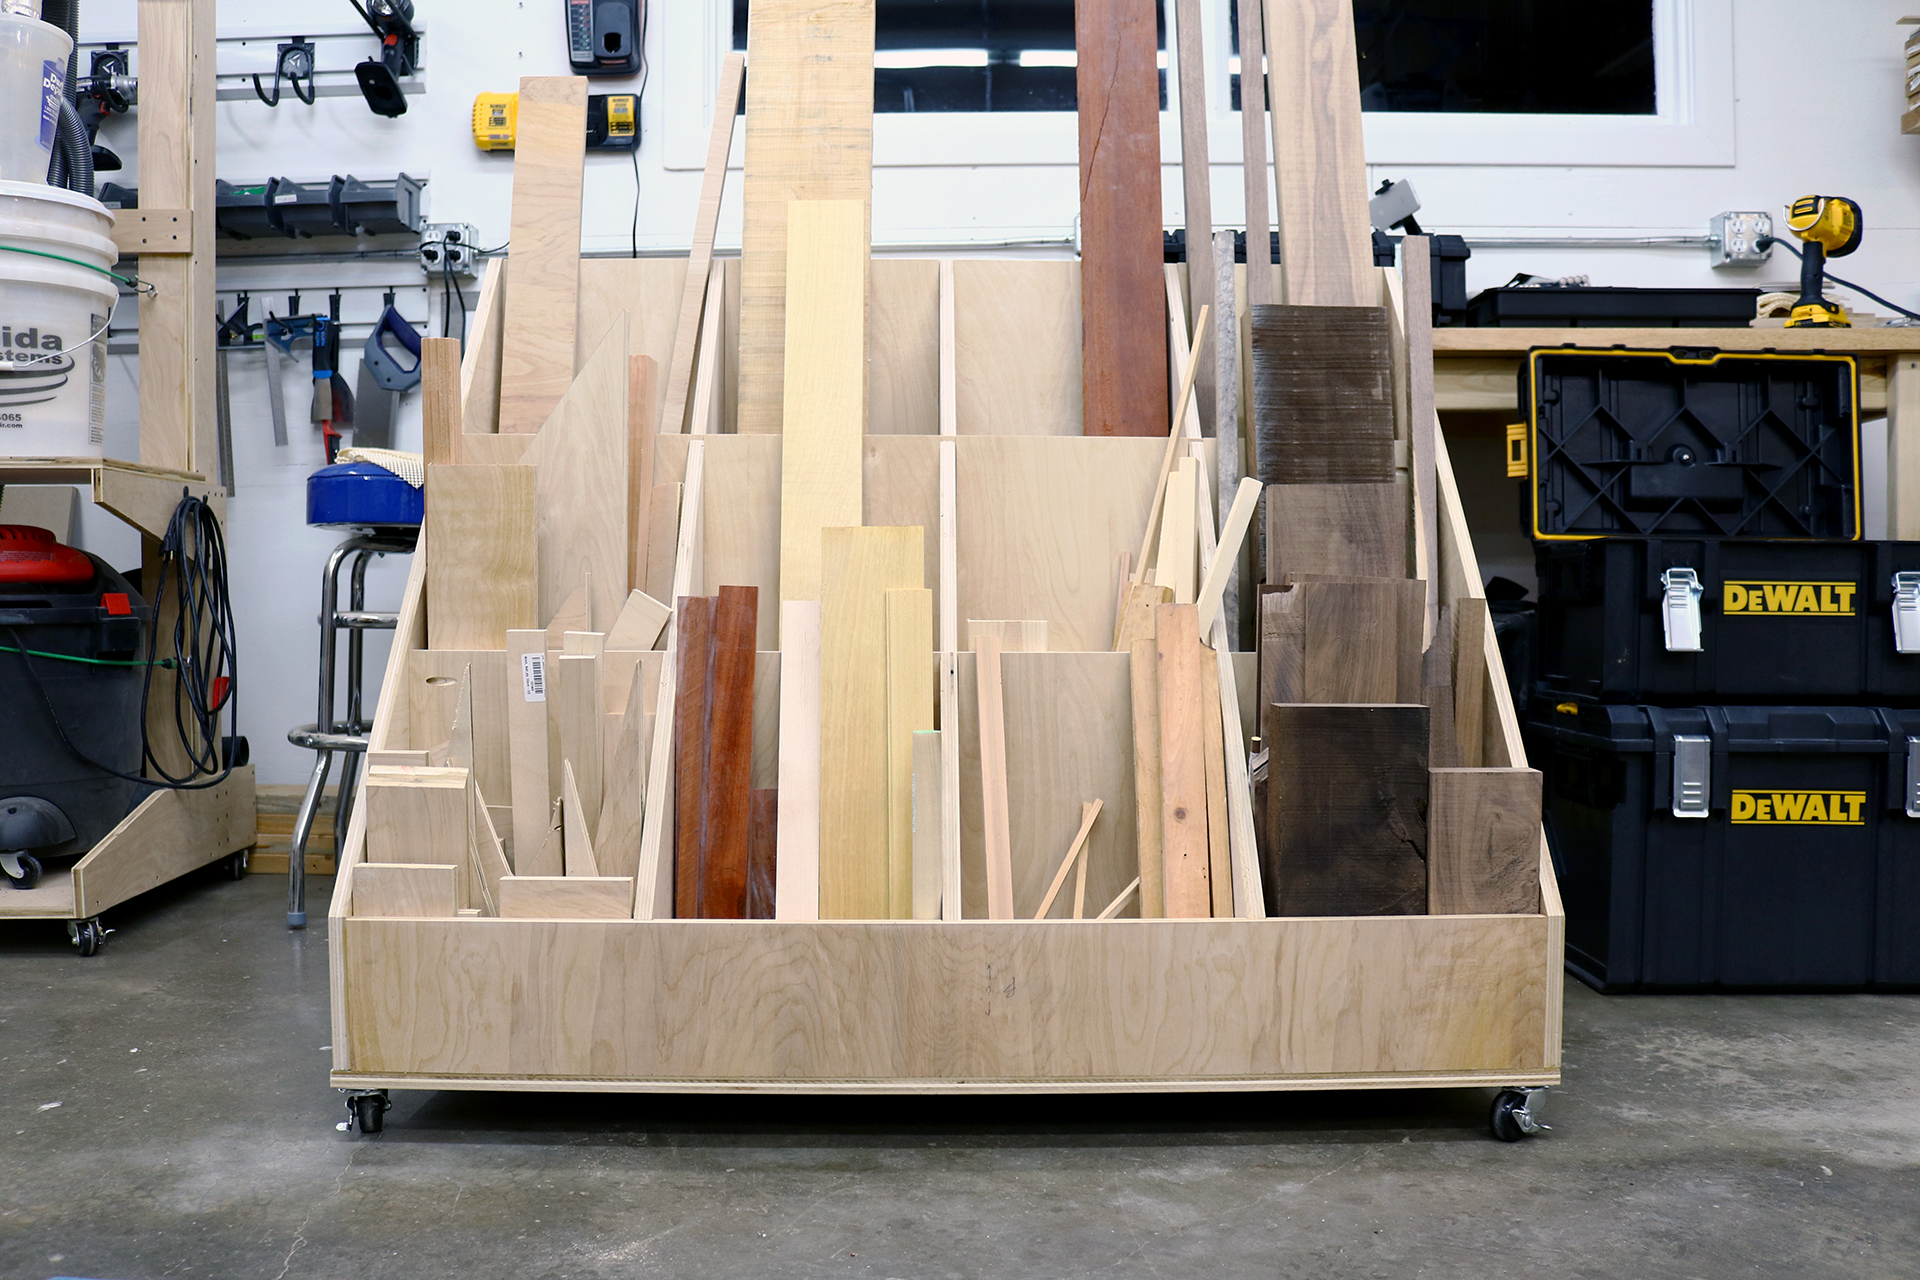
Shop Storage Cabinet – How To Build
In this build article we are going to tackle shop storage with this shop storage cabinet. This is a spacious shop storage cabinet that will help you stay organized. It’s built with birch plywood and is super fancy schmancy with walnut walnut trim.
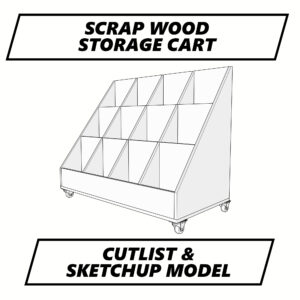
Detailed plans for this shop storage cabinet which include both SketchUp and Fusion 360 models are available in my store.
Materials and Tools for Building the Scrap Wood Storage Cart
Lumber and Sheet Goods
-
- 2 – 48″ x 96″ x 3/4″ plywood – I used PureBond birch plywood from Home Depot but any 3/4″ plywood will work – https://tinyurl.com/y7q4zcnp
- 1 – 48″ x 96″ x 1/2″ plywood – http://tinyurl.com/yy6z3x5w
- ~7.2* board feet – 4/4 walnut (or other hardwood)
- ~25 feet – 3/4″ birch iron on edge banding (50′ roll) – https://geni.us/5LeBOh
Hardware
- 8 – Powertec Adjustable U-Bracket Levelers (4 pack) – https://geni.us/5UBmQB7
- 10 – Alpine Hardware 5.75″ on 3″ Centers Bar Pulls (25 Pack) – https://geni.us/TqPhqo
- 10 pair – Promark 22″ Full Extension Drawer Slides (10 Pair) – https://geni.us/GuV6Yjj
Fasteners
- ~50 – #8 x 1-1/4″ Wood Screws (100 pack) – https://geni.us/HxjQL
- ~200 – 1-1/4″ Pocket Hole Screws (500 pack) – https://geni.us/XLiN1bW
- 32 – #10 x 3/4″ Pan Head Screws (50 pack) – https://geni.us/tfKYE8B
- 32 – #10 Finish Washers (100 pack) – https://geni.us/srWRgD
- ~200 – 1-1/4″ Brad Nails (5000 pack) – https://geni.us/oAhFB
- Wood Glue – https://geni.us/OTITAC
Other Items
- MinWax Polycrylic Clear Satin Polyurethane – https://geni.us/gZJsGd
Tools I will be using to build this Shop Storage Cabinet
- DeWalt FlexVolt Track Saw Kit – https://geni.us/8r8YfQq
- DeWalt 20V Max Drill and Impact Driver – https://geni.us/jz2SJ2v
- Bosch Glide 12″ Sliding Compound Miter Saw – https://geni.us/waPb
- Kreg Face Clamp – https://geni.us/0VAXl
- DeWalt Random Orbital Sander – https://geni.us/ebPt
- Kreg Right Angle Clamp – https://geni.us/Pqxy9
- Kreg Jig K4 Pocket Hole System – https://geni.us/svejhs
- Kreg Cabinet Jig Set – https://geni.us/92l5ns
- SawStop CNS Contractor Table saw – https://geni.us/bropyjj
- Fastcap Quad Trimmer with Tungsten Carbide Blades – https://geni.us/c8iRqm
- WEN 10″ Bandsaw – https://geni.us/U6u28xA
- Incra Miter 5000 – https://geni.us/Zc2rsYB
- Microjig GRR-RIPPER – https://geni.us/Qo1O
- Bessey F Style Clamps – https://geni.us/lfgt
- Bessey K Body Revo Parallel Clamps – https://geni.us/TMu0to
- Oneida Mini Gorilla 1.5 HP Dust Collector – https://geni.us/w5bFL
- Shop Vac – https://tinyurl.com/y8lmyvv6
- Oneida Dust Deputy Deluxe Cyclone Separator Kit – https://geni.us/VxCQ0rC
- Wood River Block Plane – https://geni.us/3LlblC
- Lie Nielsen No. 62 Low Angle Jack Plan – https://tinyurl.com/y88kwh7s
- Rockler Bandy Clamps – https://geni.us/YiSM
- Snappy 5pc Countersink Drill Bit Set – https://geni.us/fbm6kM8
- Snappy 5pc Self Centering Hinge Drill Bit Set – https://geni.us/OvzqTF
- Ridgid Palm Router – https://geni.us/J8zOhJs
- Ridgid Brad Nailer – https://geni.us/bVaO
theaveragecraftsman.com is a participant in the Amazon Services LLC Associates Program, an affiliate advertising program designed to provide a means for sites to earn advertising fees by advertising and linking to amazon.com
Shop Storage Cabinet Build
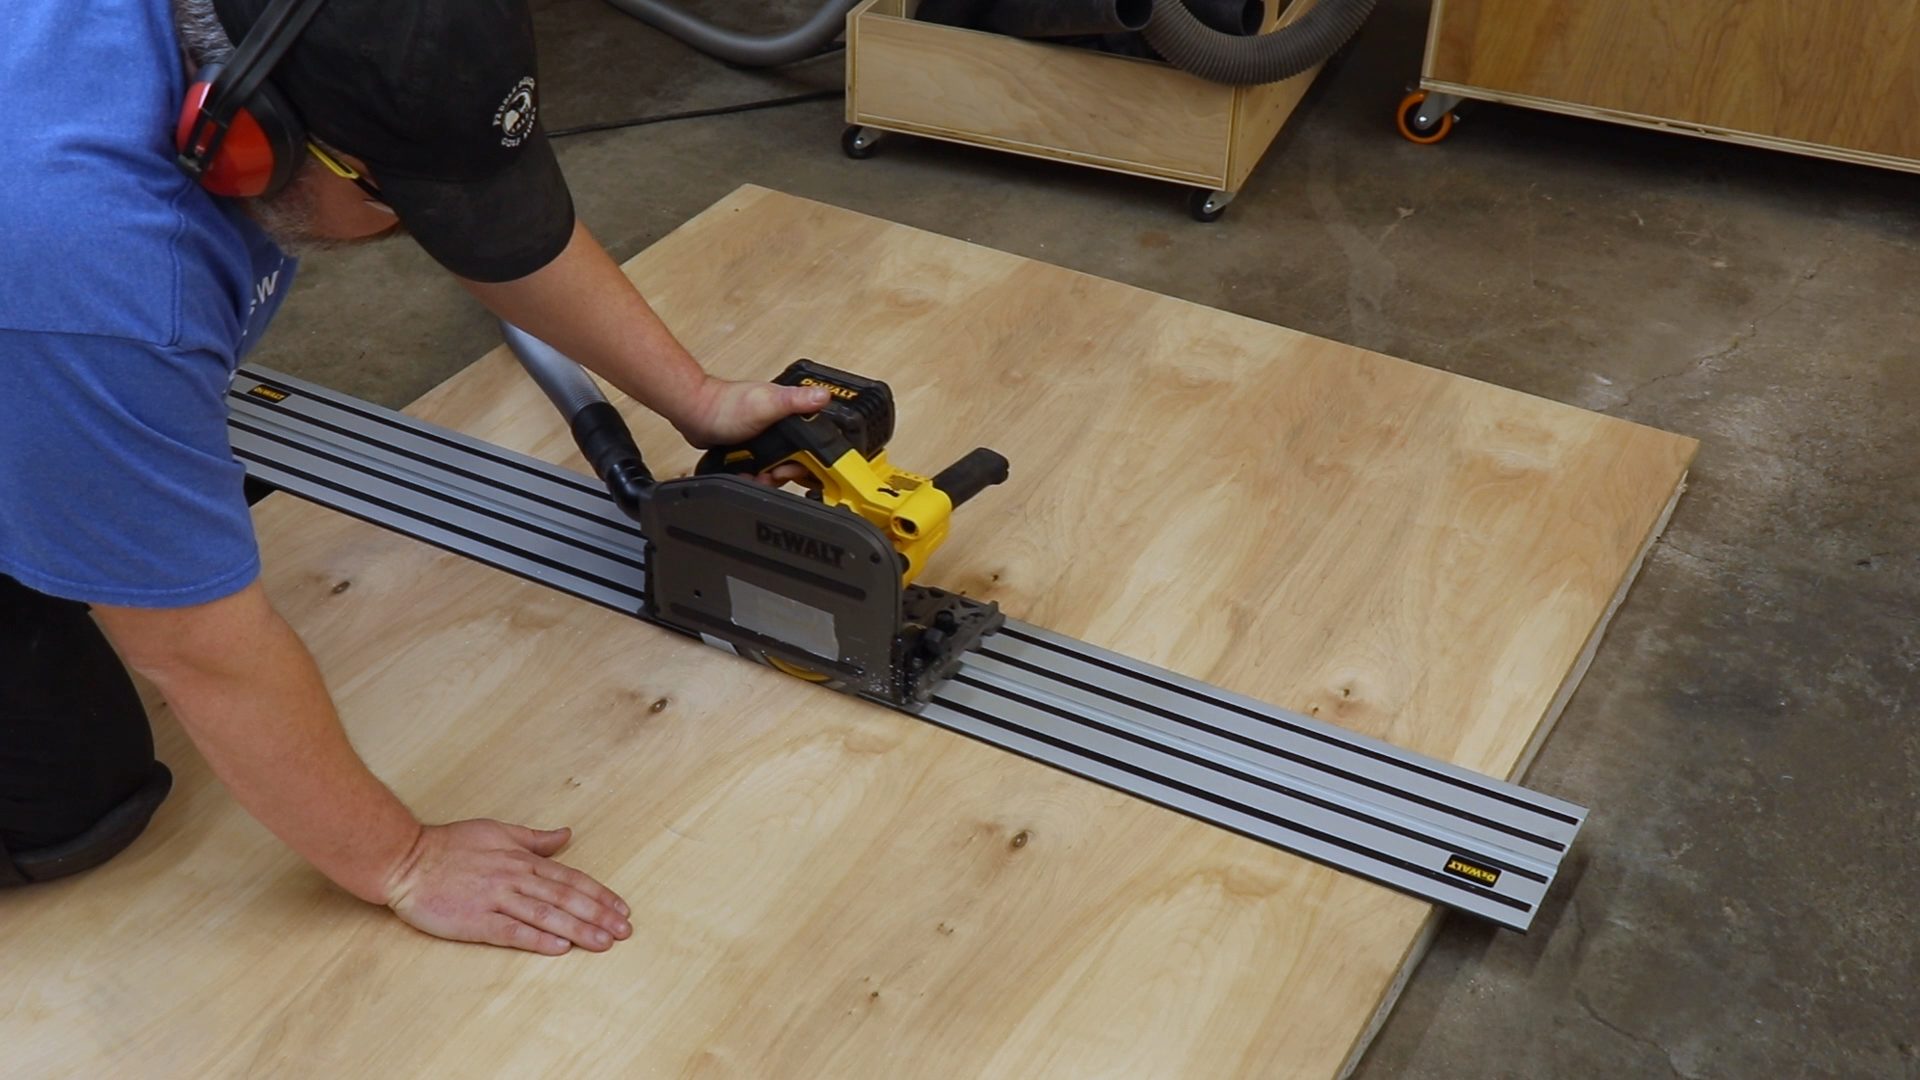
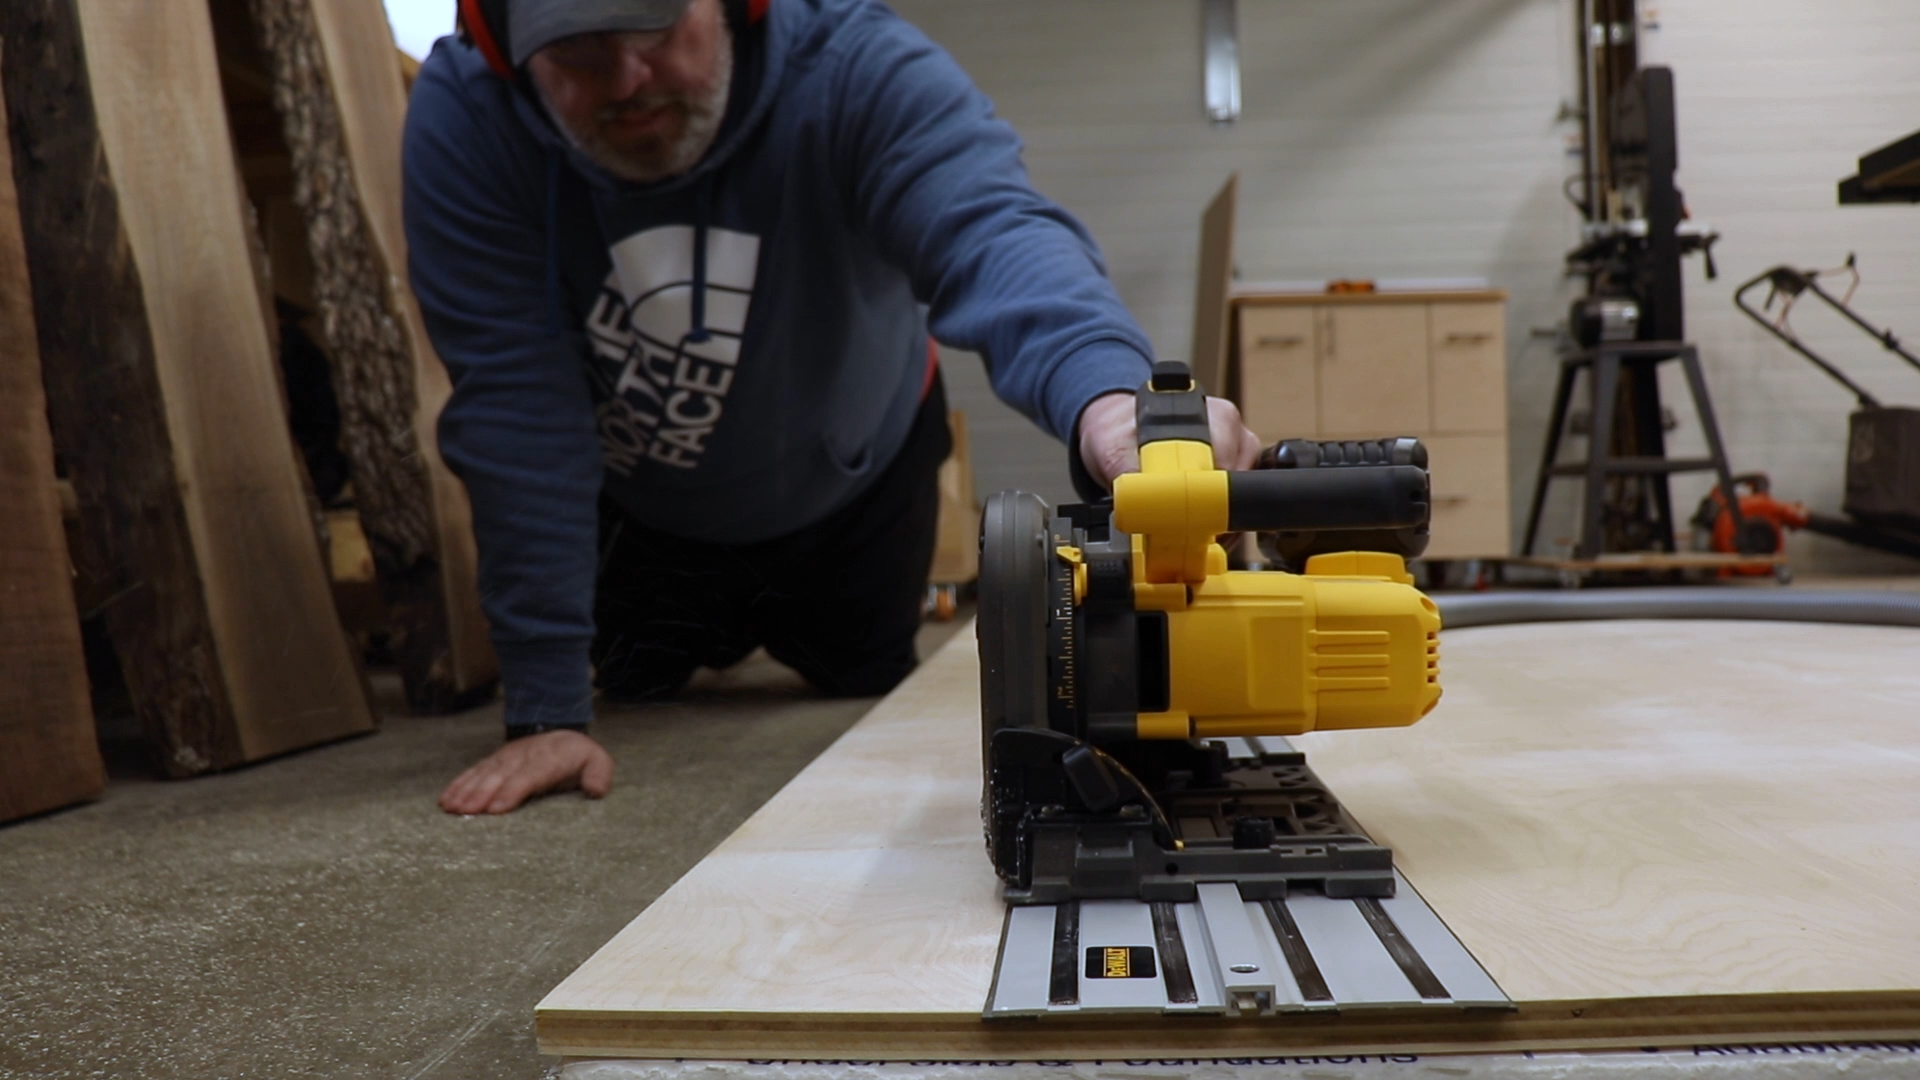
Breaking Down the Plywood Into Usable Parts
Like every cabinet project I start by breaking down the plywood with my track saw. I usually only break down what I need to get the project going. For this shop storage cabinet that meant the sides and stretchers.
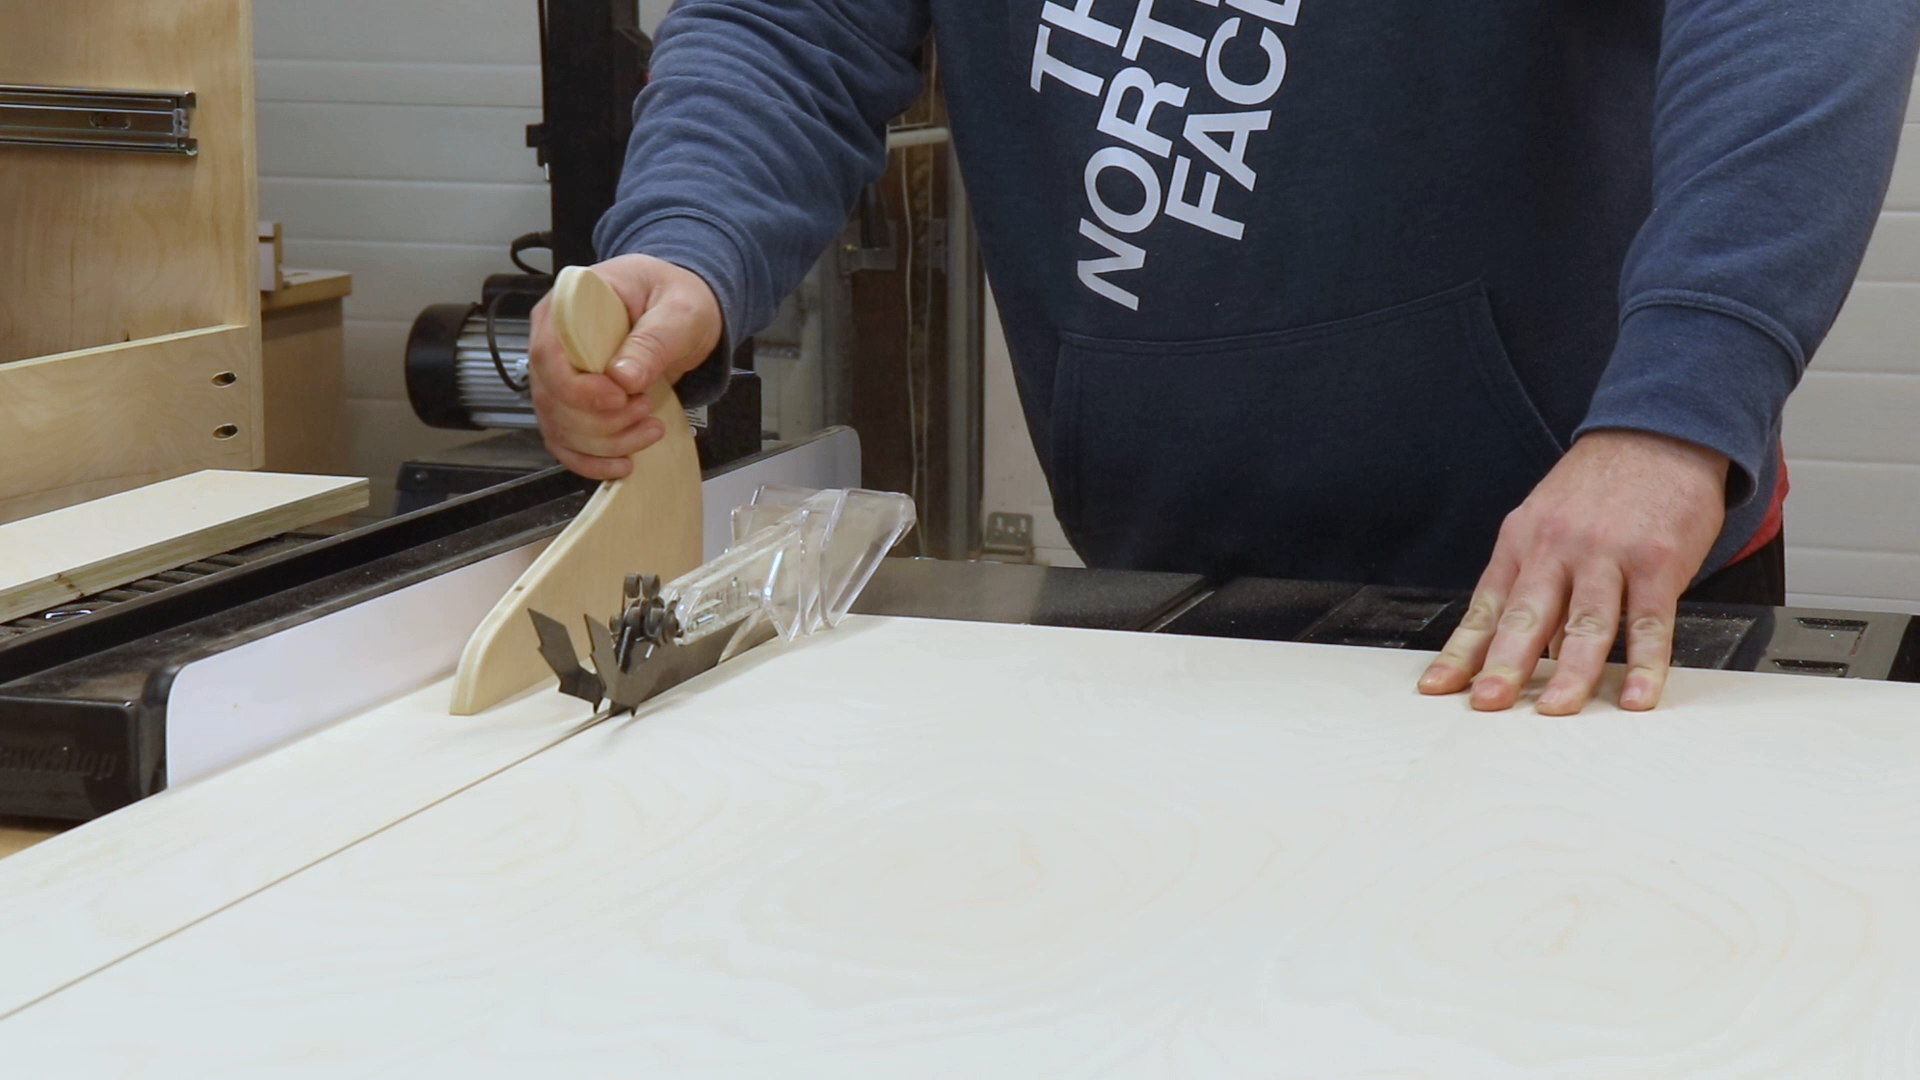
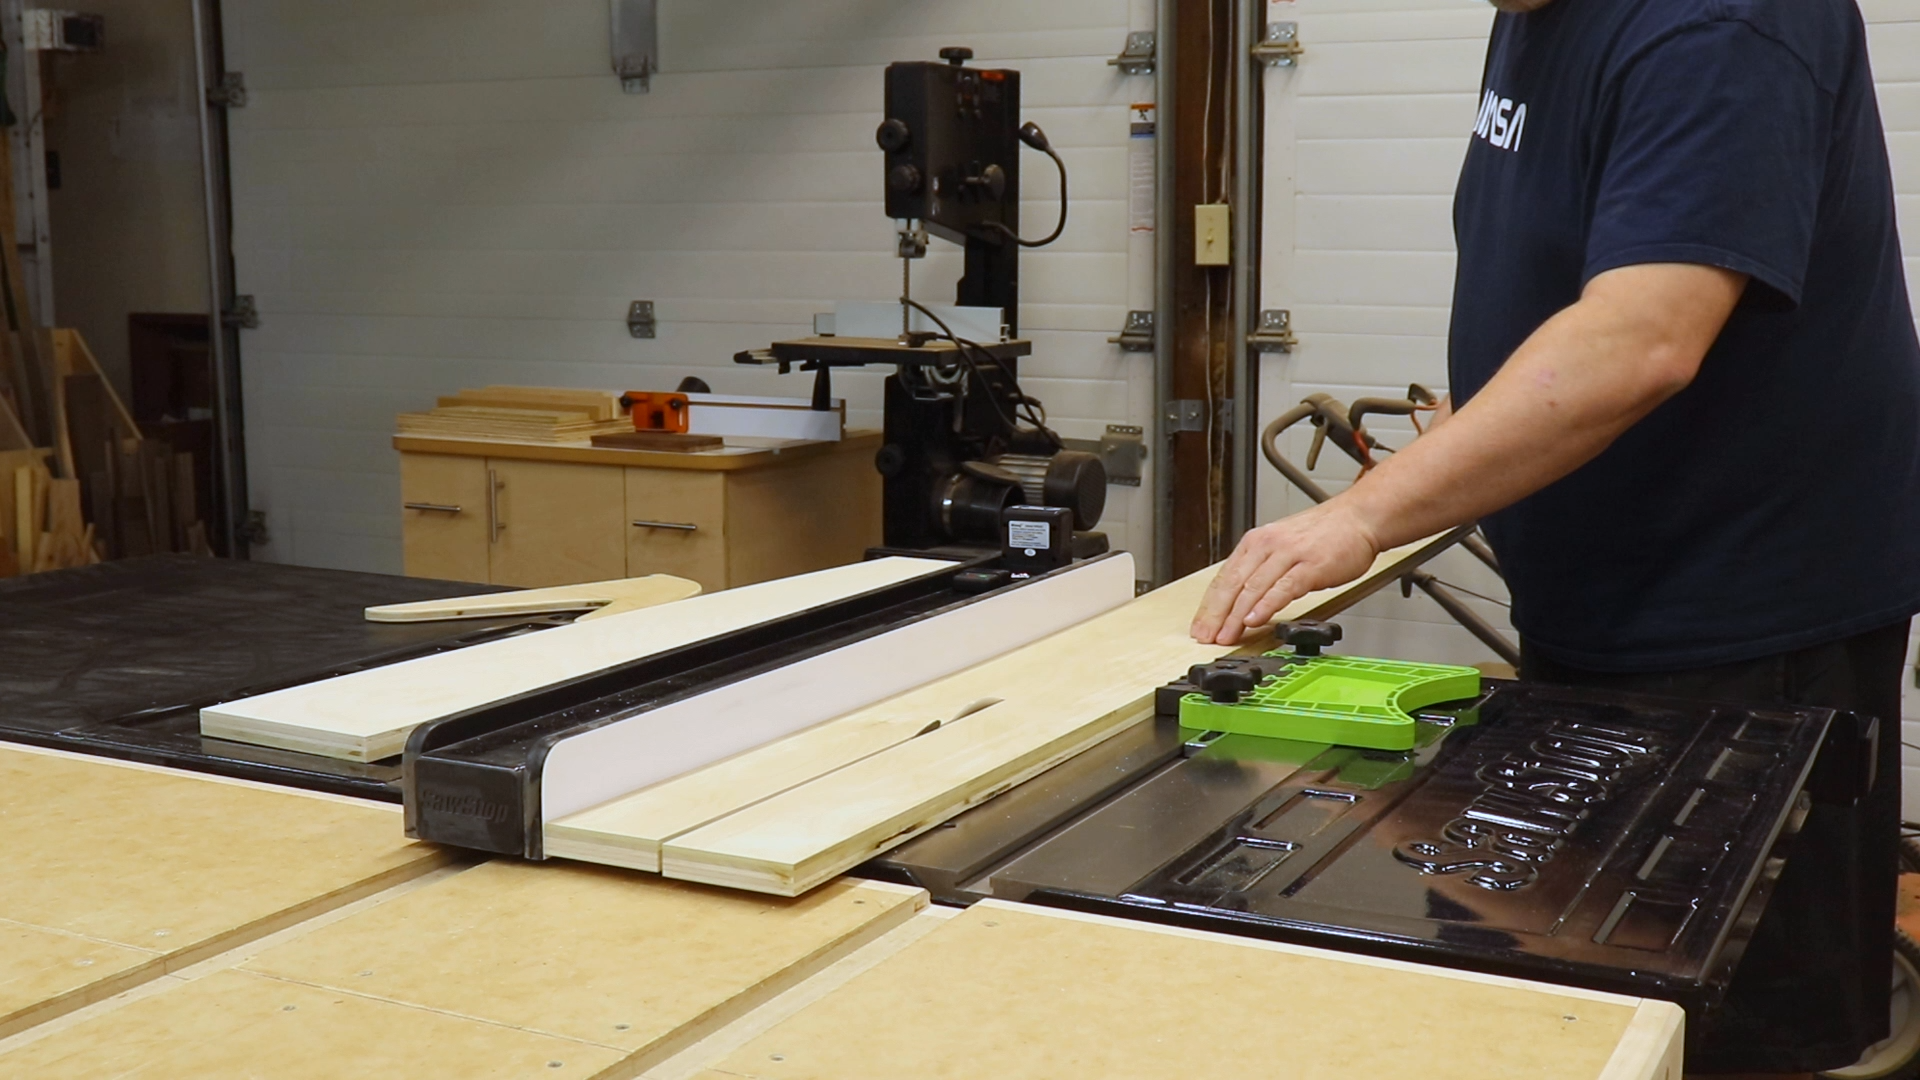
Rough Cutting the Carcass Parts
I cut the pieces cut down to a more manageable size. I then head over to the table saw and cut out the pieces to their final width.
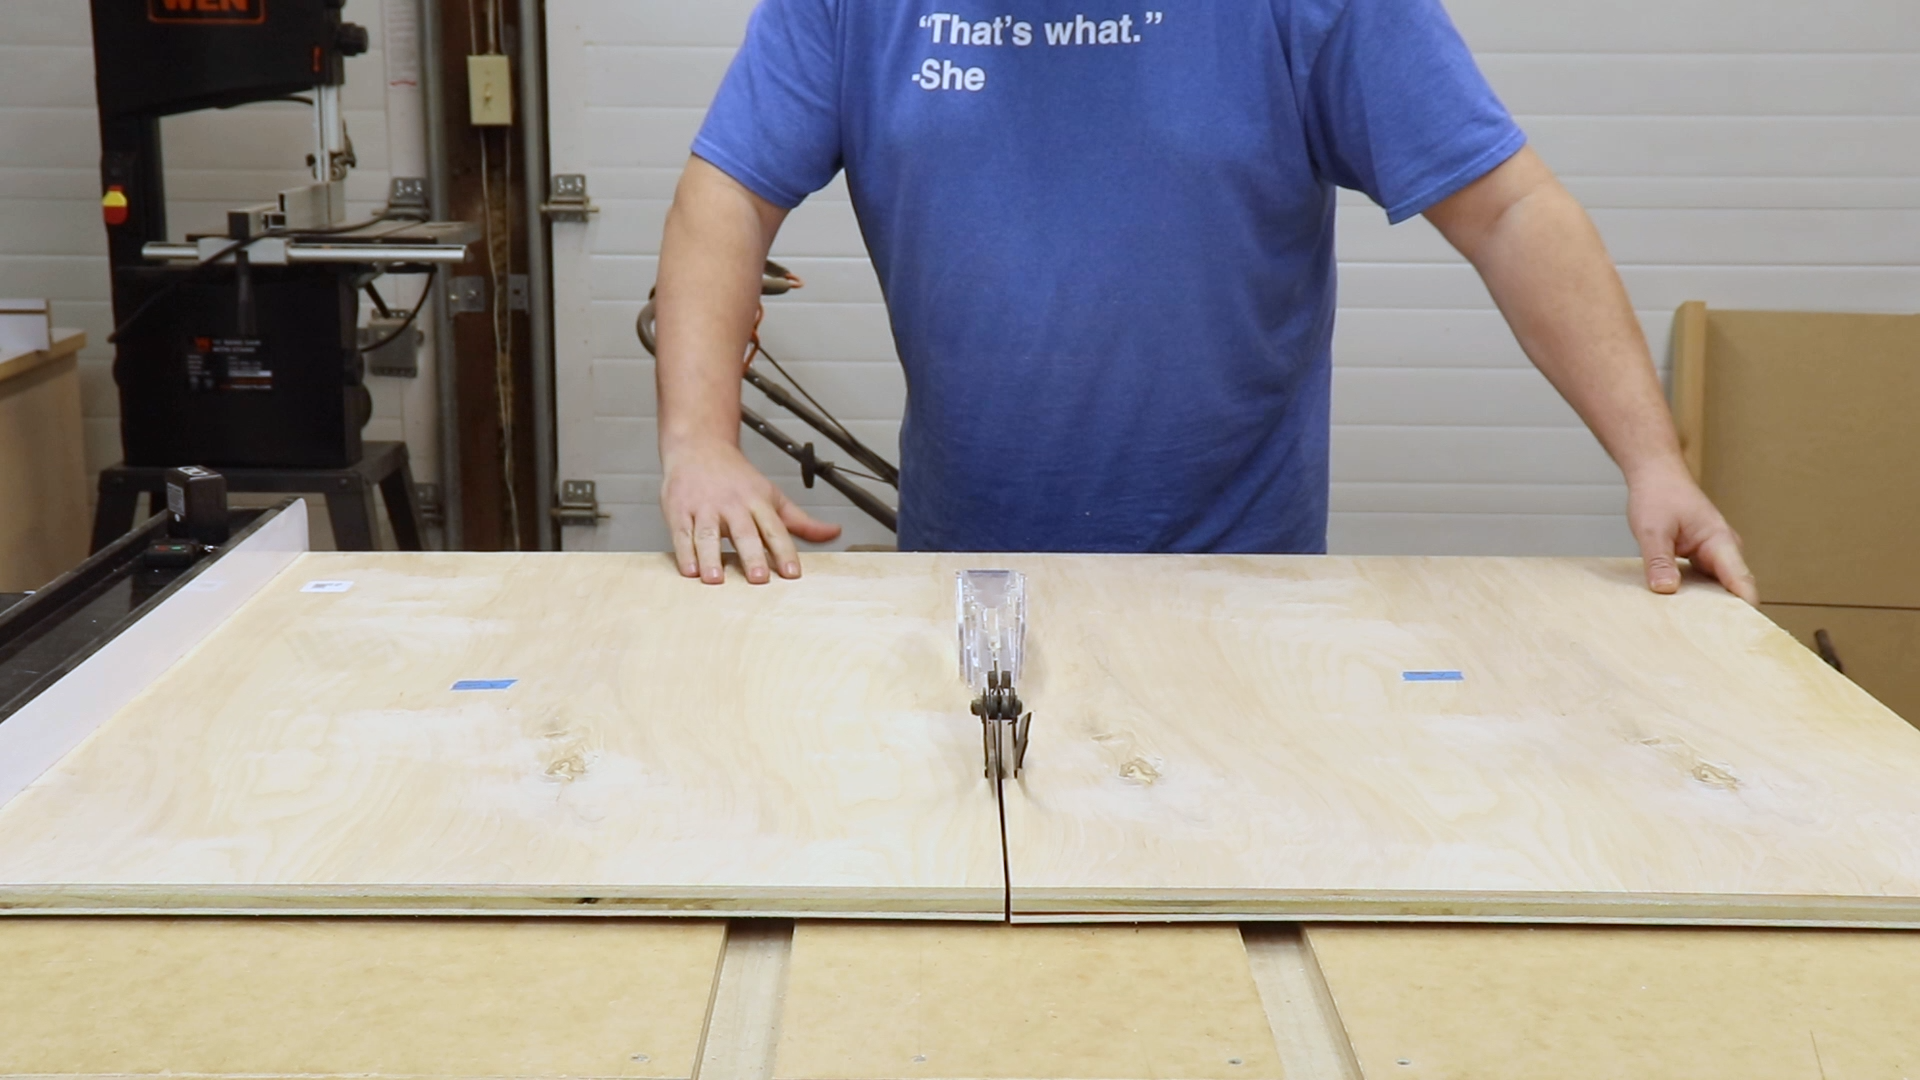
Cutting the Carcass Parts to Final Size
Purebond Fail
Often on my channel I have talked about how much I like using Purebond plywood from The Home Depot. I figured I would use it for this shop storage cabinet. I got a really bad piece this time. One layer almost completely delaminated itself from the rest. Luckily, the whole sheet wasn’t wasted because only a few inches were affected. I’ve recommended this plywood a lot and I hope this is a one time deal but I’ll be sure to let you all know should I run into this again.
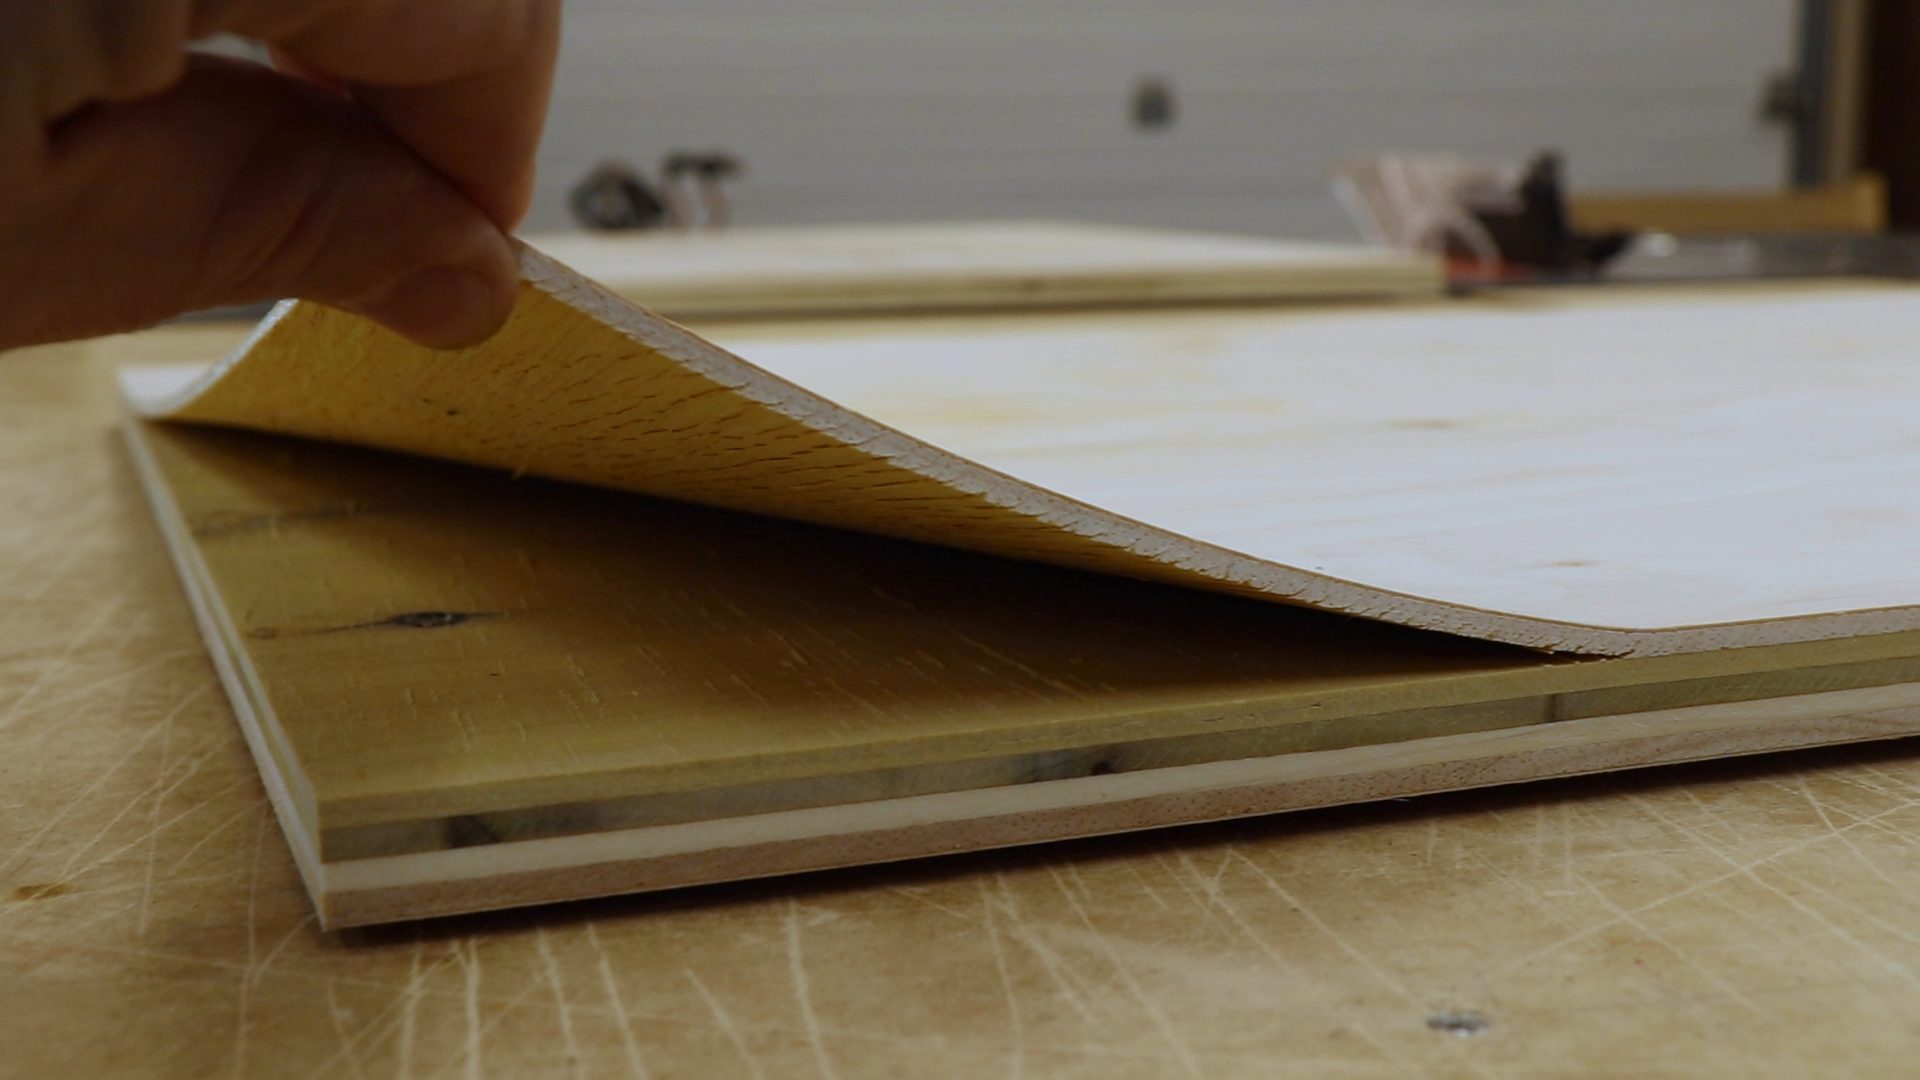
Purebond Plywood Fail
Once I had all of the parts cut out I labeled them with a sharpie on painters tape. This really helps to keep everything organized.

Labeling the Parts
Final Carcass Prep
The ends and dividers needed to have the toe kick cut out. I marked them on the pieces and headed over to the bandsaw.

Cutting Out the Toe Kick
I took the stretchers over the miter saw and squared up one end and then flipped them over and cut them all to length. The stop block enabled me to ensure that they were all the exact same length which is obviously important which is why building this miter saw station has been so helpful. It helps me avoid being just a little off which can be very frustrating.
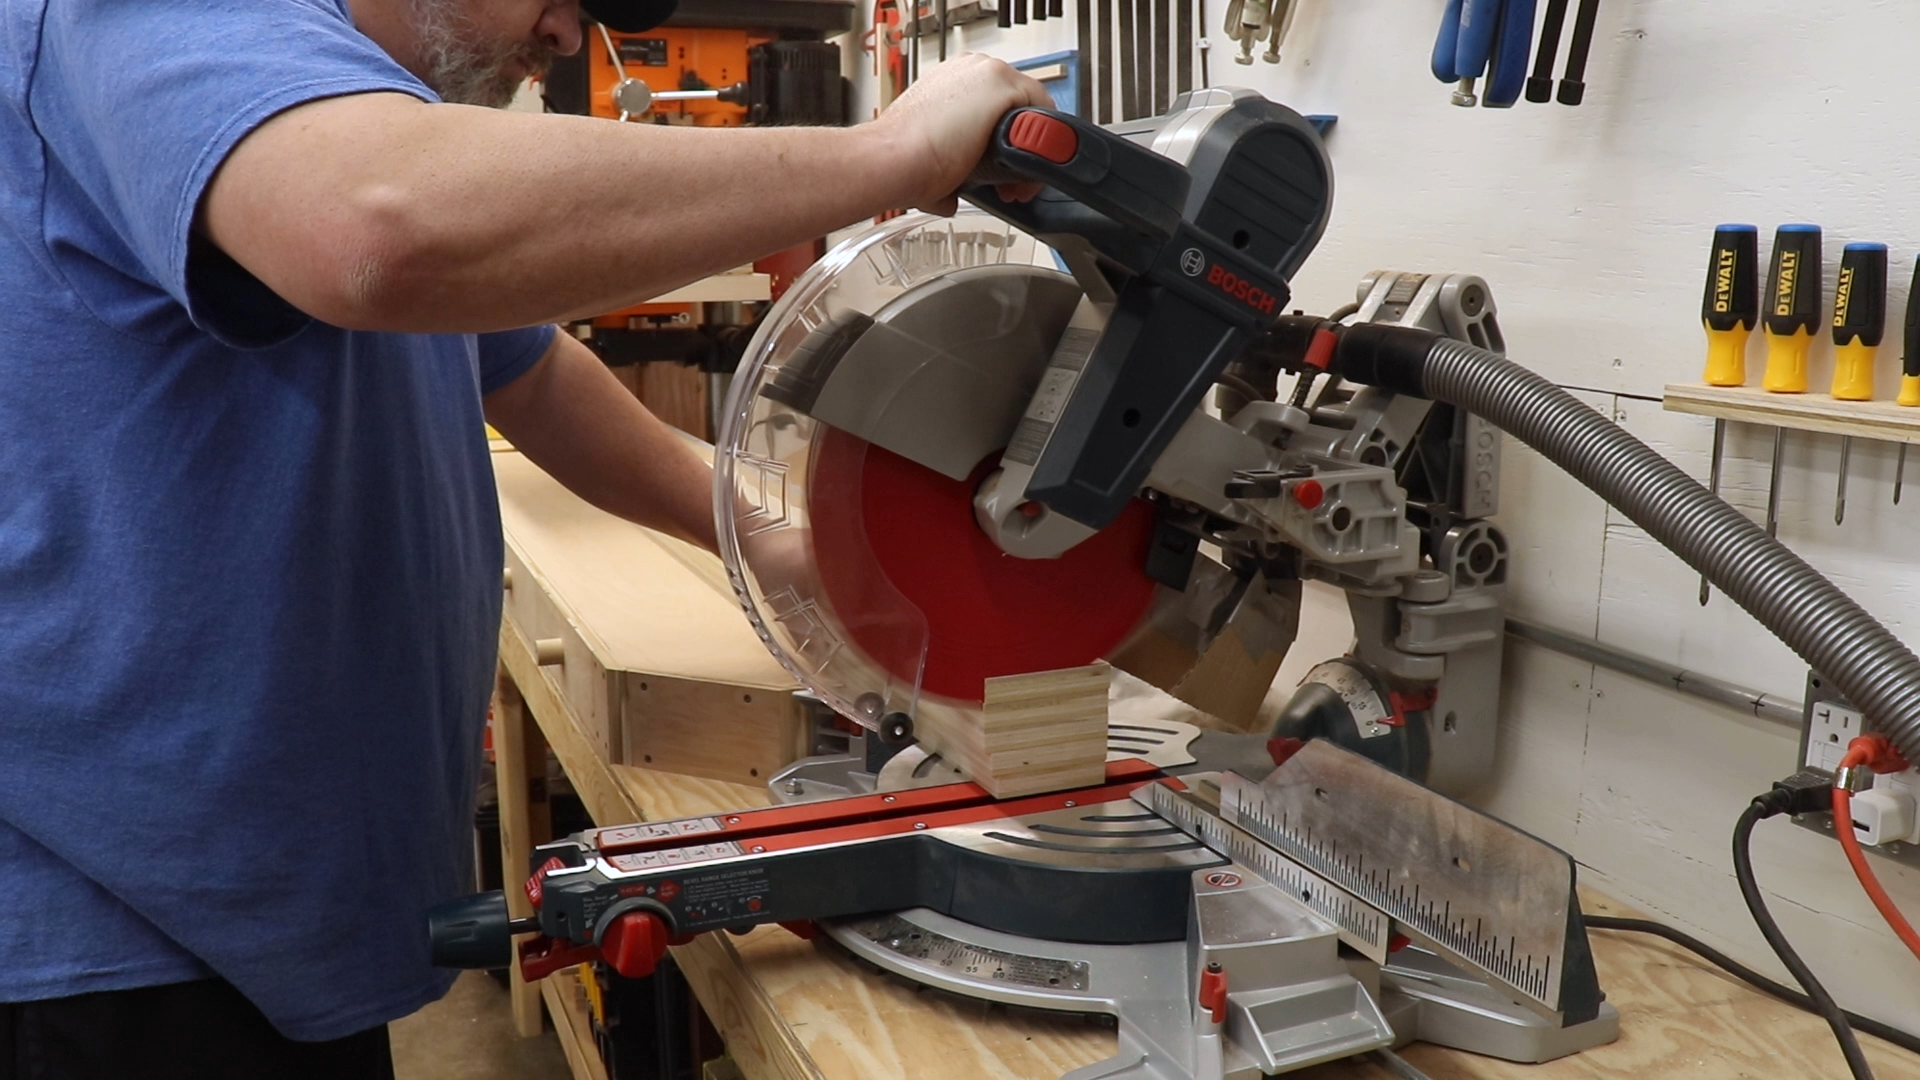
Cutting the Stretchers to Length
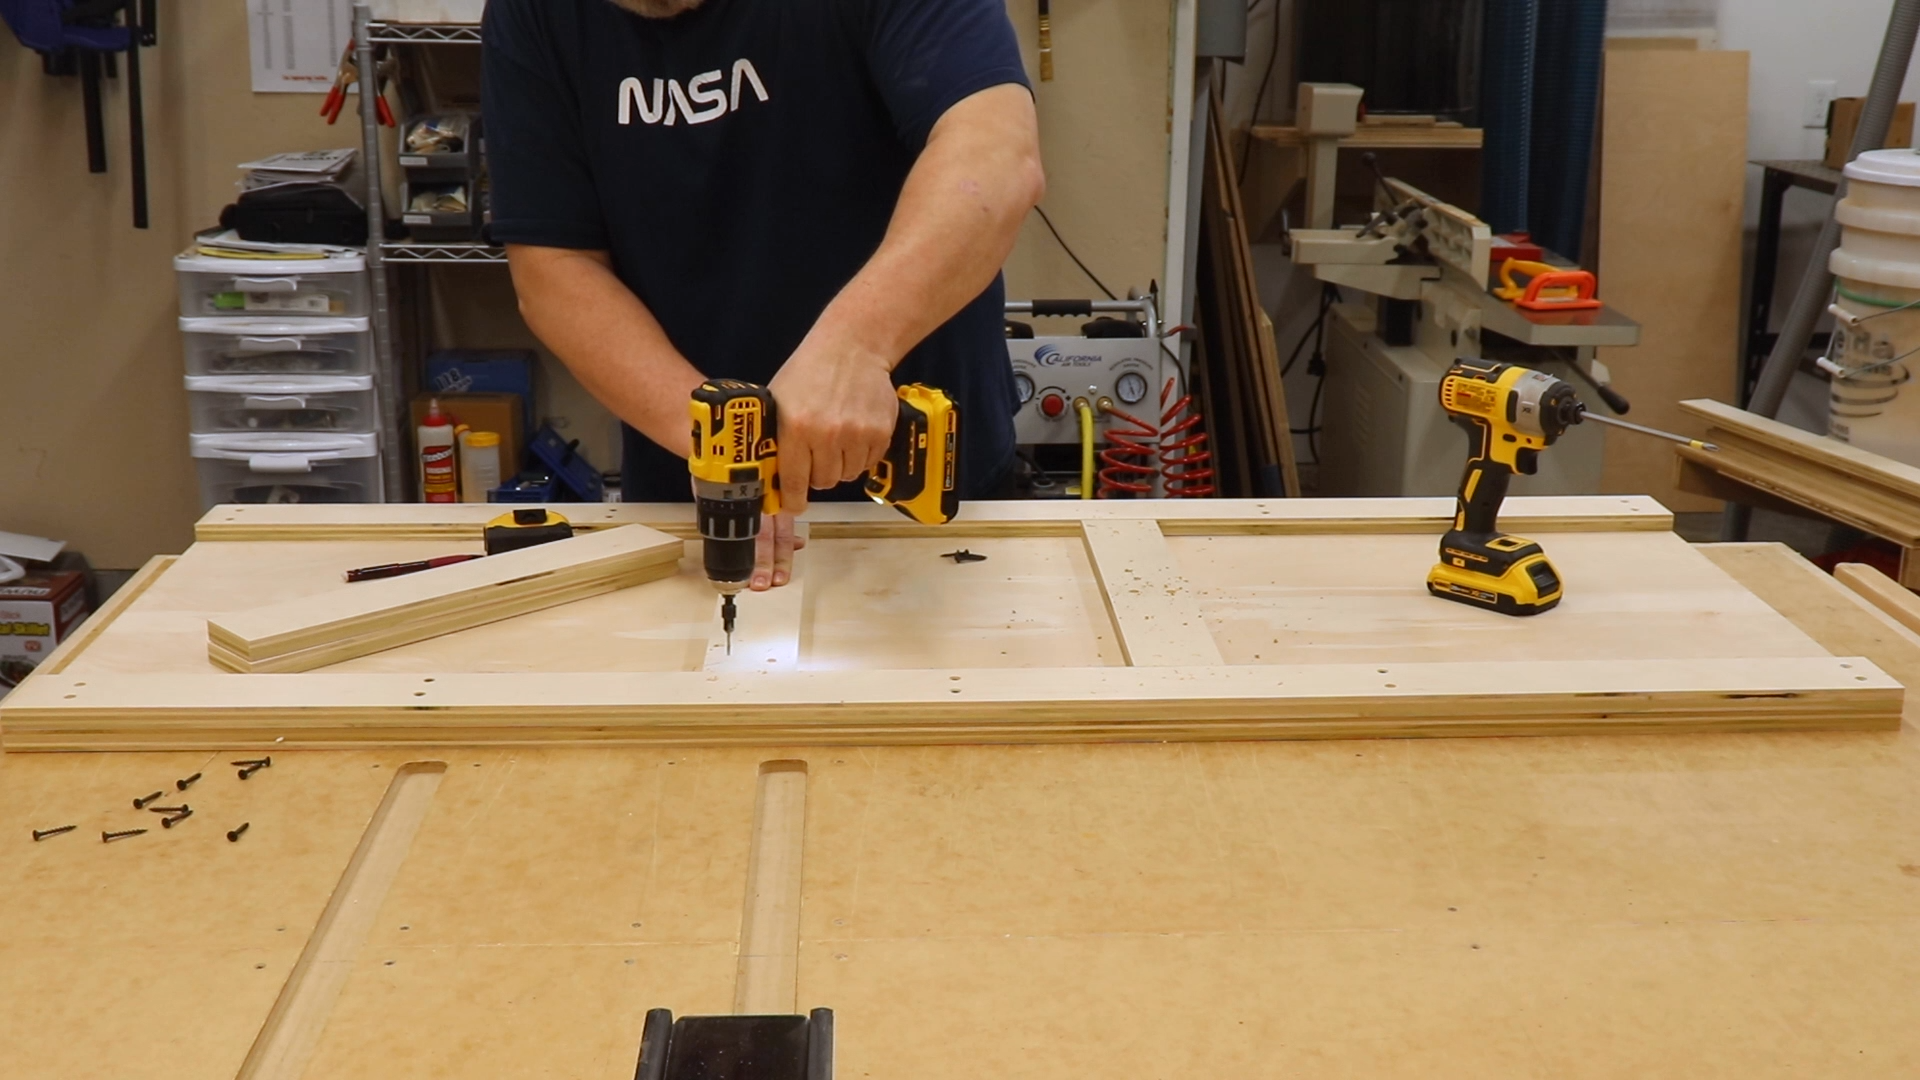
Assembling the Carcass
All of the cabinet carcass parts were now cut to size so it was time to drill a bunch of pocket holes and then move on to assembling this shop storage cabinet.
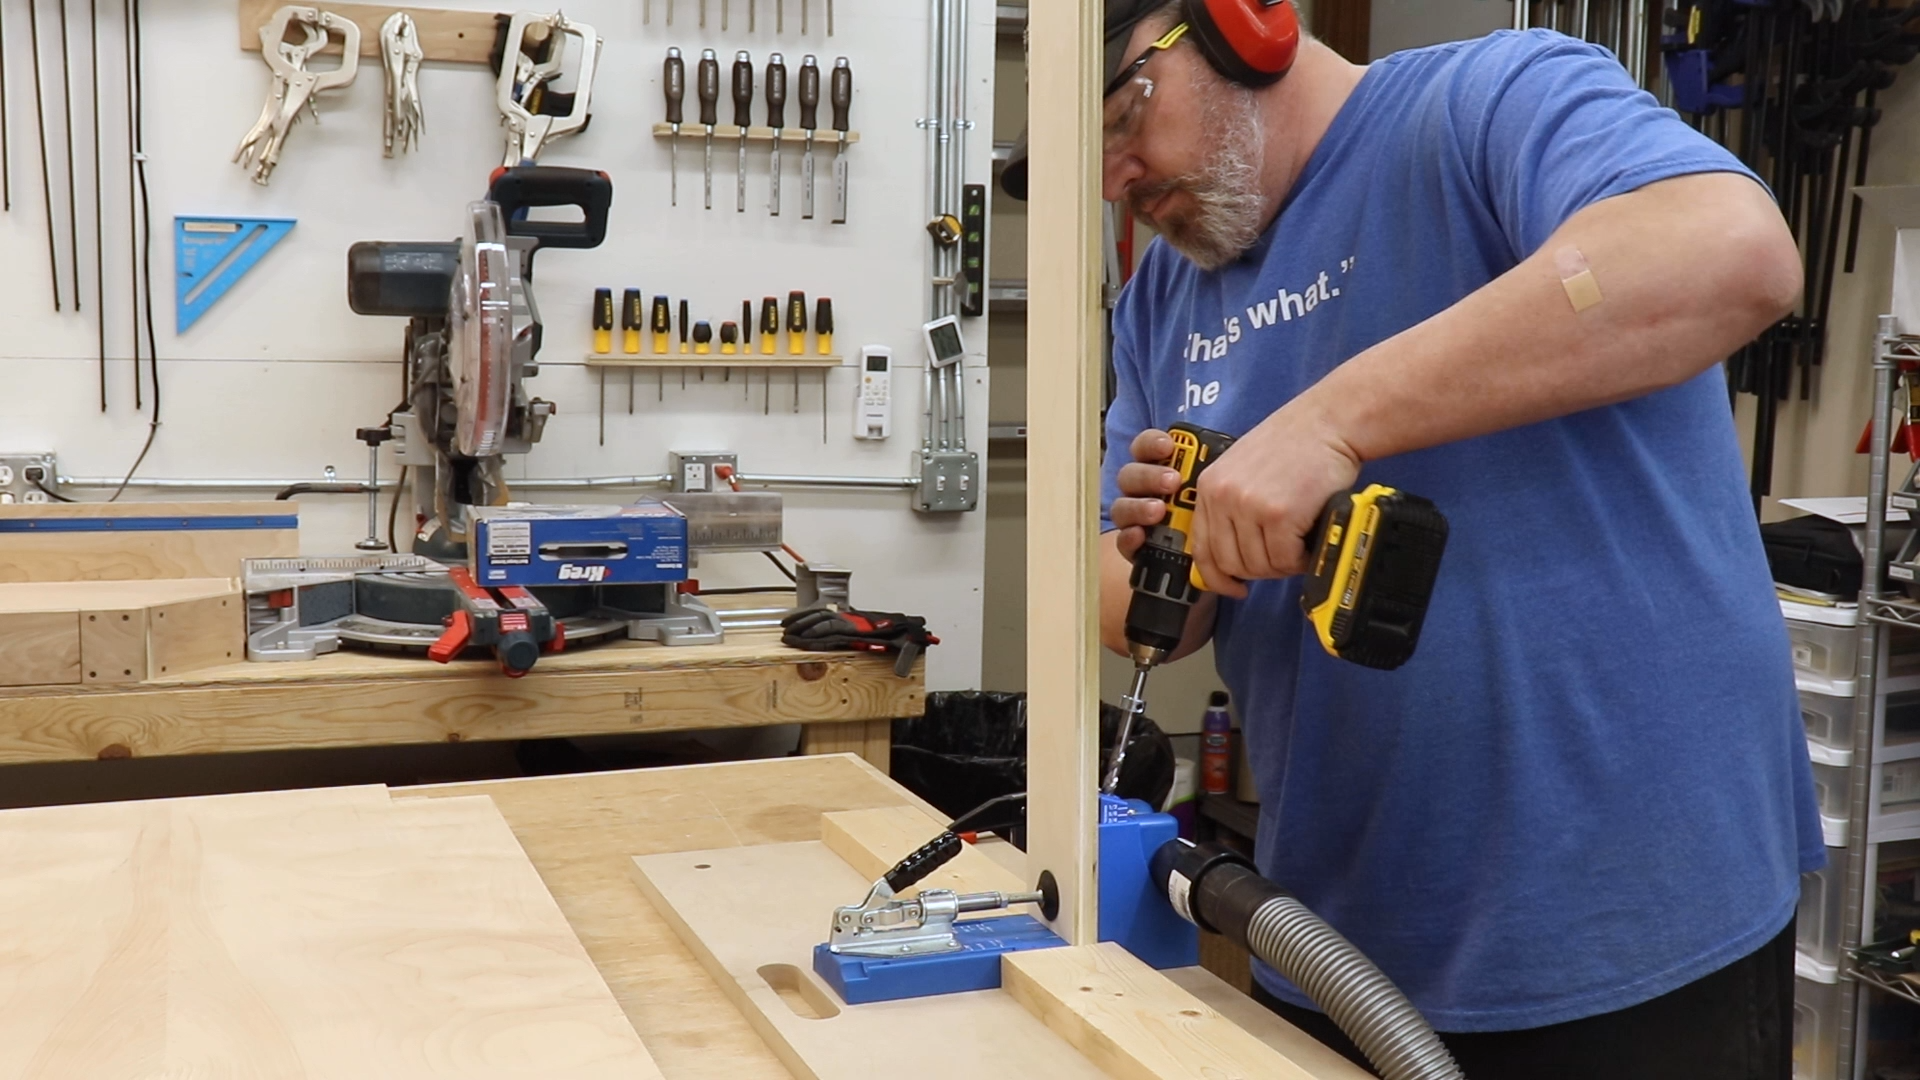
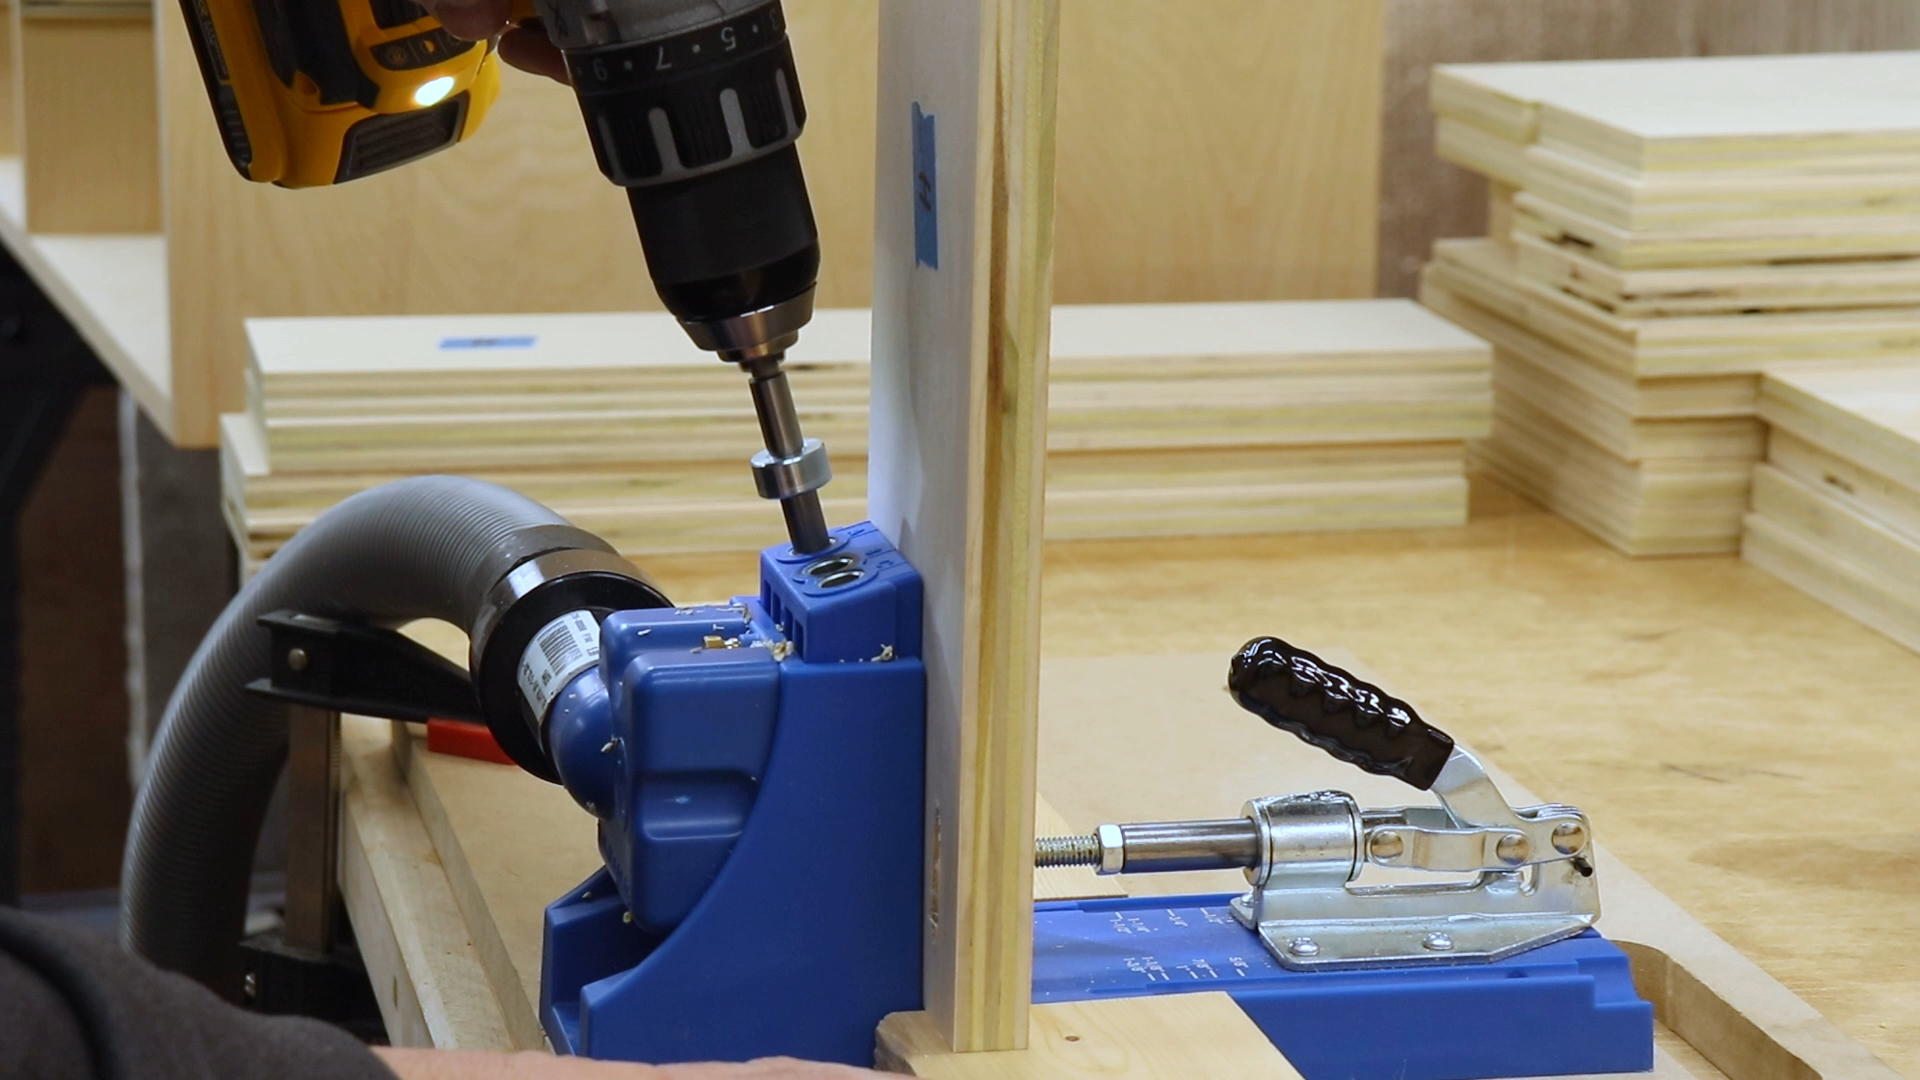
Drilling Pocket Holes
It seems like every time I use pocket holes I try to come up with some new way to keep parts aligned because whatever I used before didn’t work. This time I am using a handscrew clamp to keep the sides positioned on end and then used the Kreg pocket hole clamp to keep the stretchers positioned correctly on the sides. I probably worry about this too much because these joints will never be seen but with things like this I am incredibly anal so I guess that’s my lot in life.
Attaching the Stretchers to the Sides
Taking Things Up a Notch
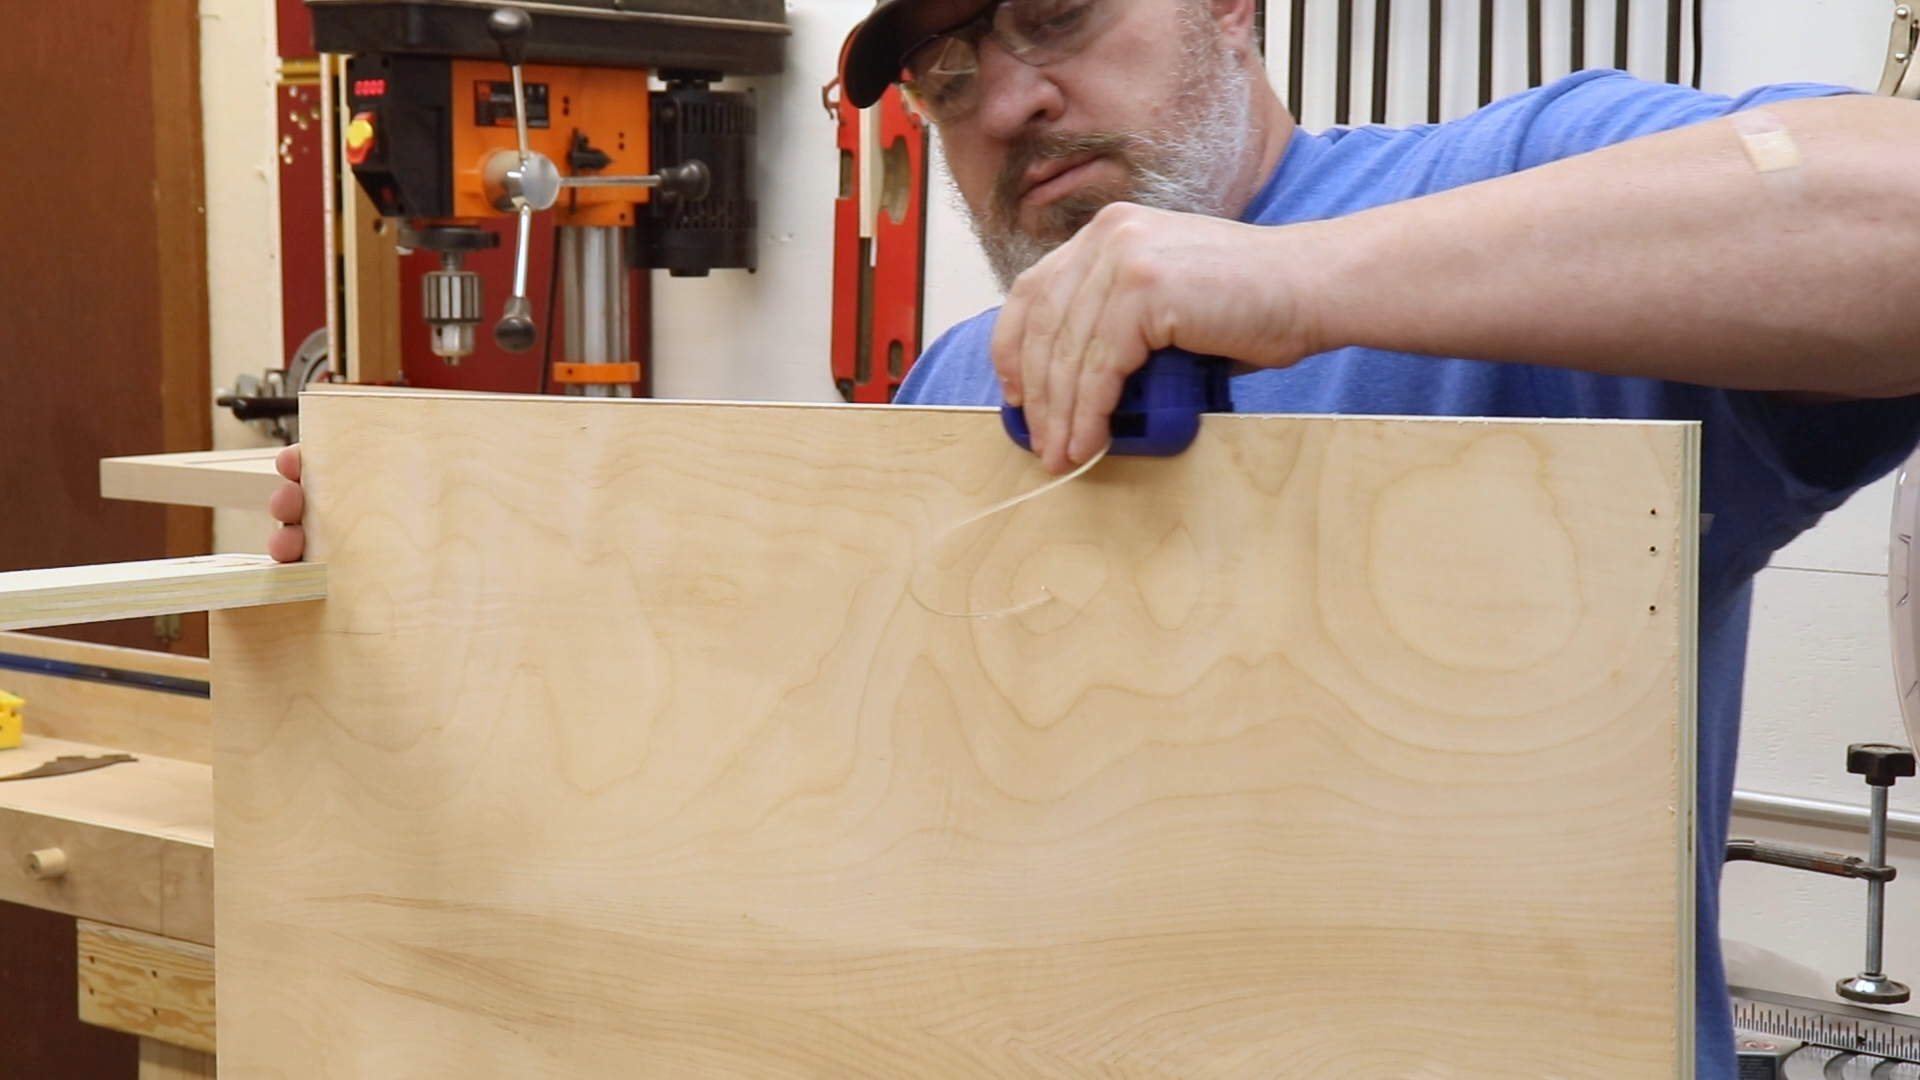
Speaking of anal, I decided these shop cabinets needed edge banding. The lengths I go to impress the boss, eh? I never used edge banding before so this will be good practice. There’s really nothing to it. Just cut them to size, iron them on, trim the ends and then flush up the edges.

Applying the Edge Banding
There are numerous ways to trim the edges. You can use a router, chisel, or a razor blade but I decided to buy this little edge banding trimmer from Fast Cap. It worked pretty well but I think there’s room for improvement. Turns out I bought the low end version. Fast Cap also offers a “pro” version which includes carbide blades. It’s $40ish compared to $20ish for the one I bought. If it could take care of this trimming in one swipe I think it’d be worth it.
Trimming the Edge Banding
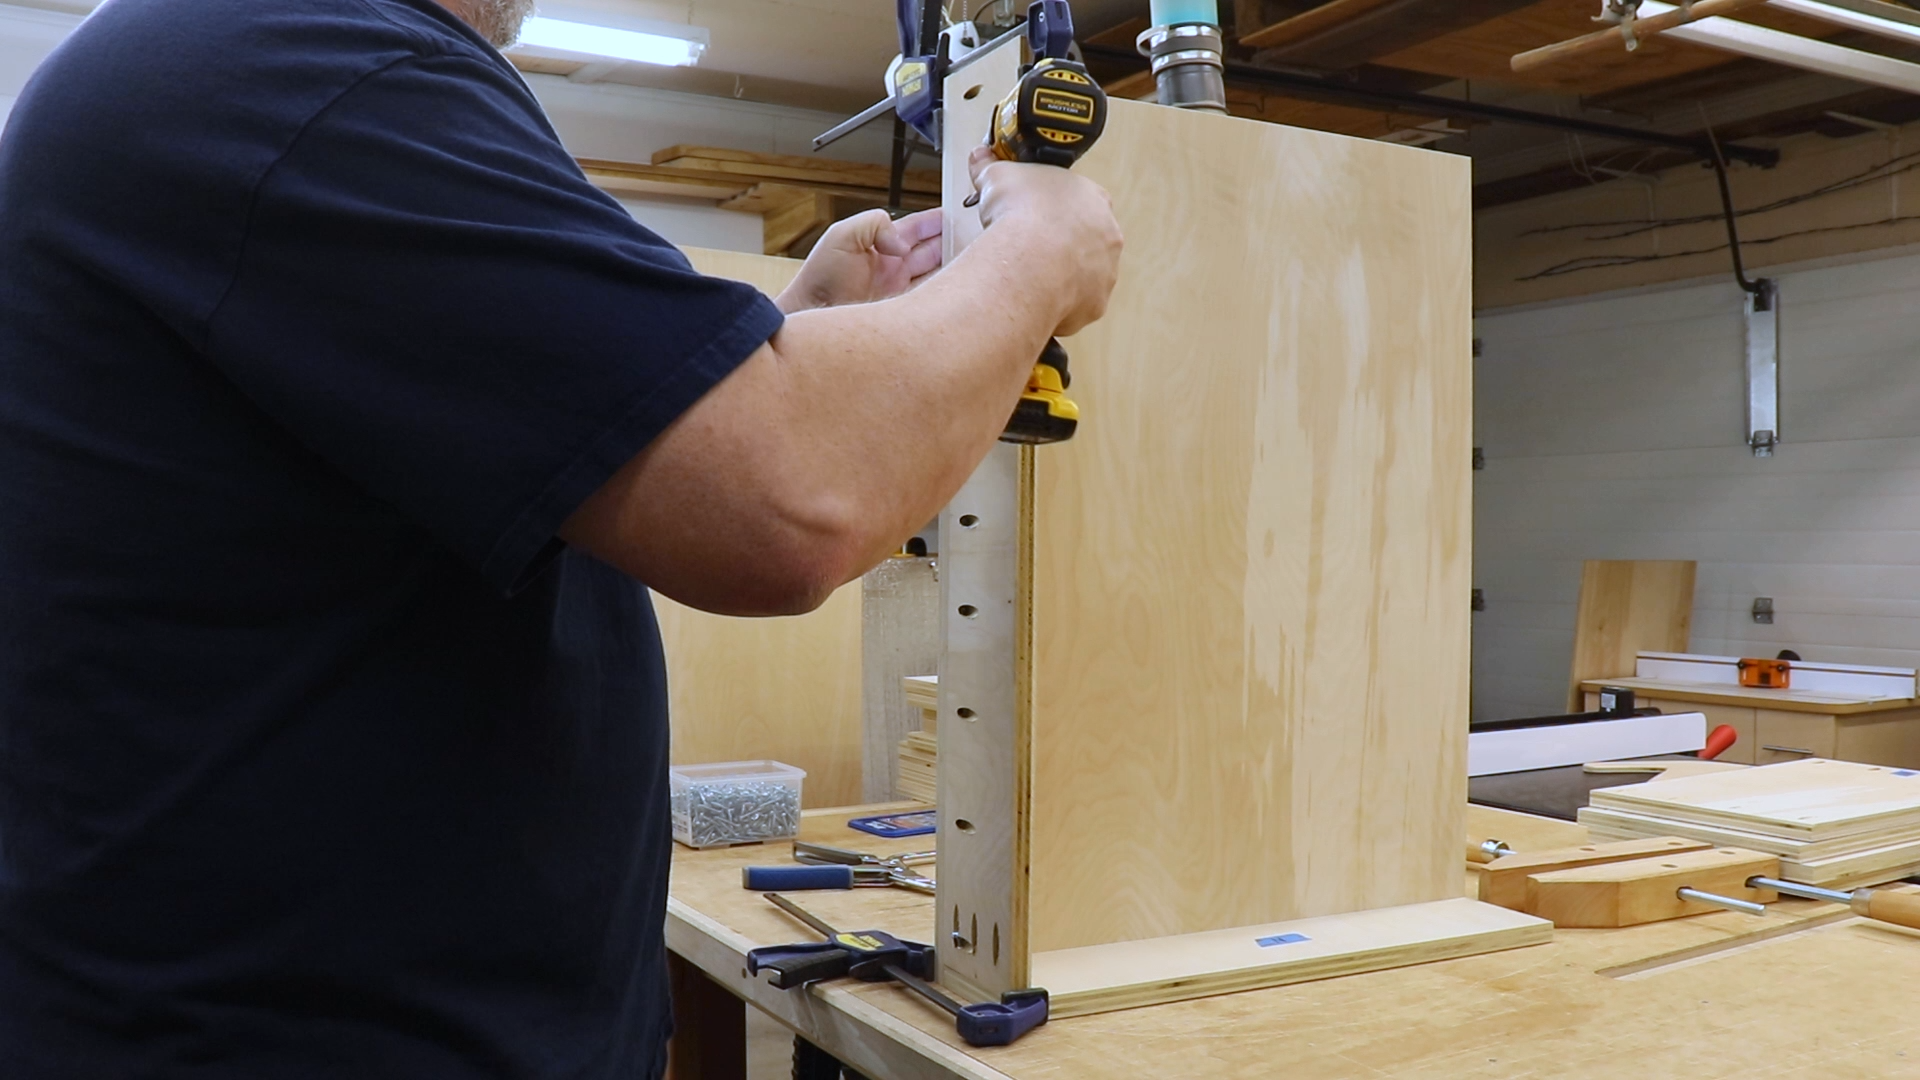
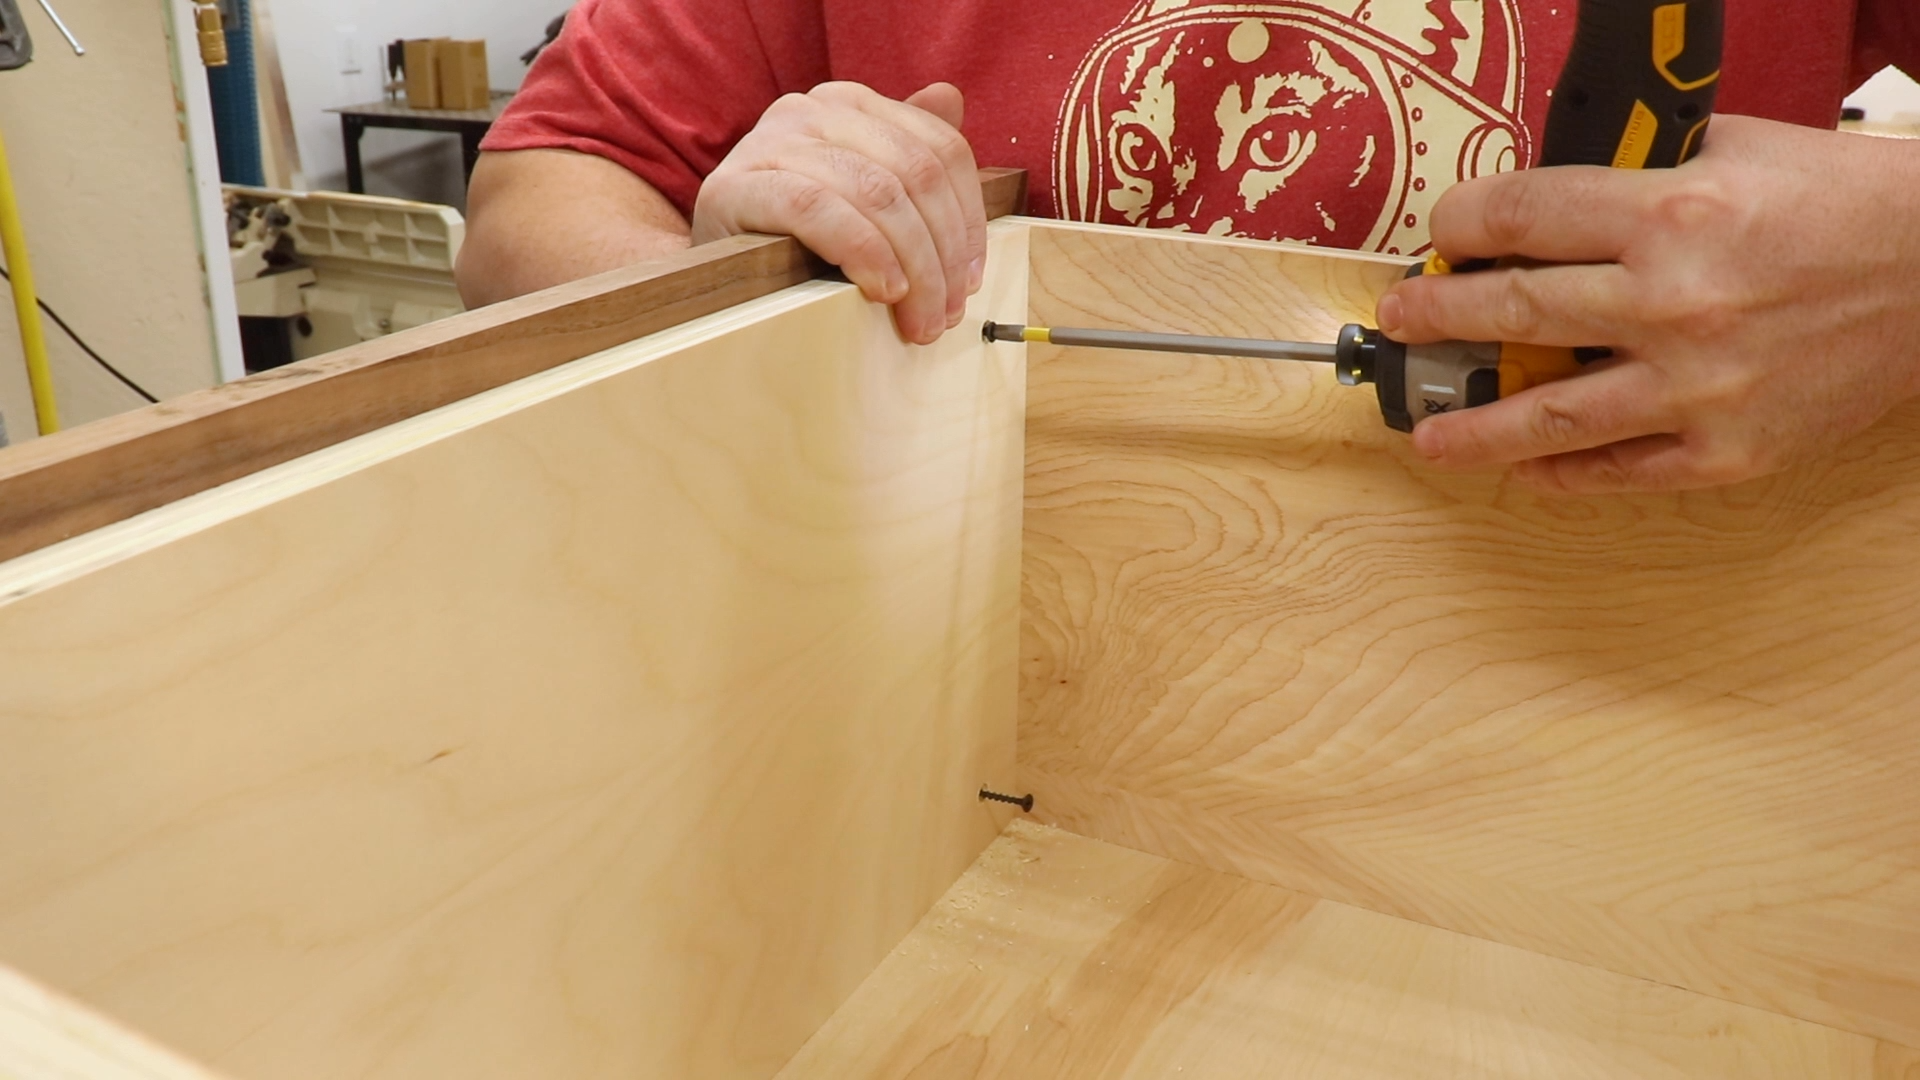
Screwing it All Together
And now back to the assembly. I used 1 1/4″ screws to secure the stretchers anywhere two of them were at a right angle. I could have just as easily used pocket screws here as well but I am pretty sure I hadn’t thought of this beforehand so this was my solution.

Securing the Stretchers
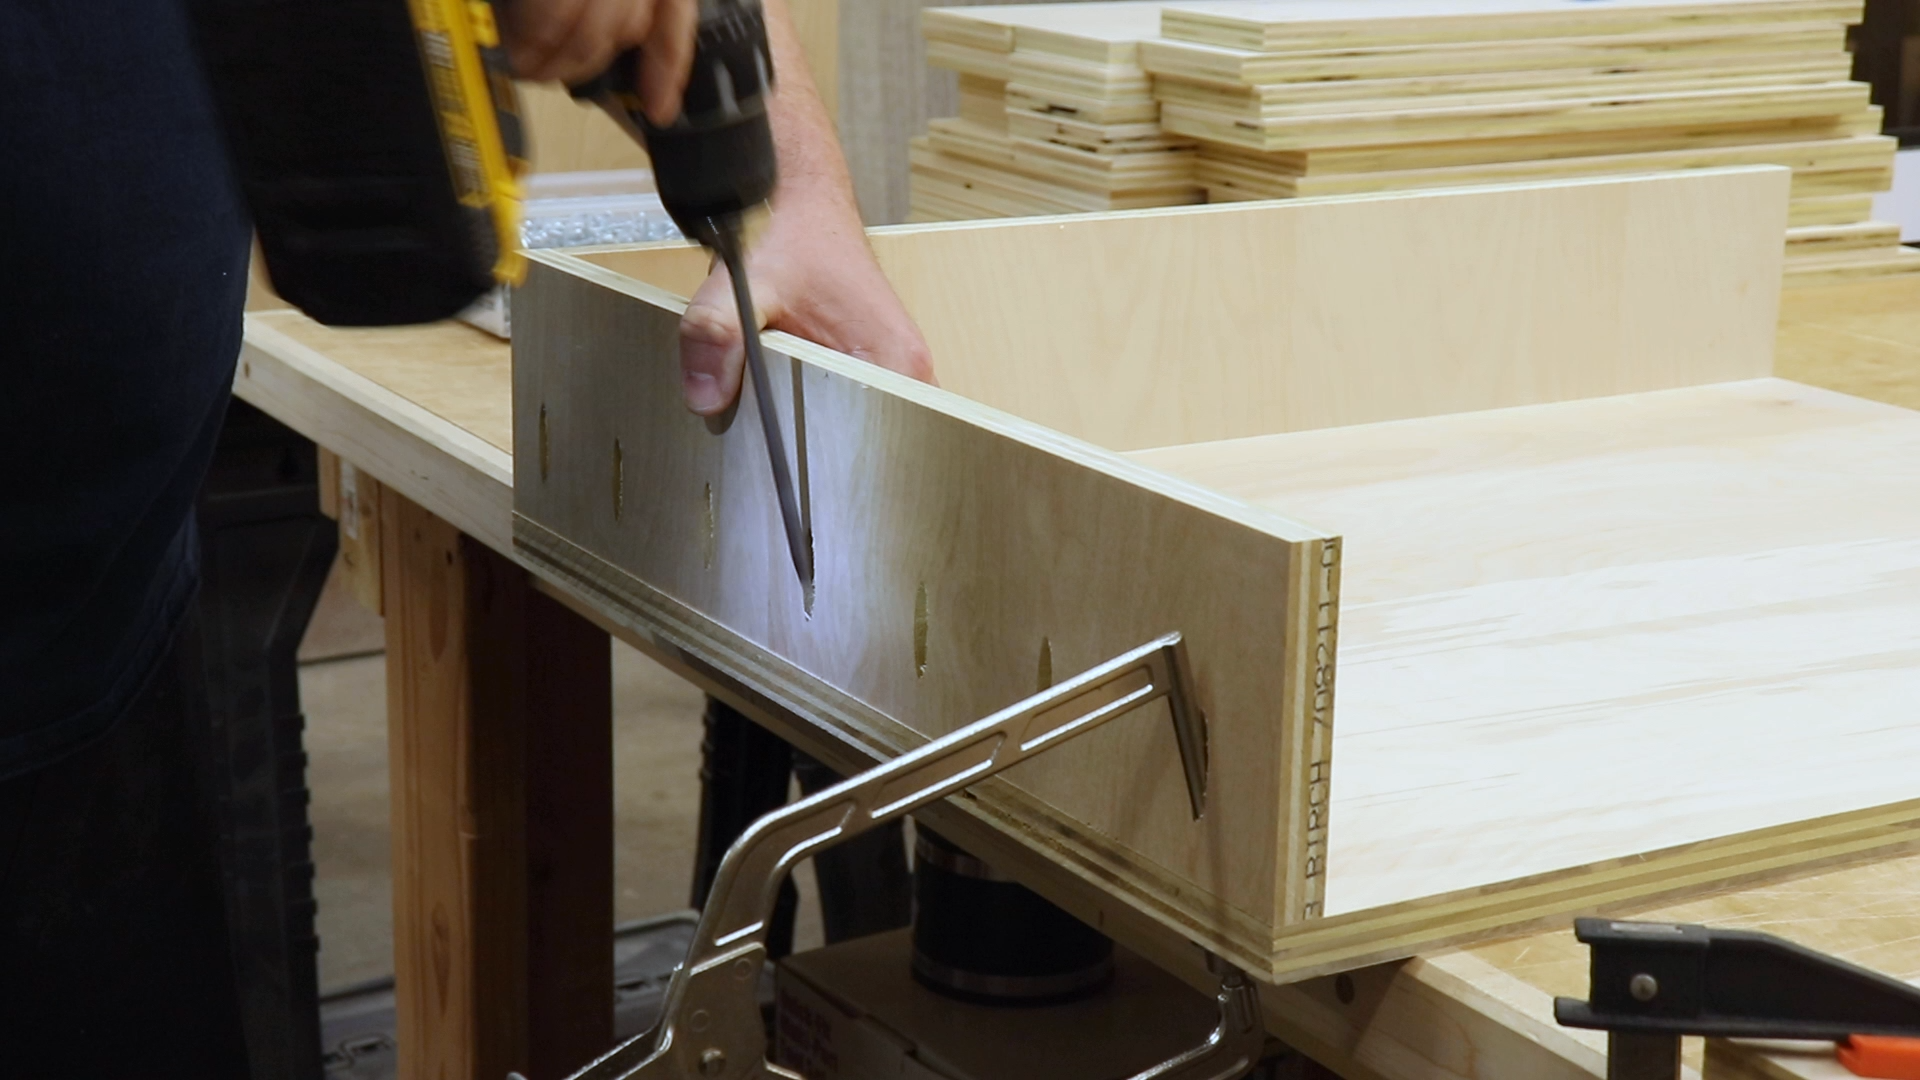
Back at the bandsaw, I cut out the toe kicks and notches for the stretchers on the two inner dividers.

Cutting the Notches for the Vertical Dividers
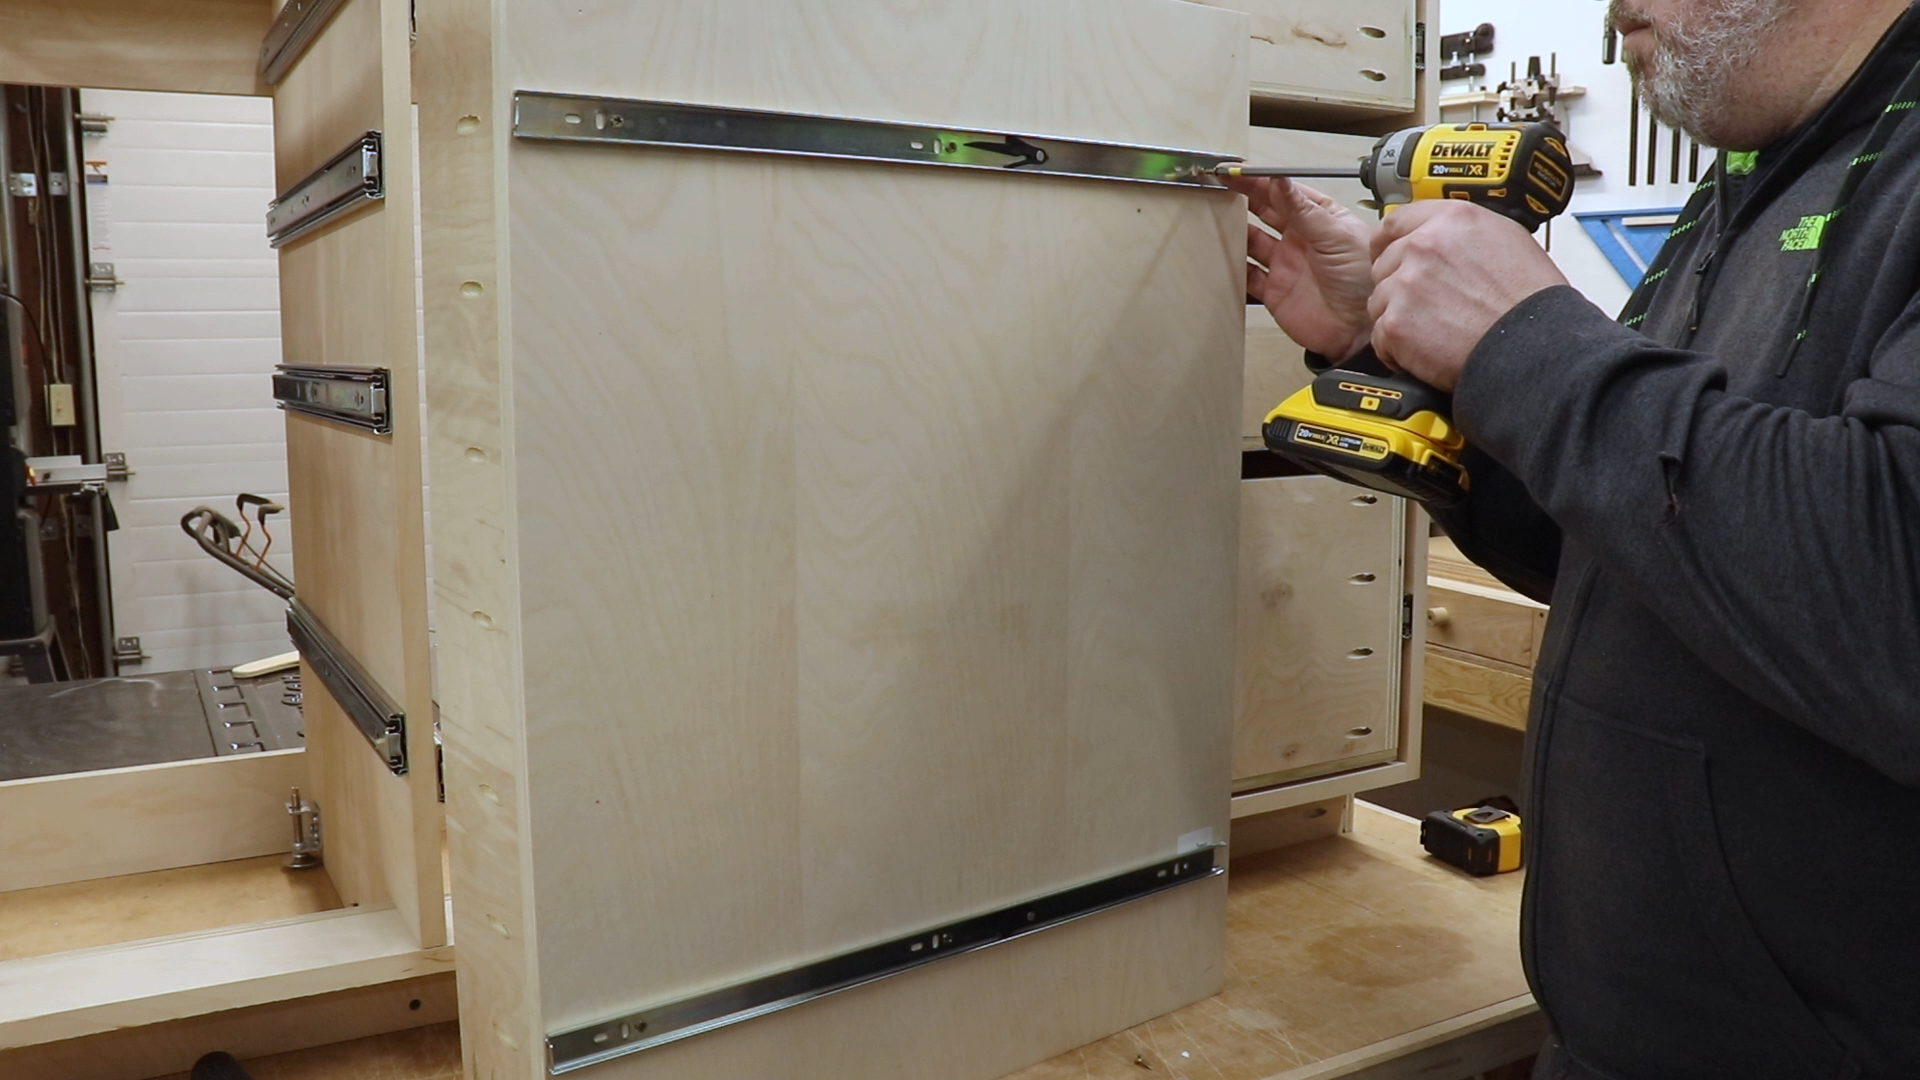
The space for the vertical pull outs is a little tight. I attached those drawer slides before installing the two inner dividers. I marked their locations and then used my Kreg drawer slide jigs to get them positioned correctly and then used a few screws to attach them to the dividers.
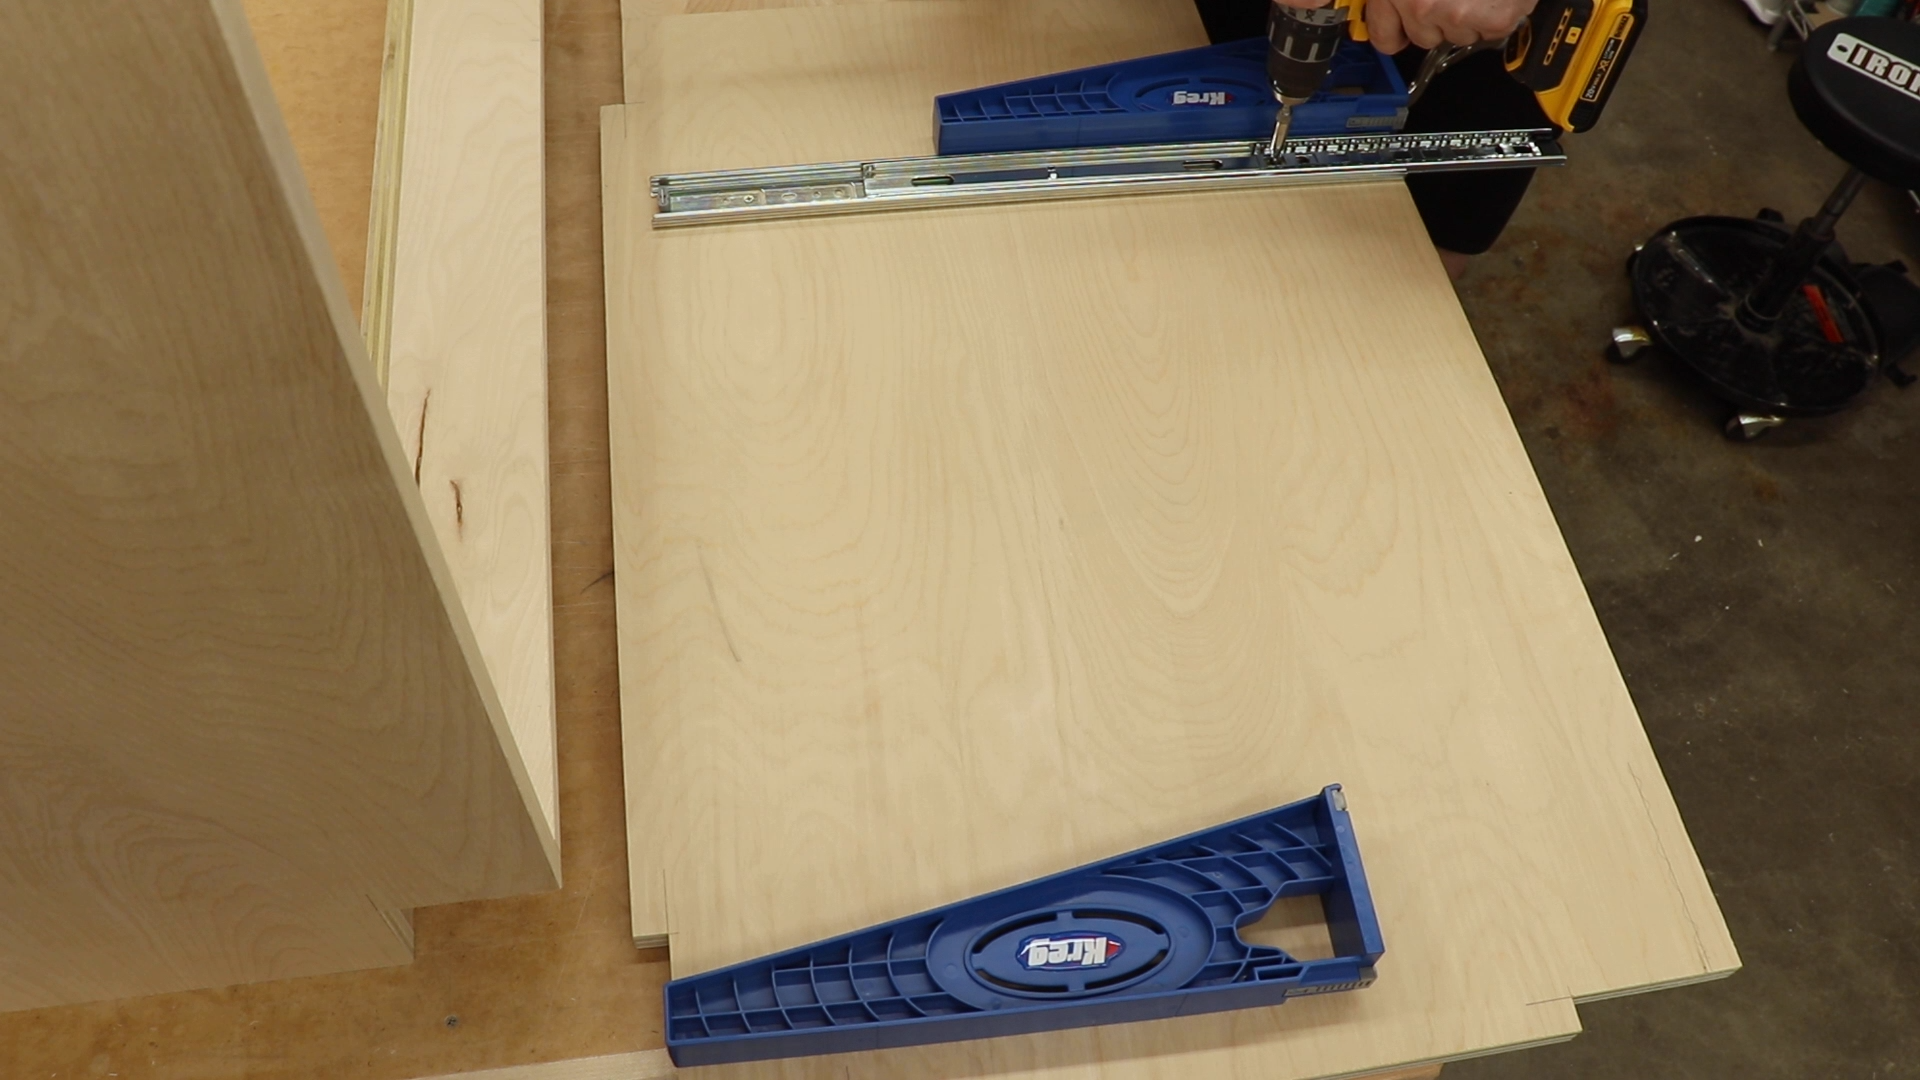
Attaching the Drawer Slides to the Vertical Dividers
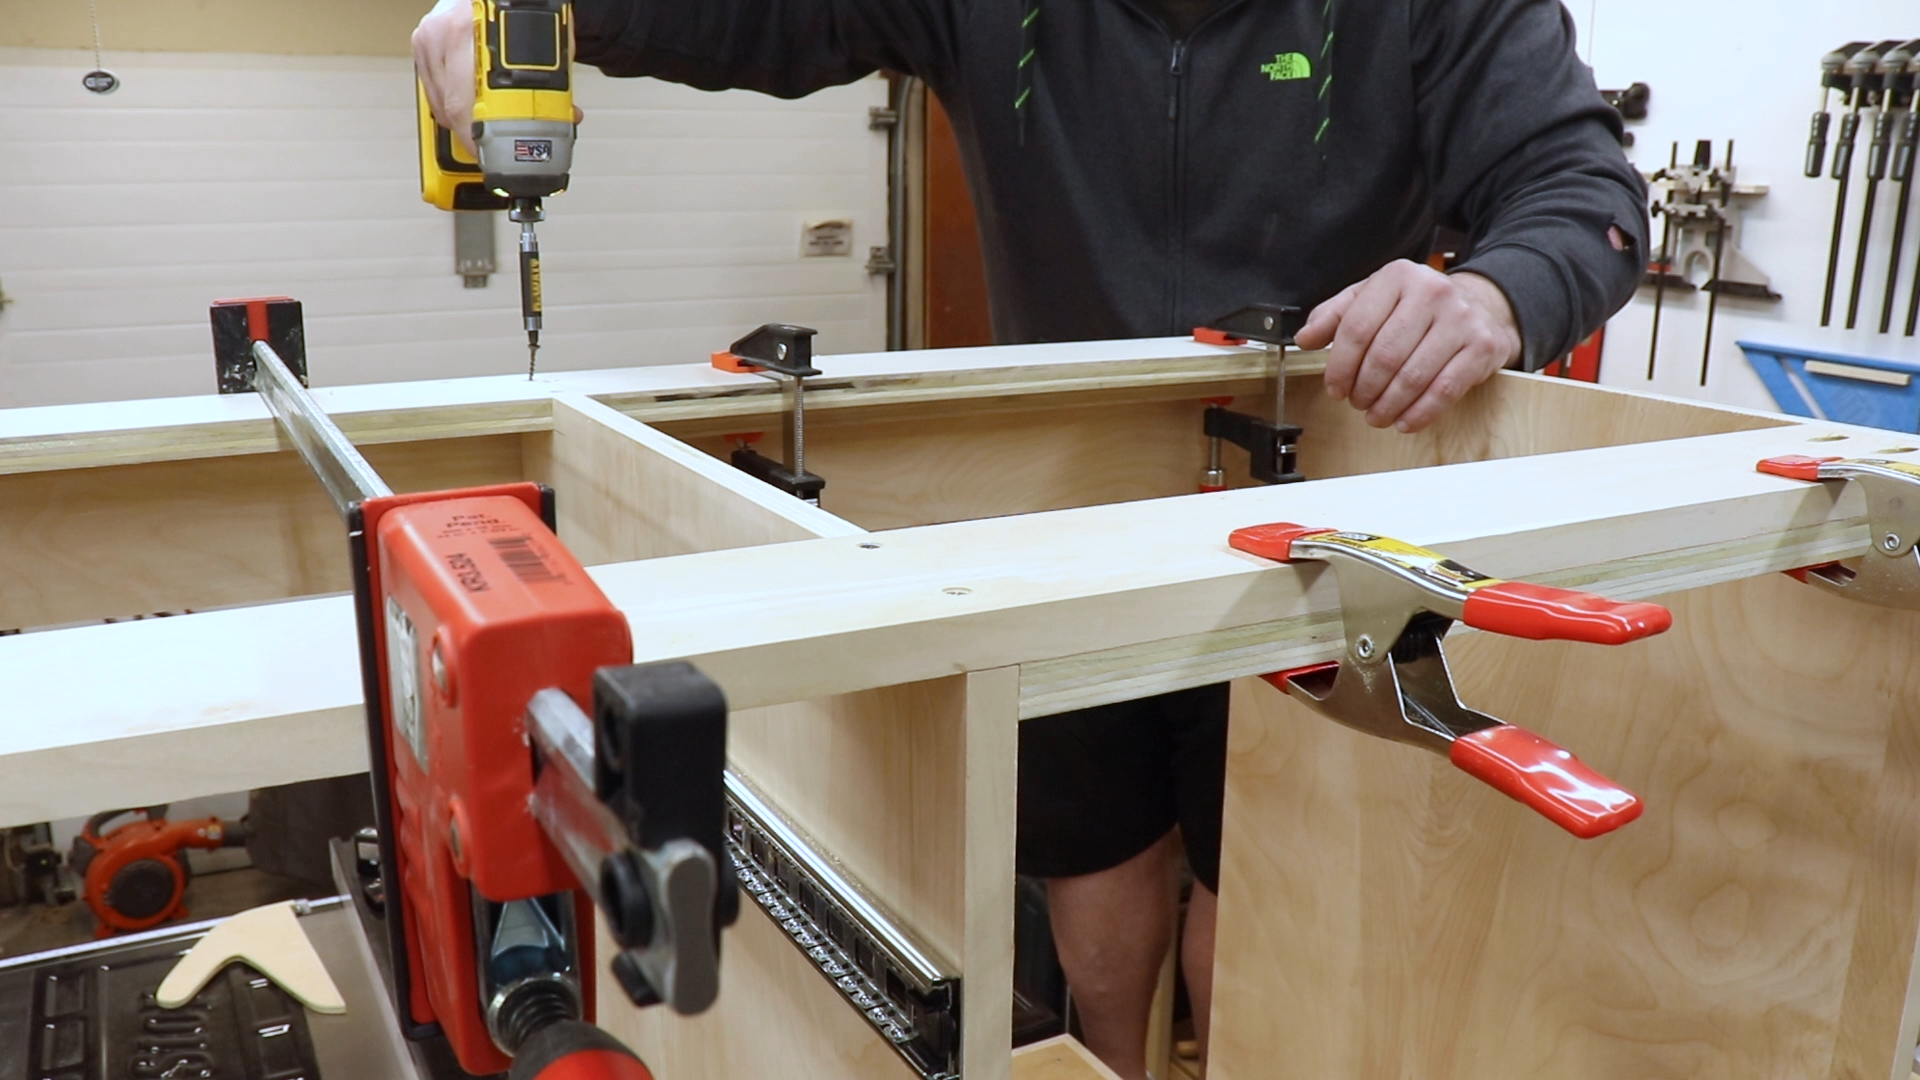
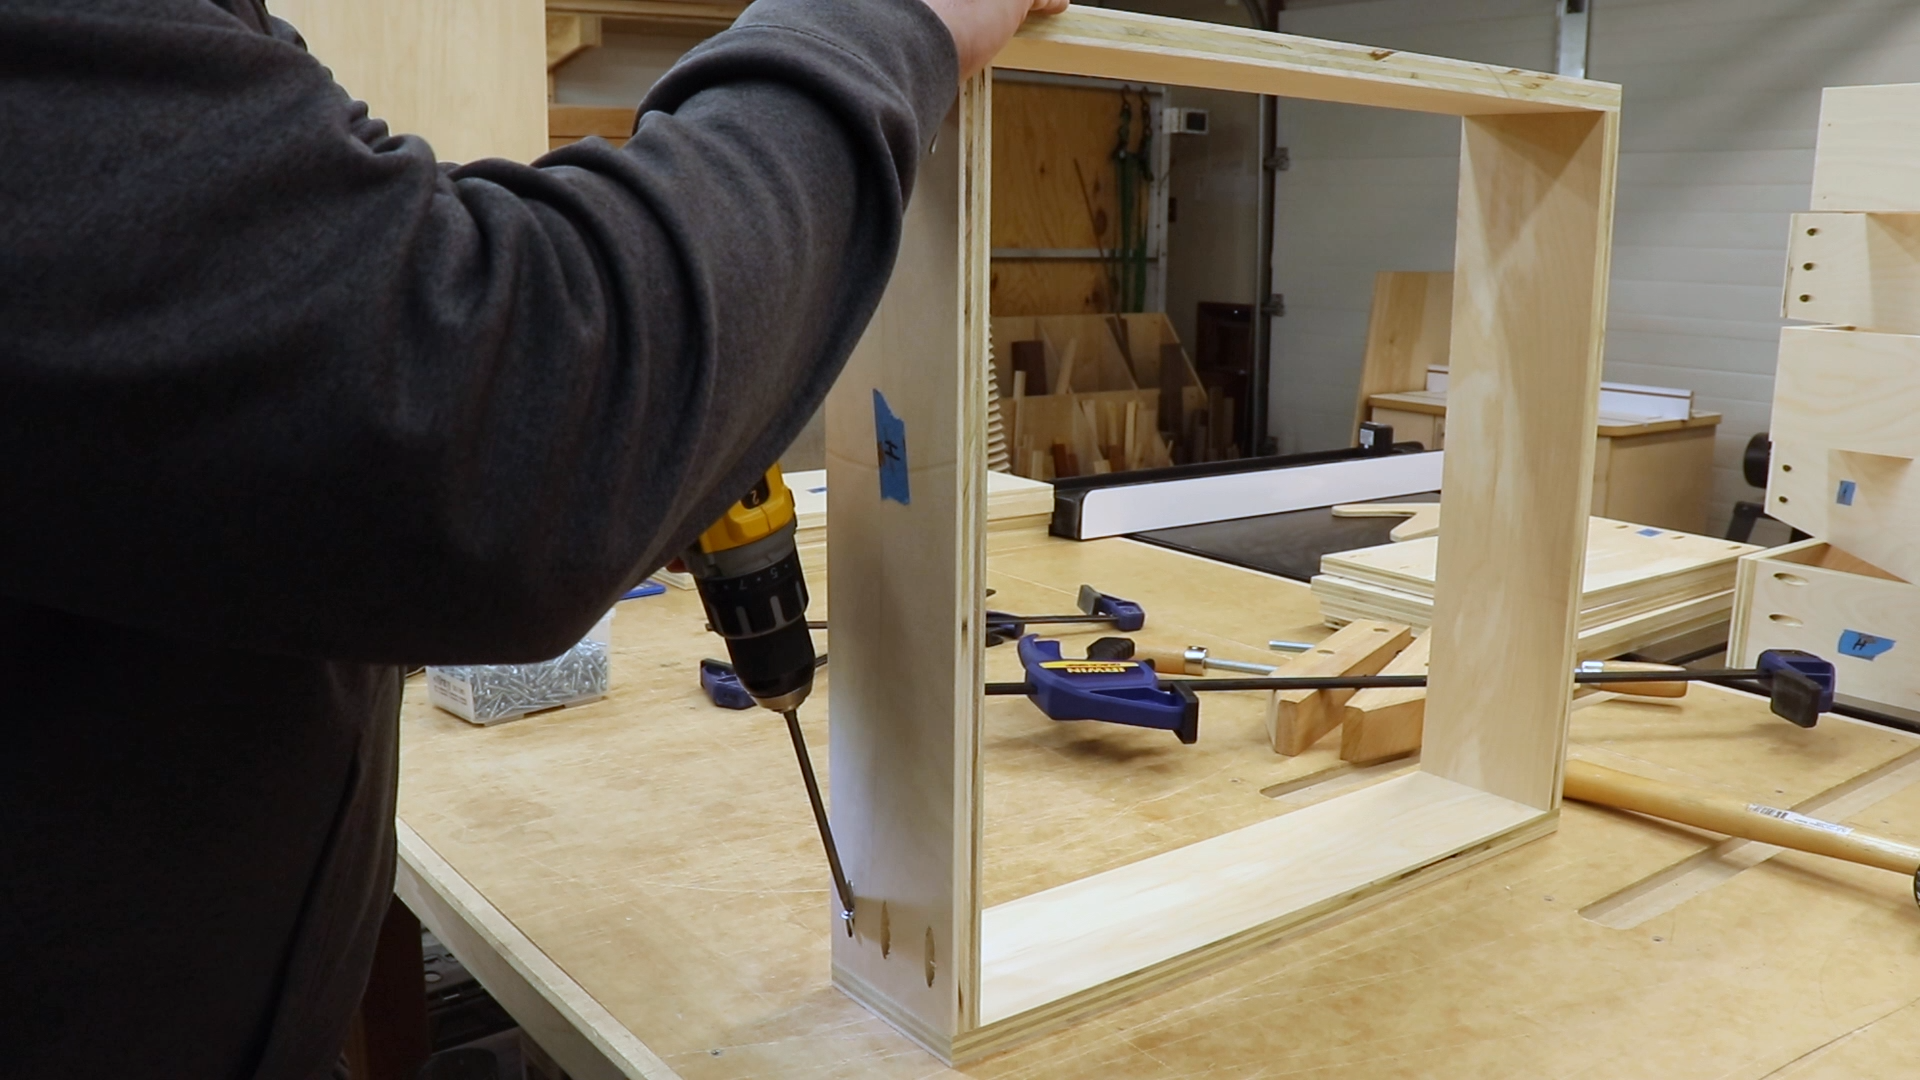
Some spacers helped to accurately position the dividers in the cabinet and clamps held everything in place while I used inch and quarter screws to attach the dividers.
Securing the Vertical Dividers
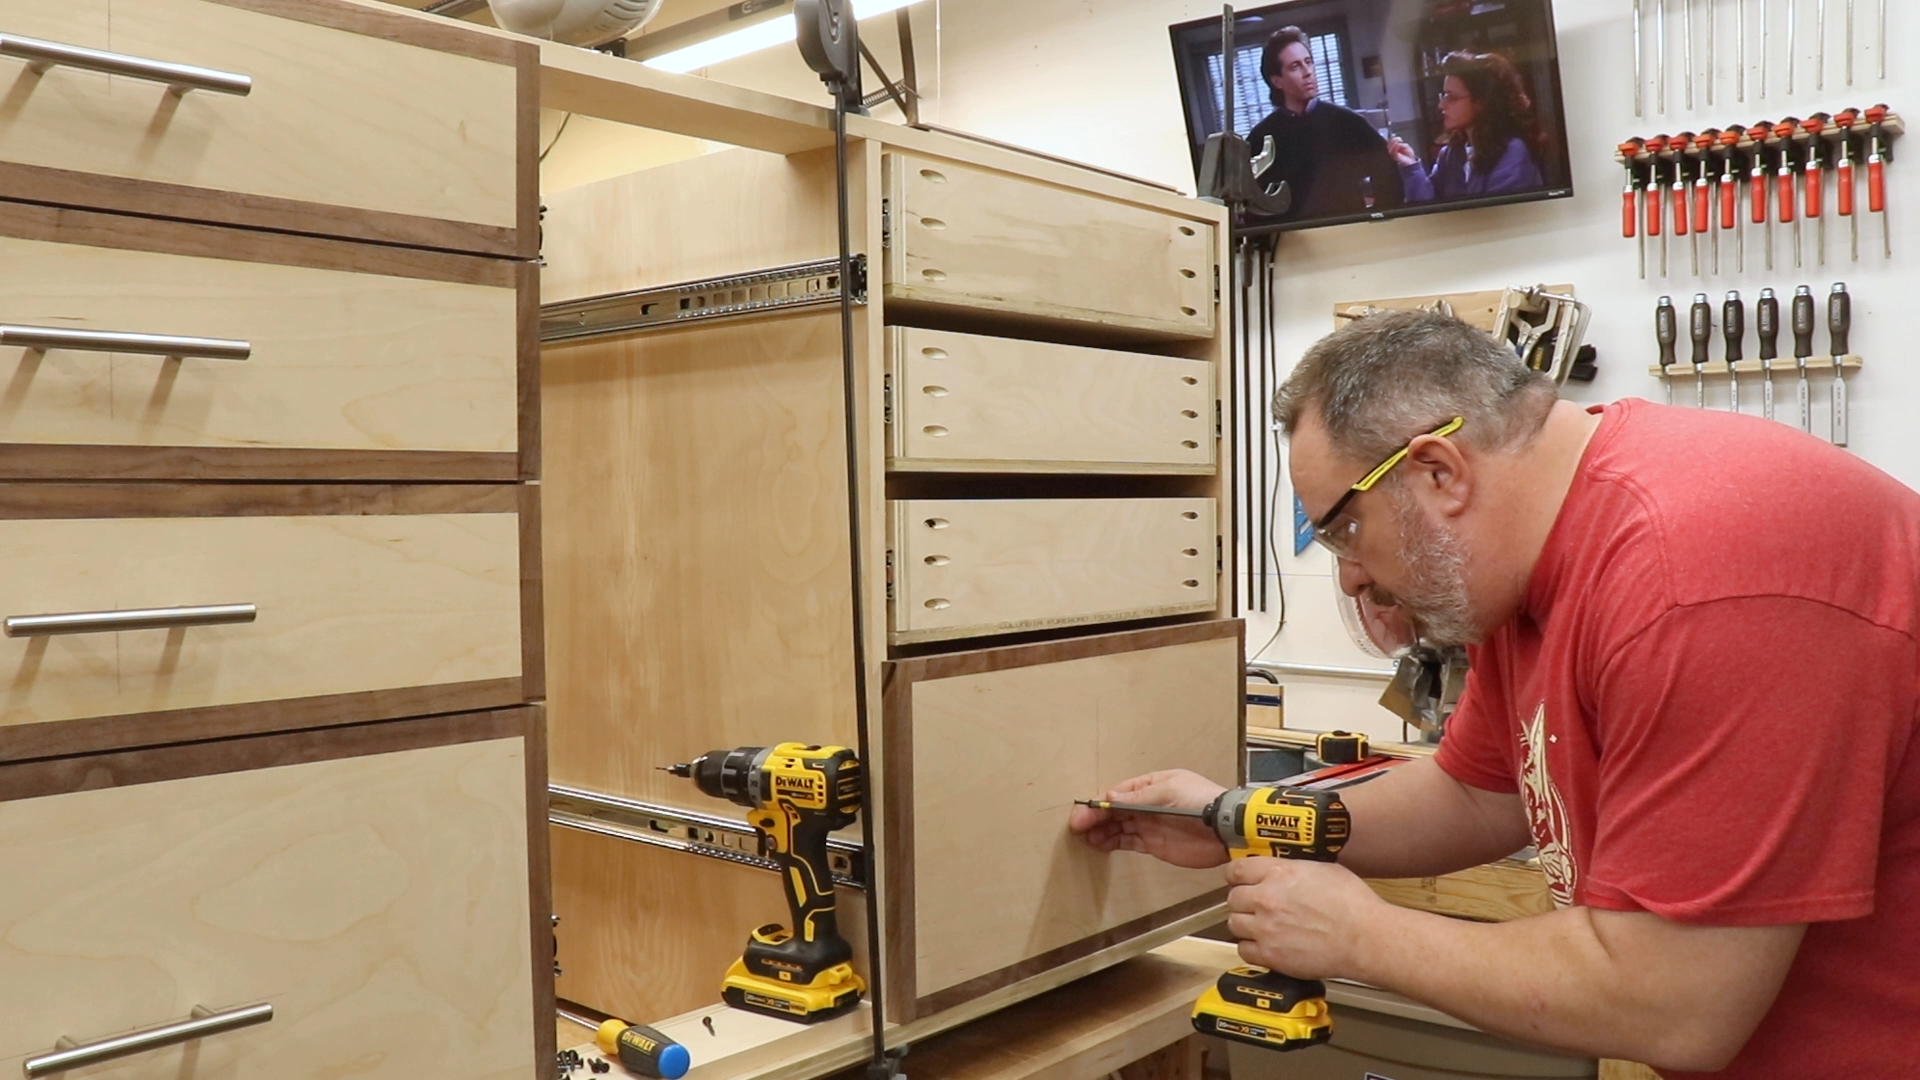
Installing the Drawer Slides
I could now move on to attaching the rest of the drawer slides to the cabinet.
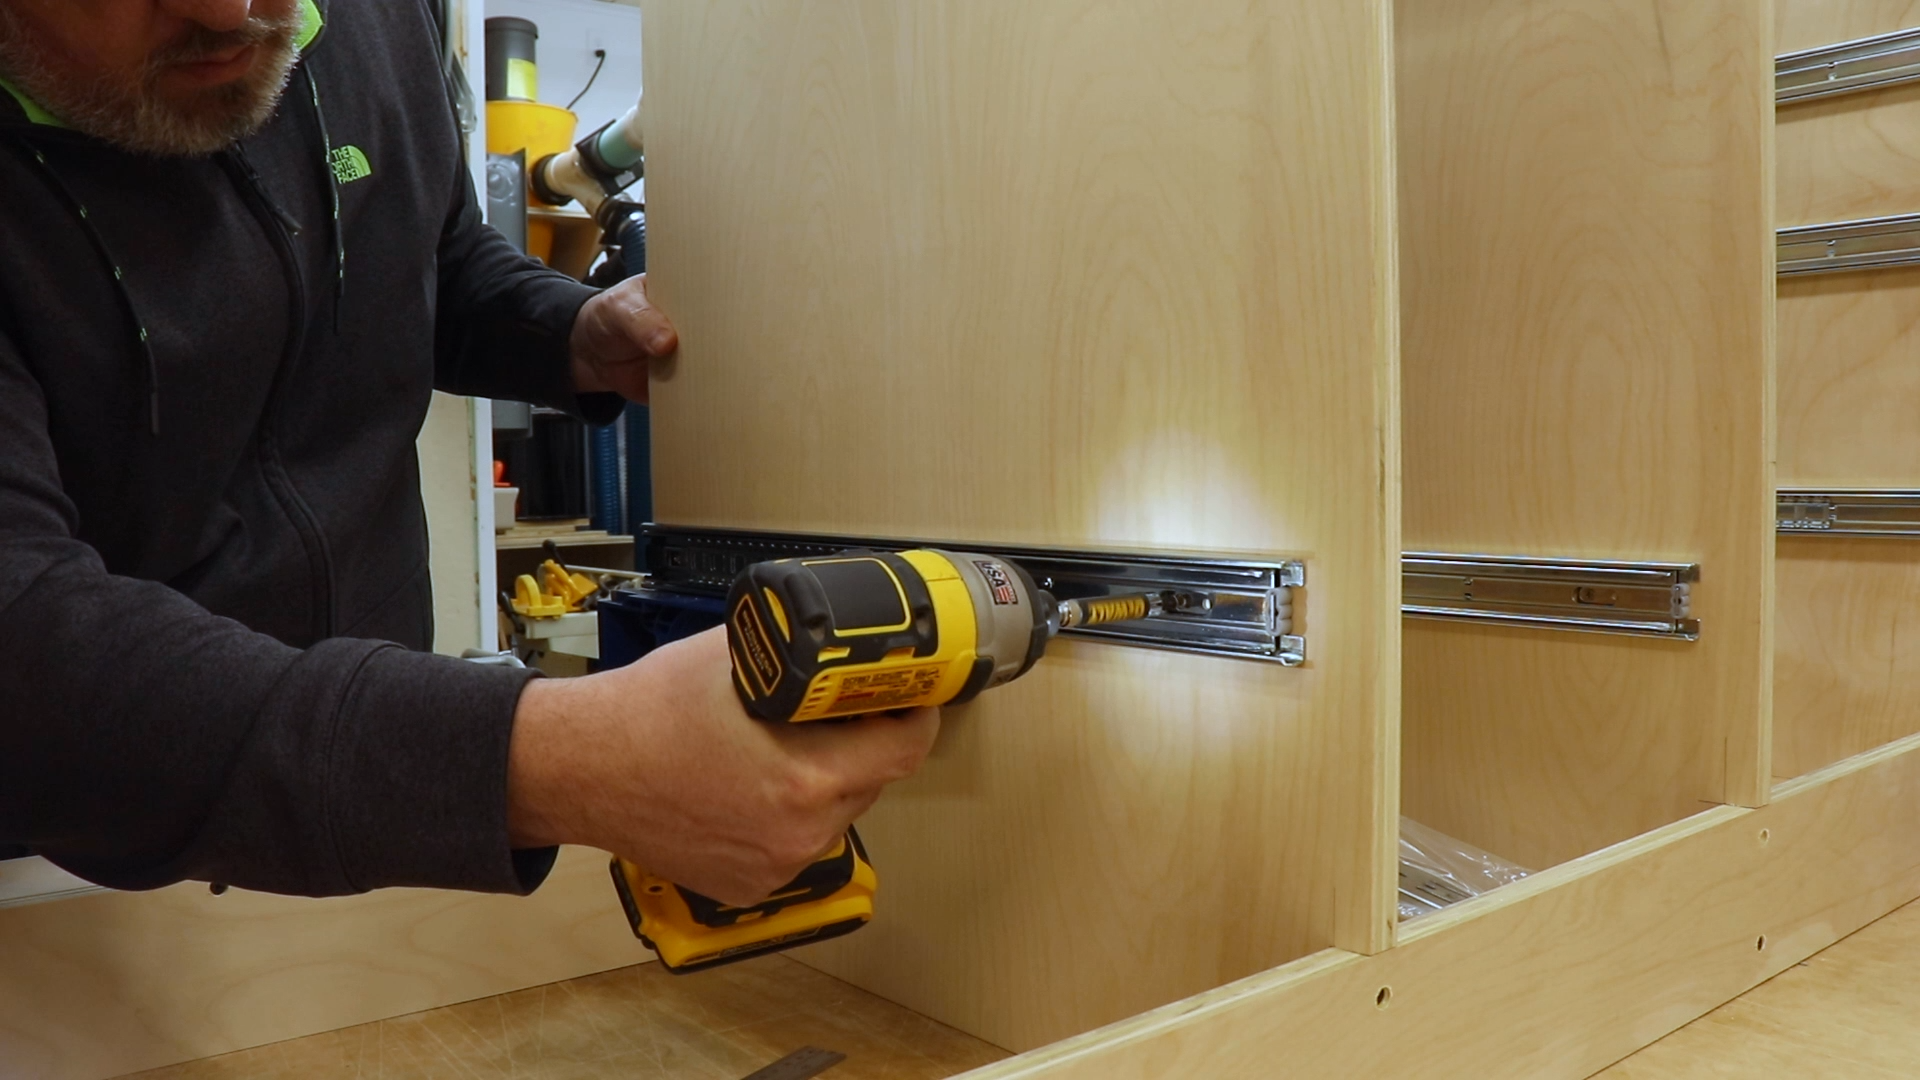
Installing the Drawer Slides
Keepings Things Level
My garage floor isn’t remotely flat so I want a way to level it out. I used these leveling feet on my assembly table and I really like them so they were enlisted for this project as well. I used two levelers on each of the sides and dividers. The great thing about these levelers is that they are easily adjustable from above using a screwdriver or socket and they are only about $15 for a set of 4.
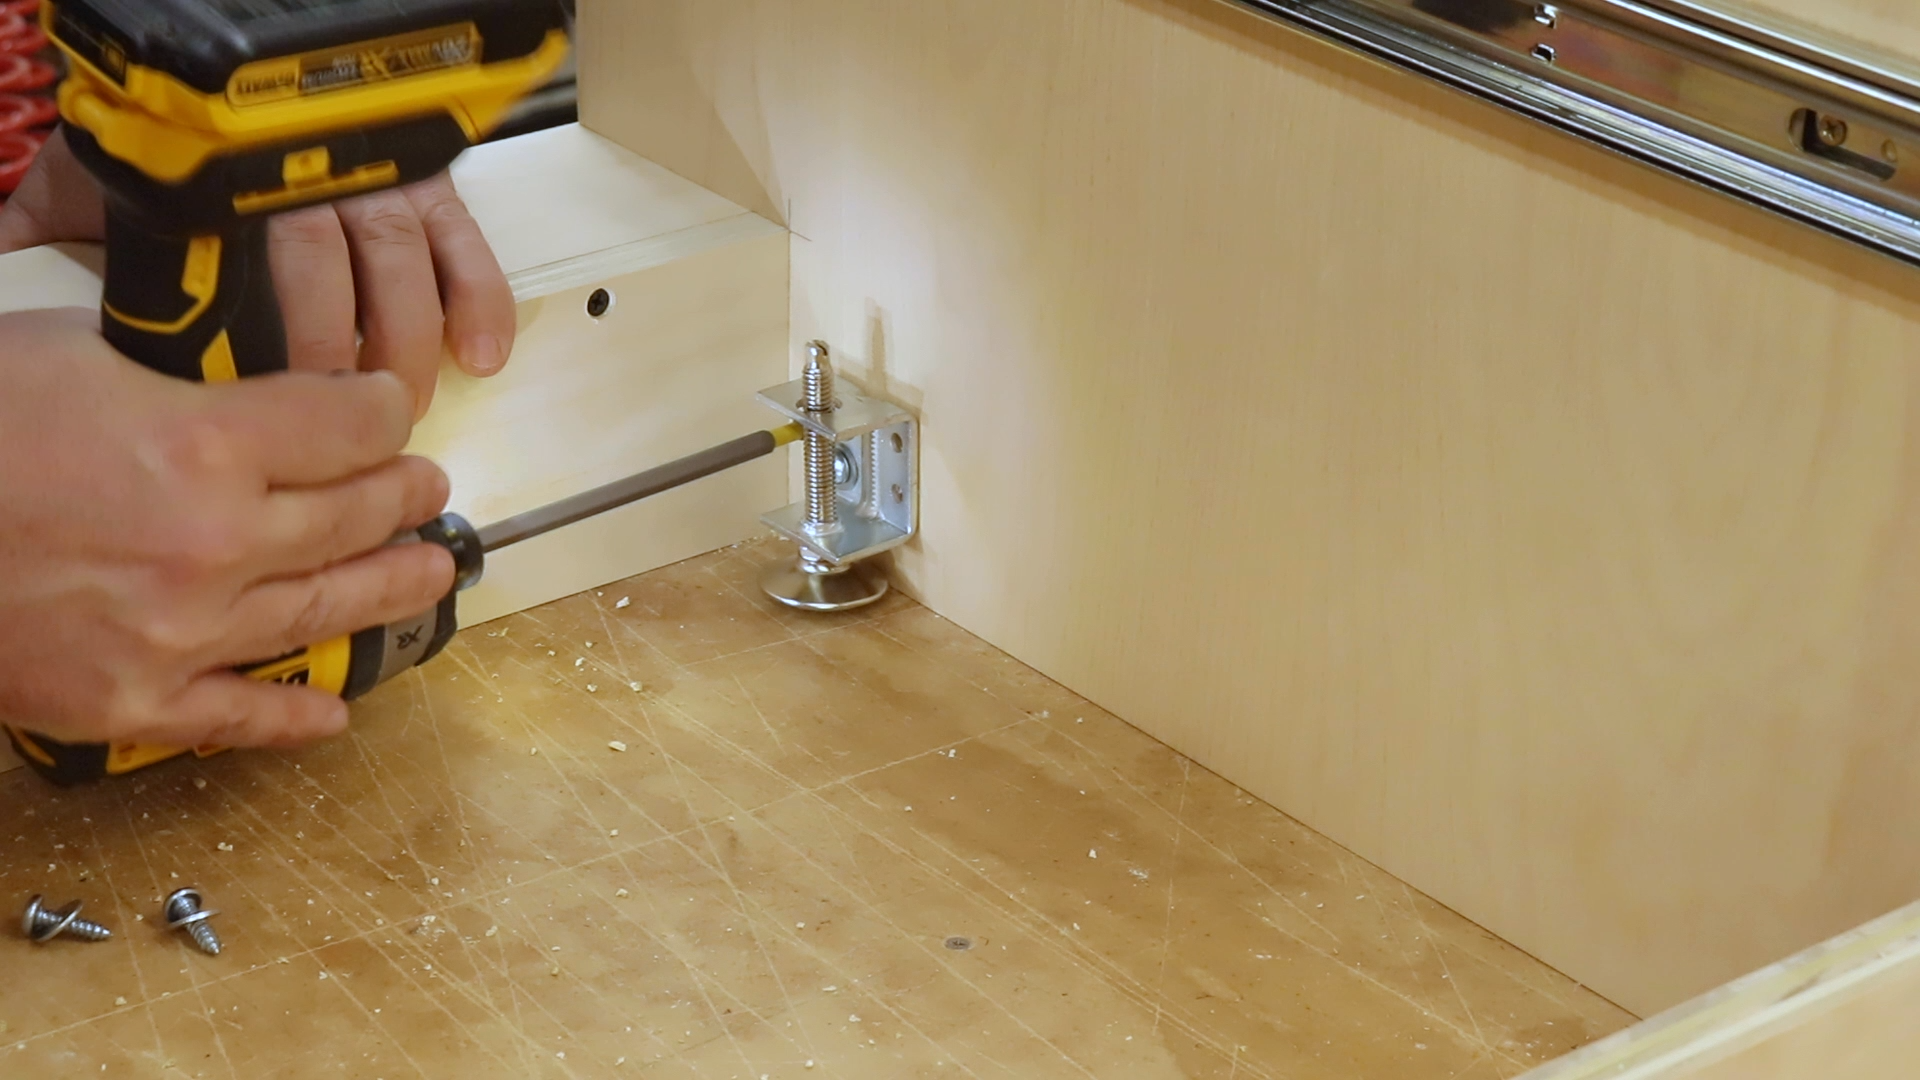
Installing the Levelers
Drawers To Hold Things and Stuff
Time to move on to the drawers which means back to the track saw to break down the plywood.
Rough Cutting the Drawer Parts
Cutting Out the Drawer Parts to Final Width
Back at the table saw I ripped all of the parts to width and then used my cross cut sled to first square up one side and then flip them around and cut them to final width. You may be wondering what the two pieces of ply are for that are up against the stop. Since 3/4 plywood is usually not actually 3/4 of an inch, it can be a little tricky figuring out exactly what length to cut the drawer fronts and backs to fit in the opening. To make it easy, just measure the opening, set your stop to that number, and then put these two pieces of scrap in there to represent the drawer sides. I got this tip from Brad Rodriguez of FixThisBuildThat. He has a great video on making simple drawers: Simple Drawers
Cutting the Drawer Fronts and Backs to Size
Pocket Holes for Days
Once more we return to the Kreg jig to drill about 150 pocket holes for the drawers and pull outs. I have a lot of cabinet projects coming up and this one is probably going to convince me to spend the money on the Kreg Foreman so don’t be surprised if you see that pop up in a video in the near future.
Drilling My 409th Pocket Hole for this Cabinet
Assembling the Pull Outs
The pull outs were first in line for assembly. These pull outs have a front, side and bottom and then a false front will be attached later. The front attaches to the sides which will ensure we are able to hide the pocket holes in the finished pull out.
Attaching the False Front to the Pull Out Side
Assembling the Pull Out Tray
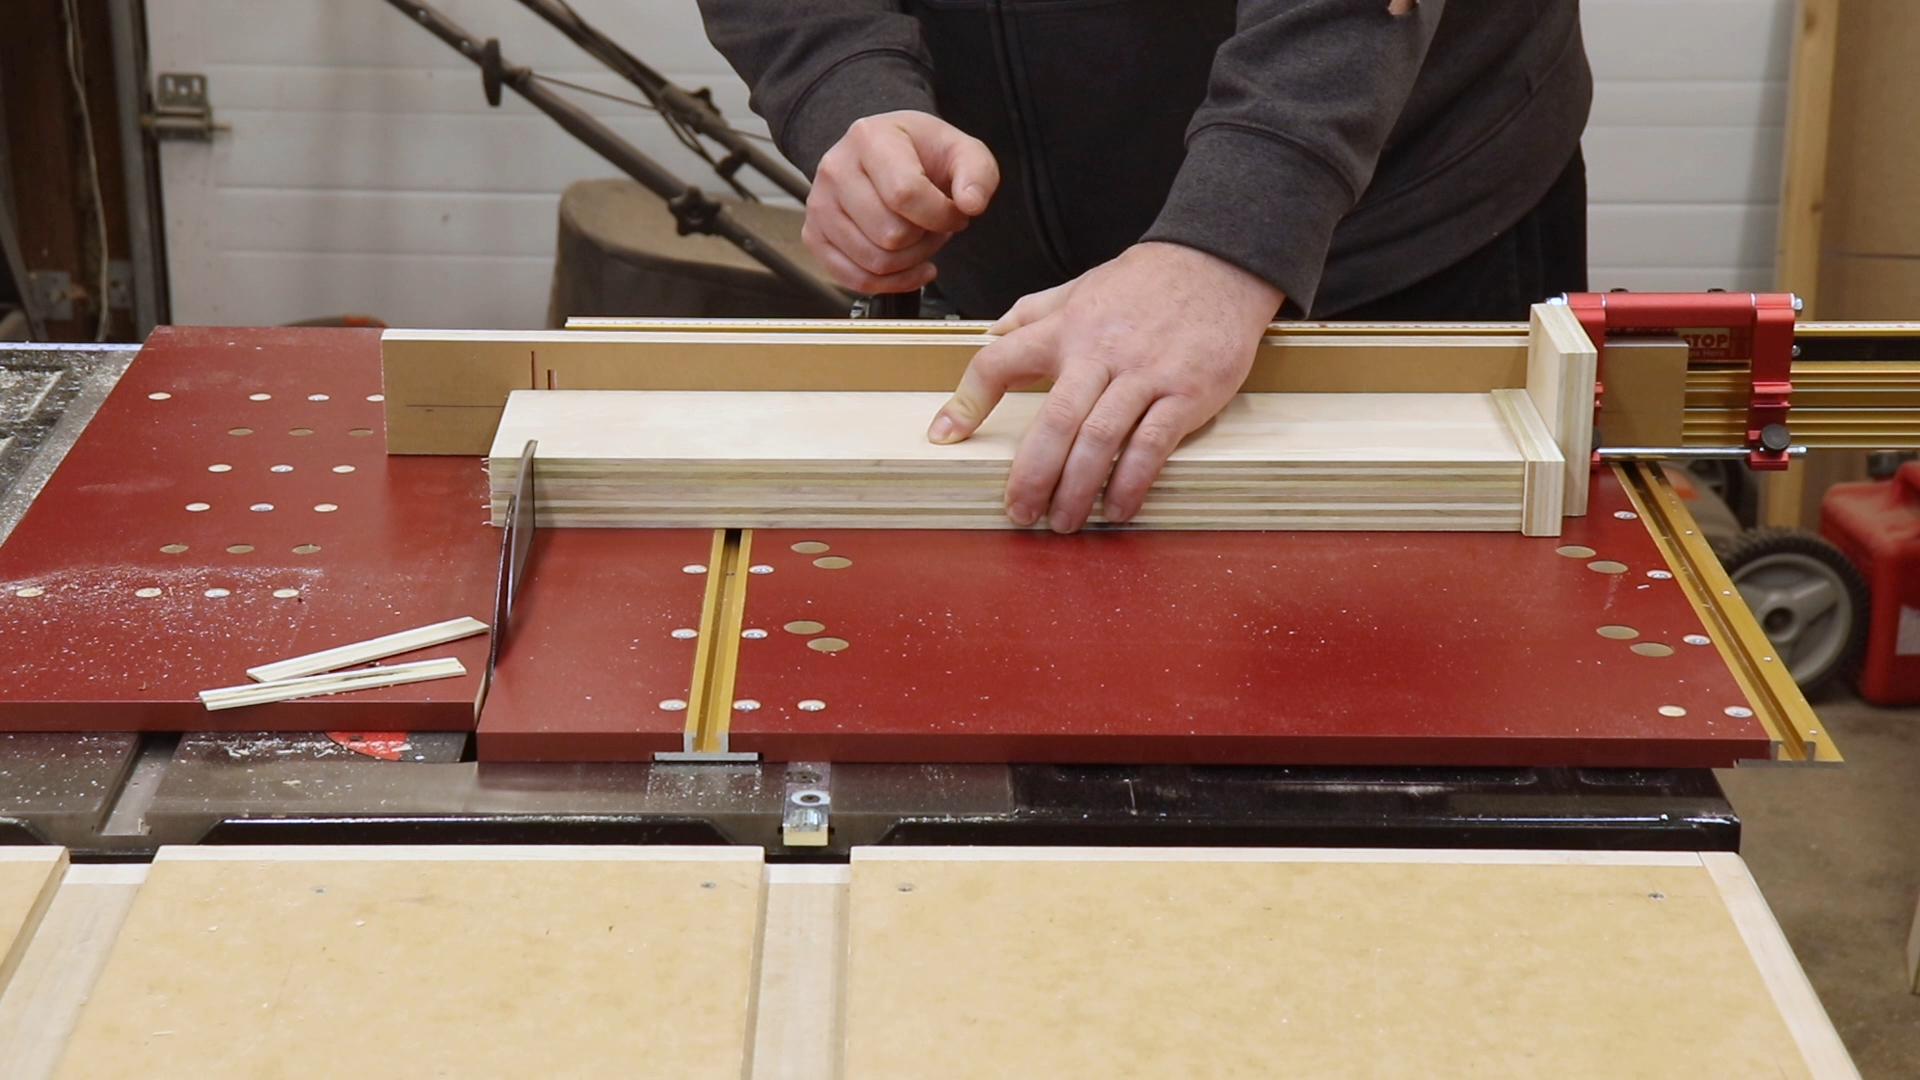
Assembling the Drawers
Next, I moved on to drawer assembly. This again involved me coming up with some makeshift jig to keep them square and all of the pieces property aligned. I came up with one that works pretty well but it just takes a long time with the various positioning and clamping that needs to be done on each drawer.
Building the Drawer Boxes
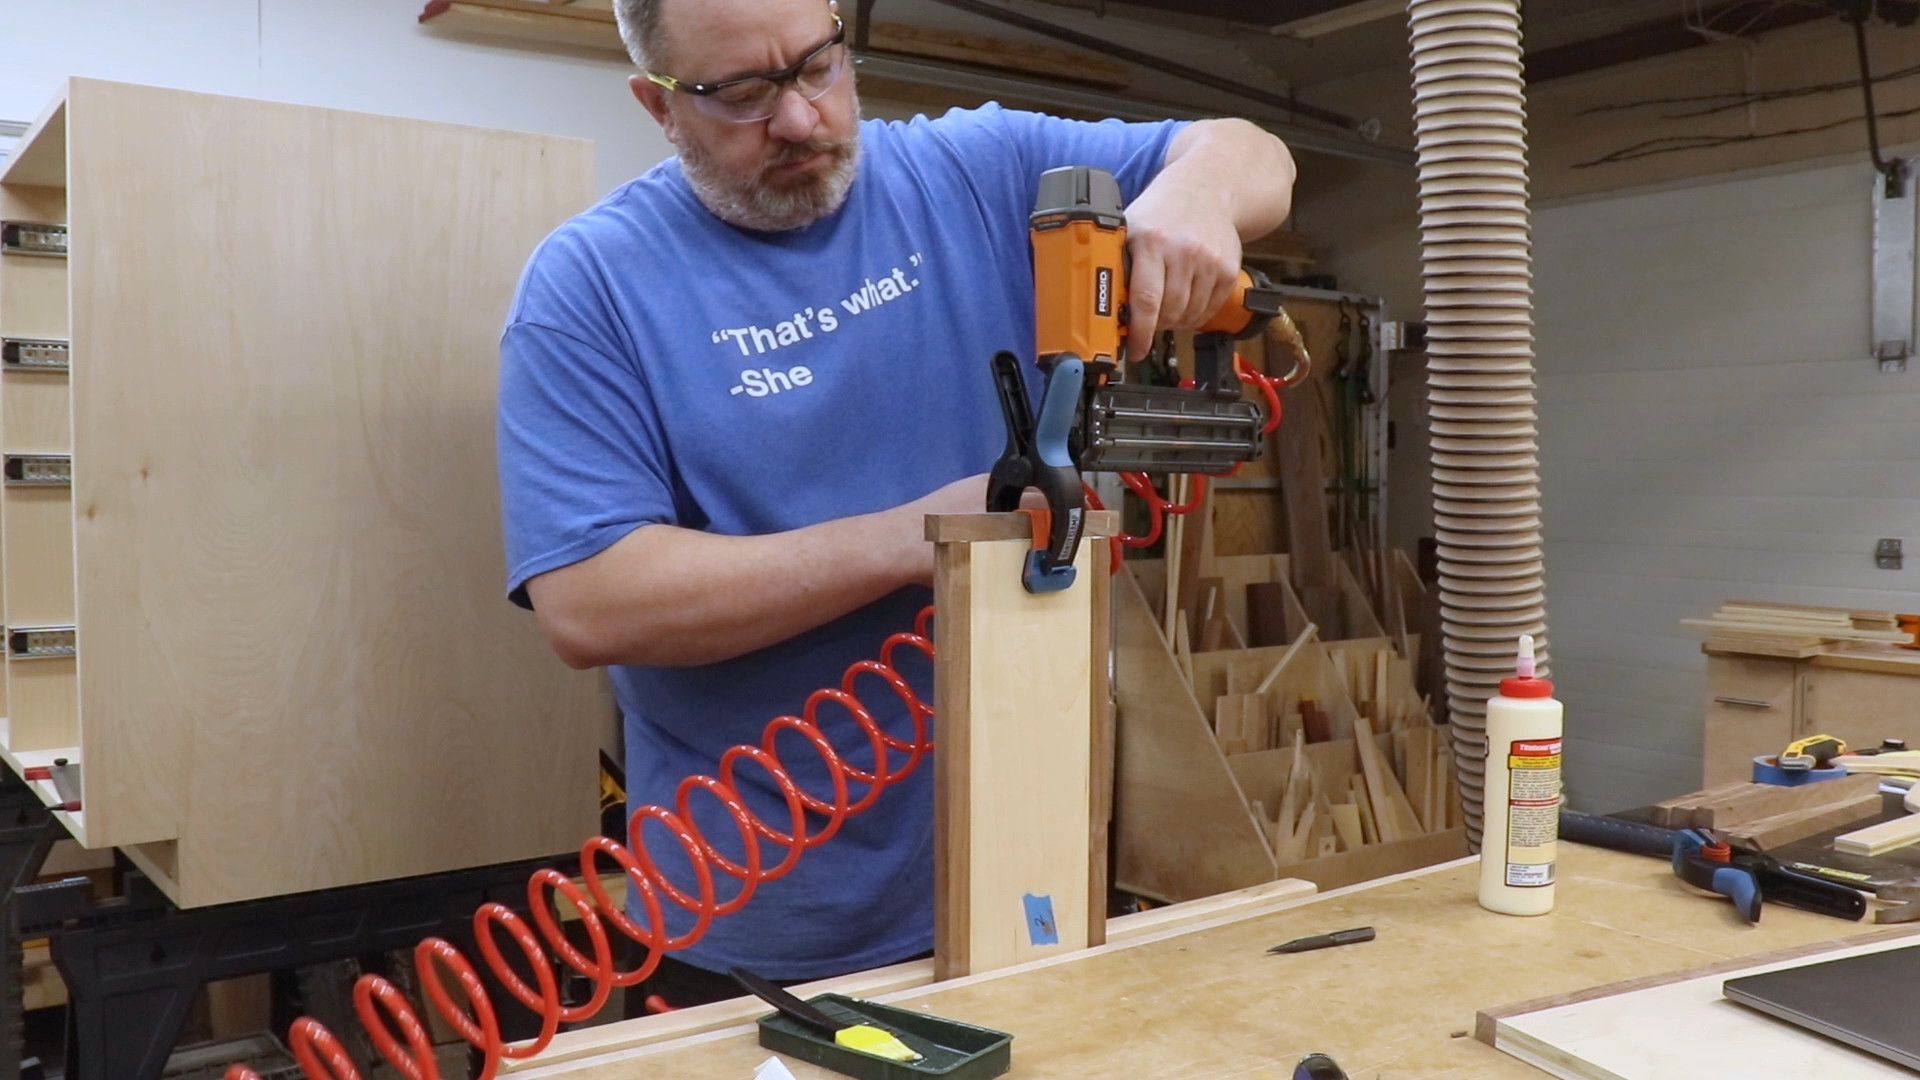
An Easier Way
Enter the brad nailer. Rather than clamping I just decided to brad all of the parts together. I then went back and secured everything with pocket screws. This approach might be the winner for me. It was pretty quick and easy.

Using Brad Nails to Hold the Drawer Box Parts In Place
To finish off the drawer boxes I attached 1/2″ bottom using screws. Using screws was not the best use of time in hindsight. Anymore I am going to just use glue and brad nails. I initially used screws on the chance I would need to replace the bottoms. These drawers are so solid I can’t imagine a scenario where that would be needed too often. The vast majority of the woodworking world uses 1/4″ bottoms but I just think 1/4″ sounds tinny and cheap so I use 1/2″.
Attaching the Drawer Bottoms
Installing the Drawers and Pull Outs
To attach the pull outs and drawers to the slides I used a 1/4″ spacer to position them from the bottom. I then pulled the slide a little to drive in the front screw. They could then be pulled out a little more to drive in the second screw. I removed the slide from the cabinet to drive in the back screw. I am sure you’ve seen this done 100s of times in various videos. Nothing new here and not complicated at all.
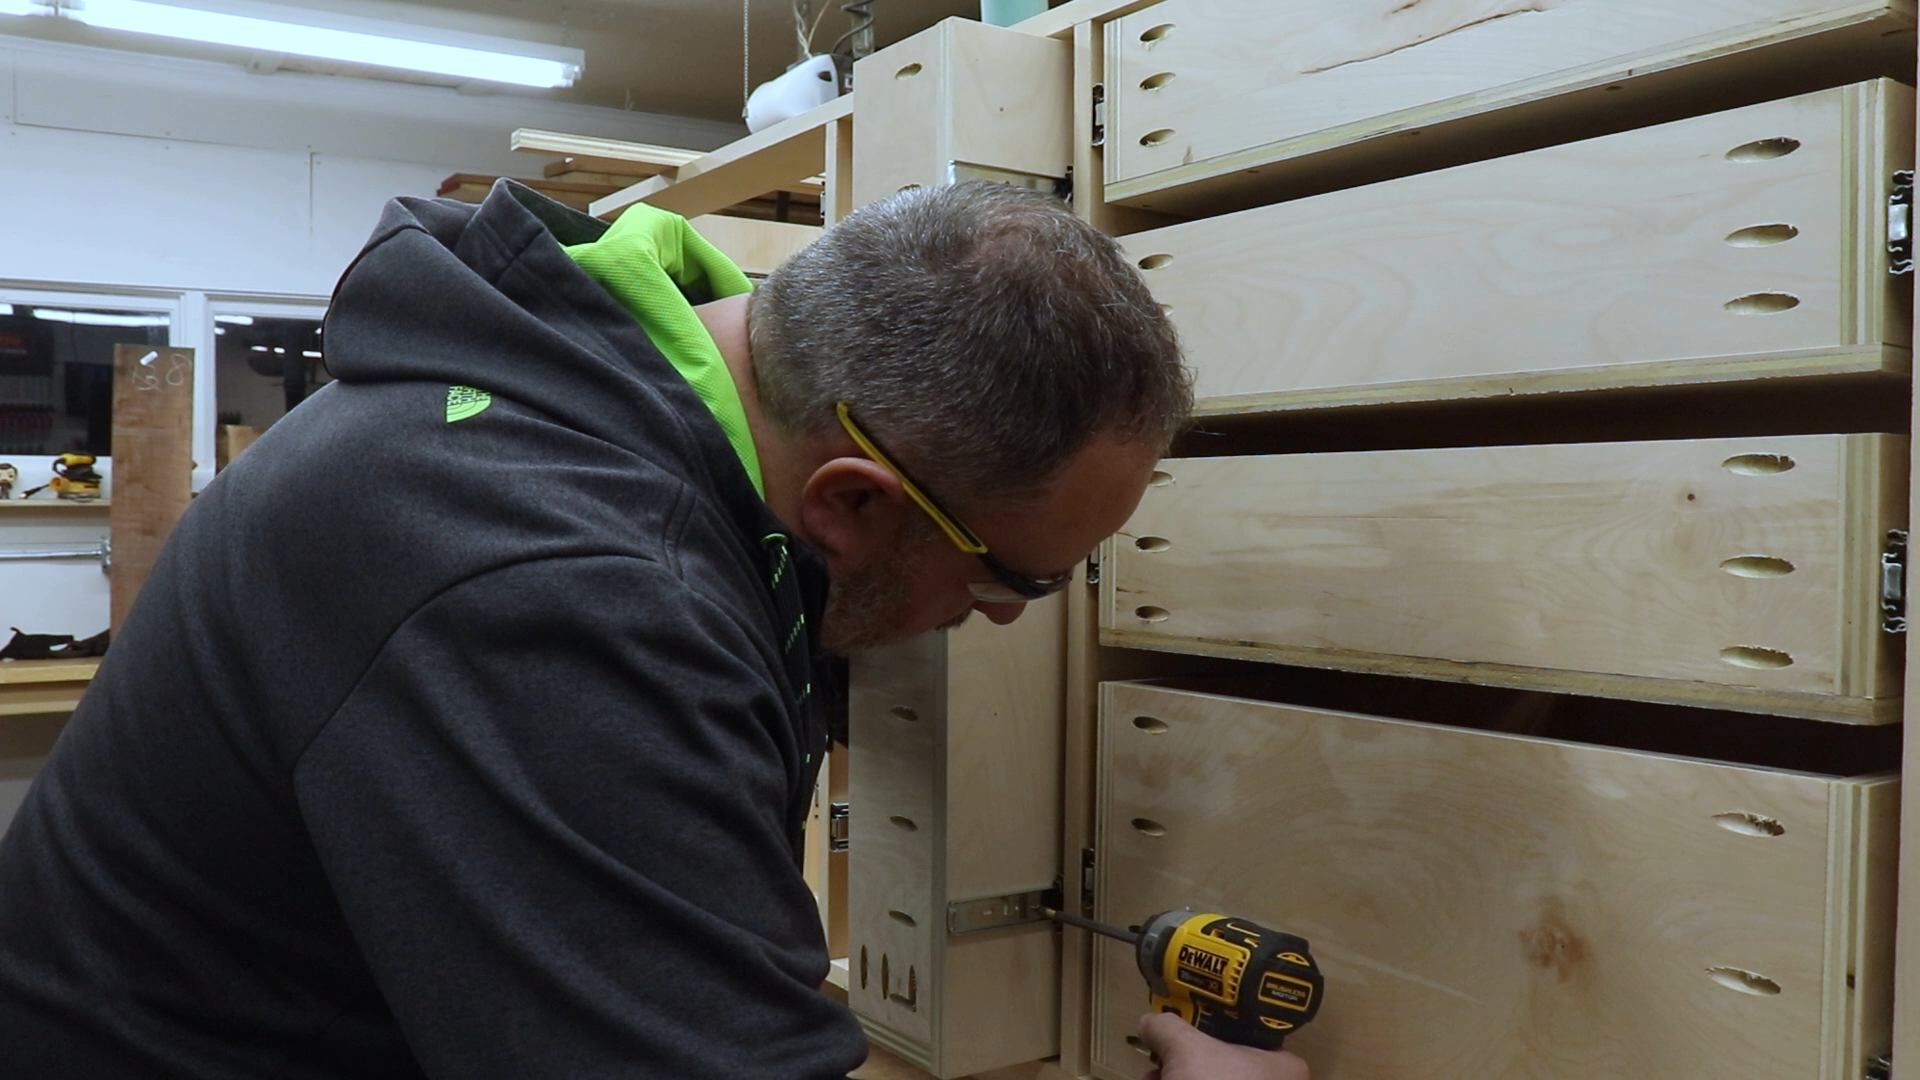
Attaching the Drawer Slides
Adding the Back Screw for the Drawer Slides
After installing the bottom drawer I used a larger spacer to install the rest and it was rinse and repeat.

Using Spacers to Install the Drawers
Make It Fancy
At this point I entered the “hey dummy, it’s just shop furniture” part of the project. I decided to border all of the drawer fronts with with walnut. I cut all of the plywood parts on the table saw.
The Little Bandsaw That Could
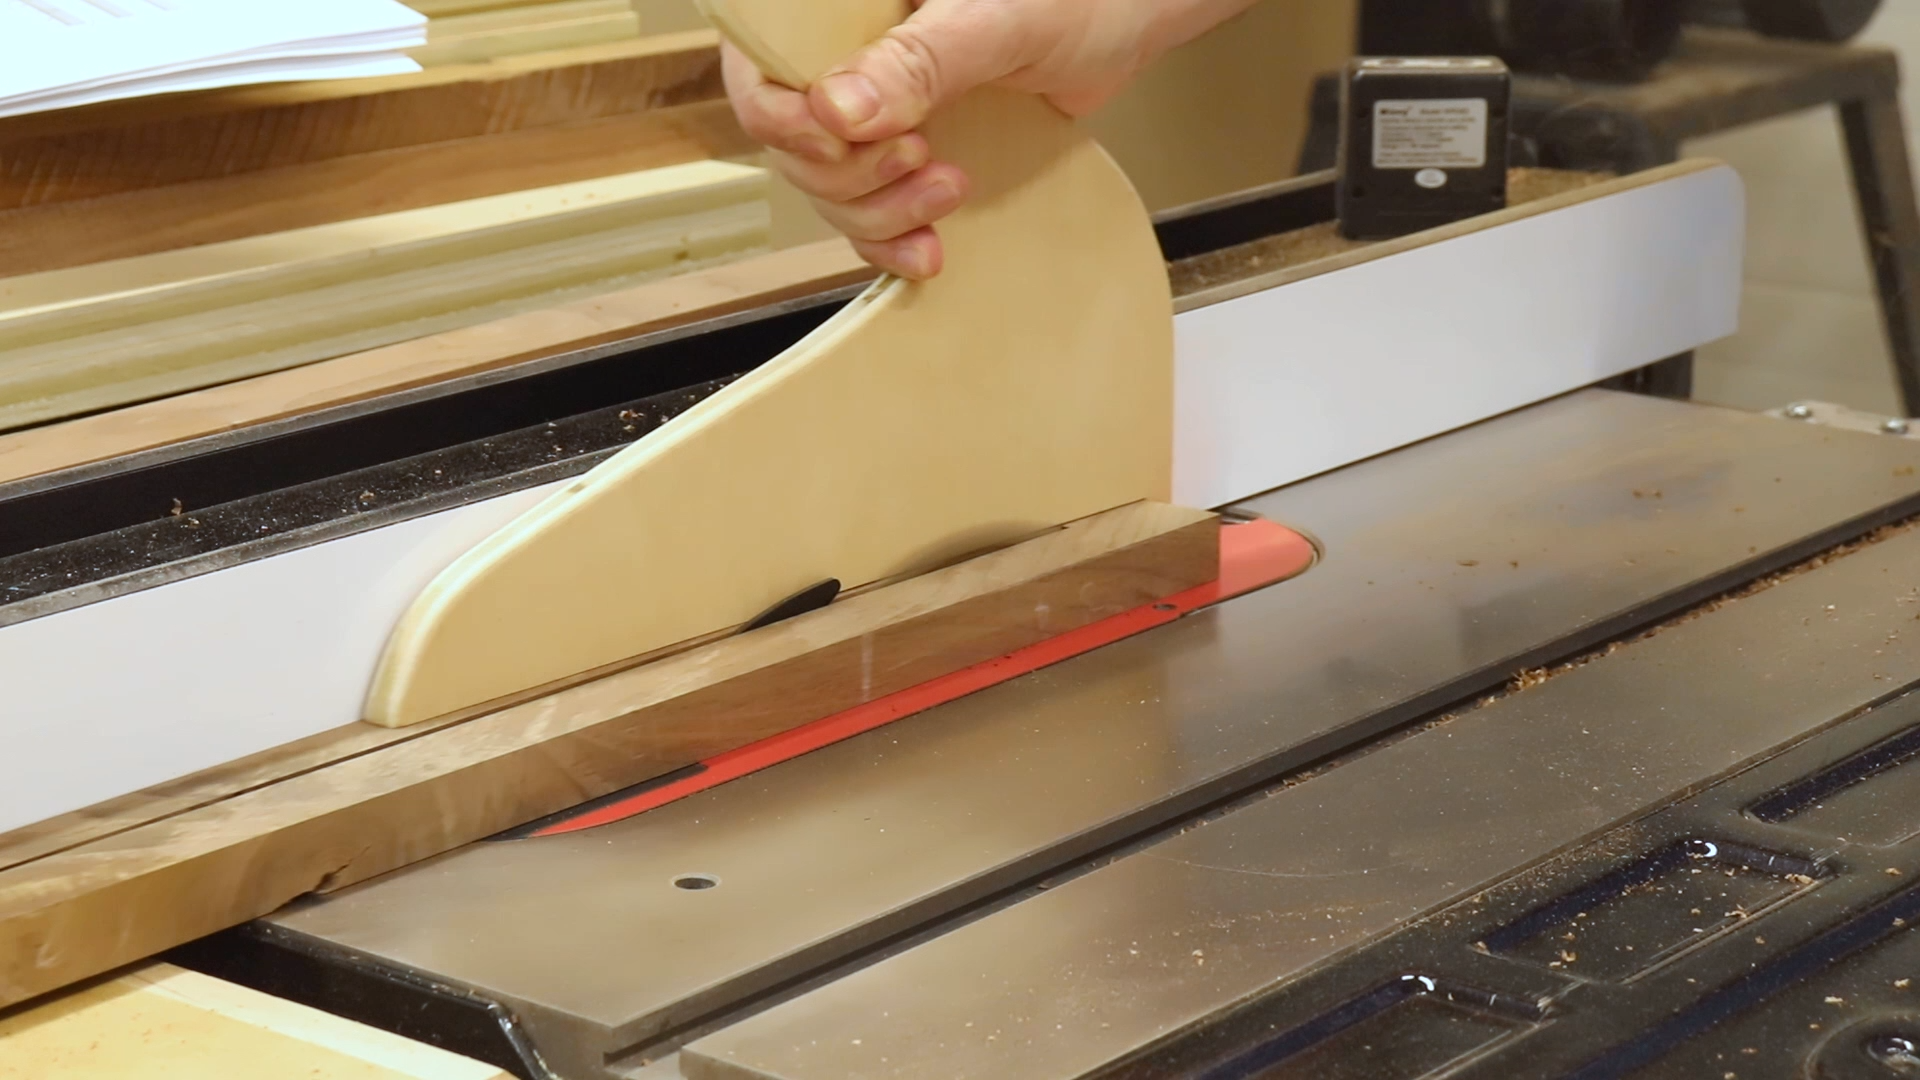
The walnut parts started as a long piece of 8/4 that needed to be resawn to get two boards 3/4″ thick. My little WEN bandsaw was not up to this task. It took me 16 minutes to resaw this board. The saw would stall if I didn’t go painfully slow but I was able to pull it off. However, it was at this moment that I decided to upgrade the band saw. You will hopefully see that in the next video.

Resawing Walnut for the Drawer Front Trim
After resawing I could joint and plane everything down to 3/4″ thick. I then cut the pieces down to size at the table saw.
Cutting the Drawer Front Trim
Applying the Borders
The approach I took to bordering these drawers front was to cut all of the plywood a little oversized lengthwise and then I could glue on the parallel borders. Once the glue cured I took them to my crosscut sled and cut them to length.
Gluing On the Drawer Front Trim

Cutting the Drawer Front to Width
The border pieces were left a little thick so I could flush up both sides. I don’t like using a router on thin stock. I decided to use a hand plane. It was a lot of work but they turned out okay. A couple of days after doing all of that work I saw a clip on Instagram from Guy Dunlap doing this on a router table. His approach would have saved me so much time. You can find that video here: Guy Dunlap’s Instagram
Planing Down the Drawer Front Trim
To speed things up a bit, I just used some bandy clamps and brad nails to attach the other two border pieces.
Attaching the Side Trim for the Drawer Front Borders
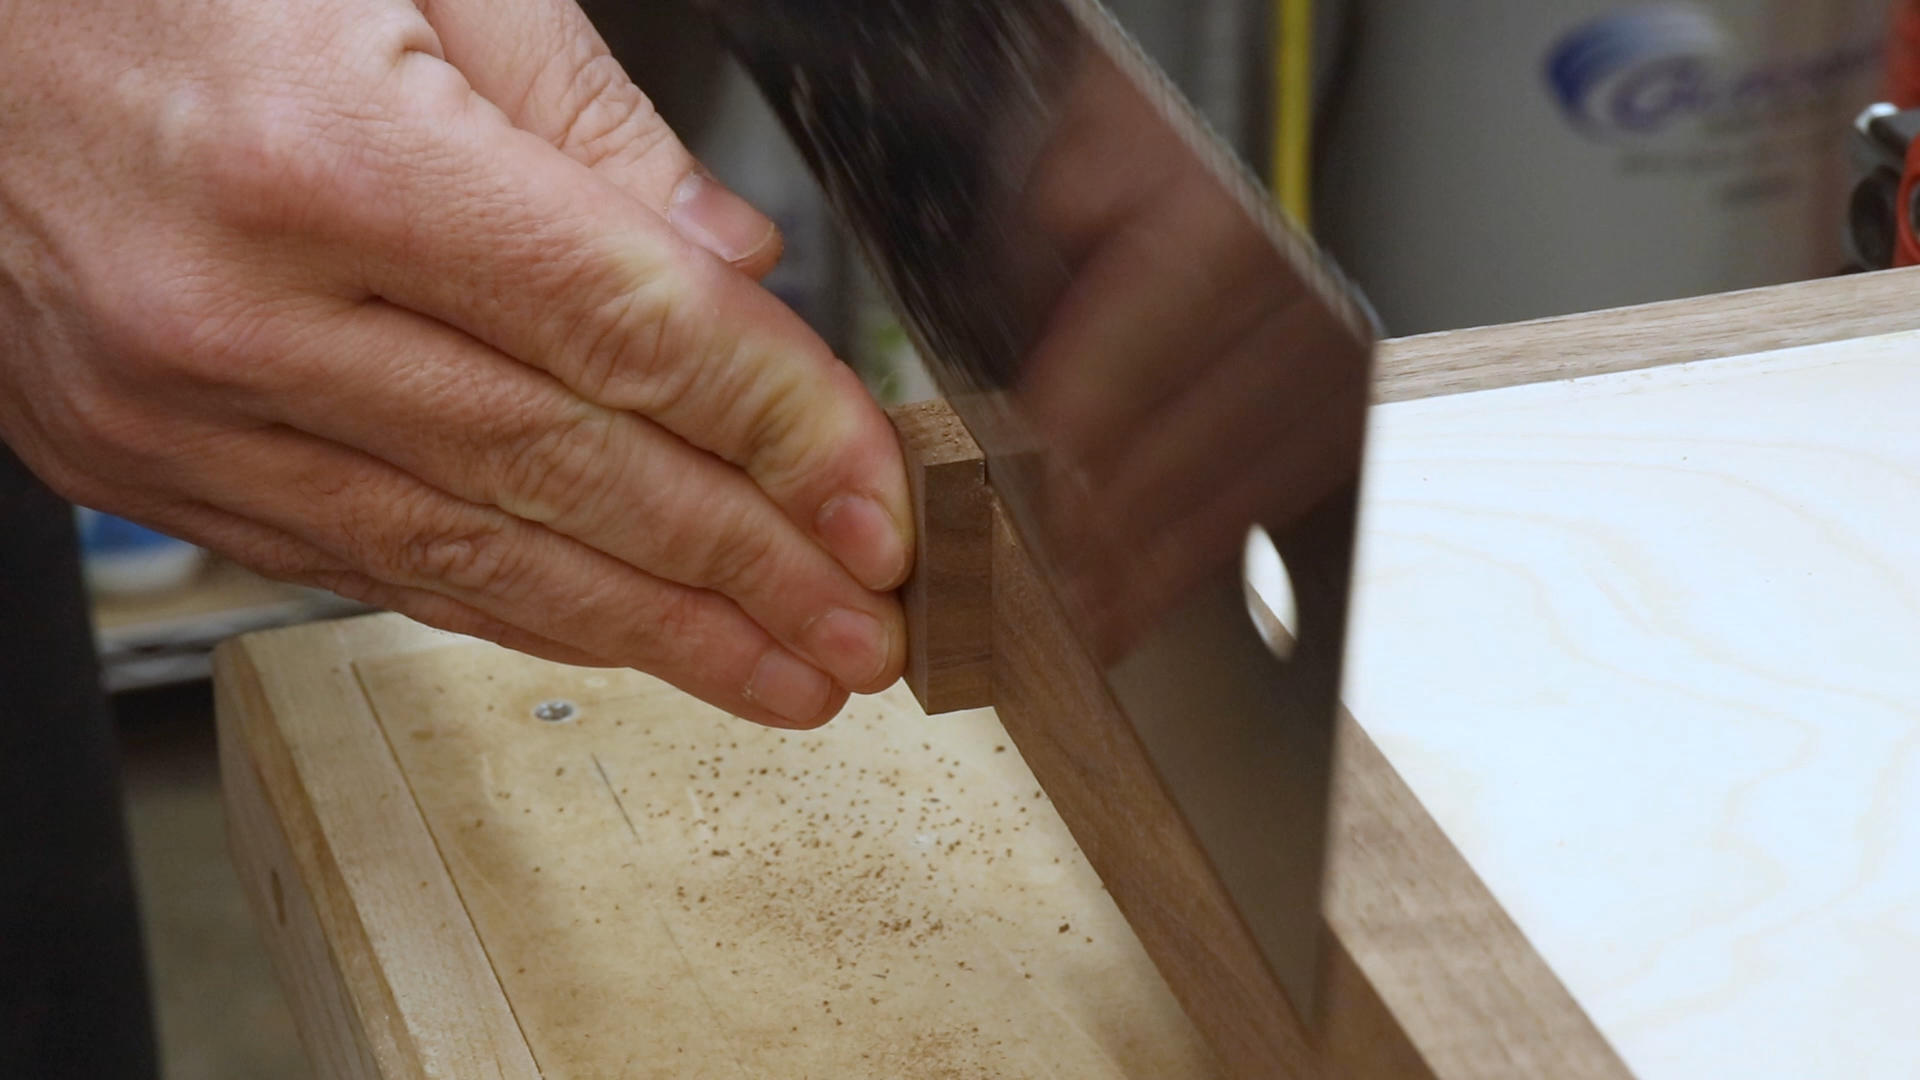
I left these pieces a bit long so I trimmed the ends. Using a piece of scrap as a standoff allowed me to cut these ends perfectly on the table saw. The scrap piece is only required when cutting the first side. I flipped the front and ran it through the table saw normally to cut the other side.
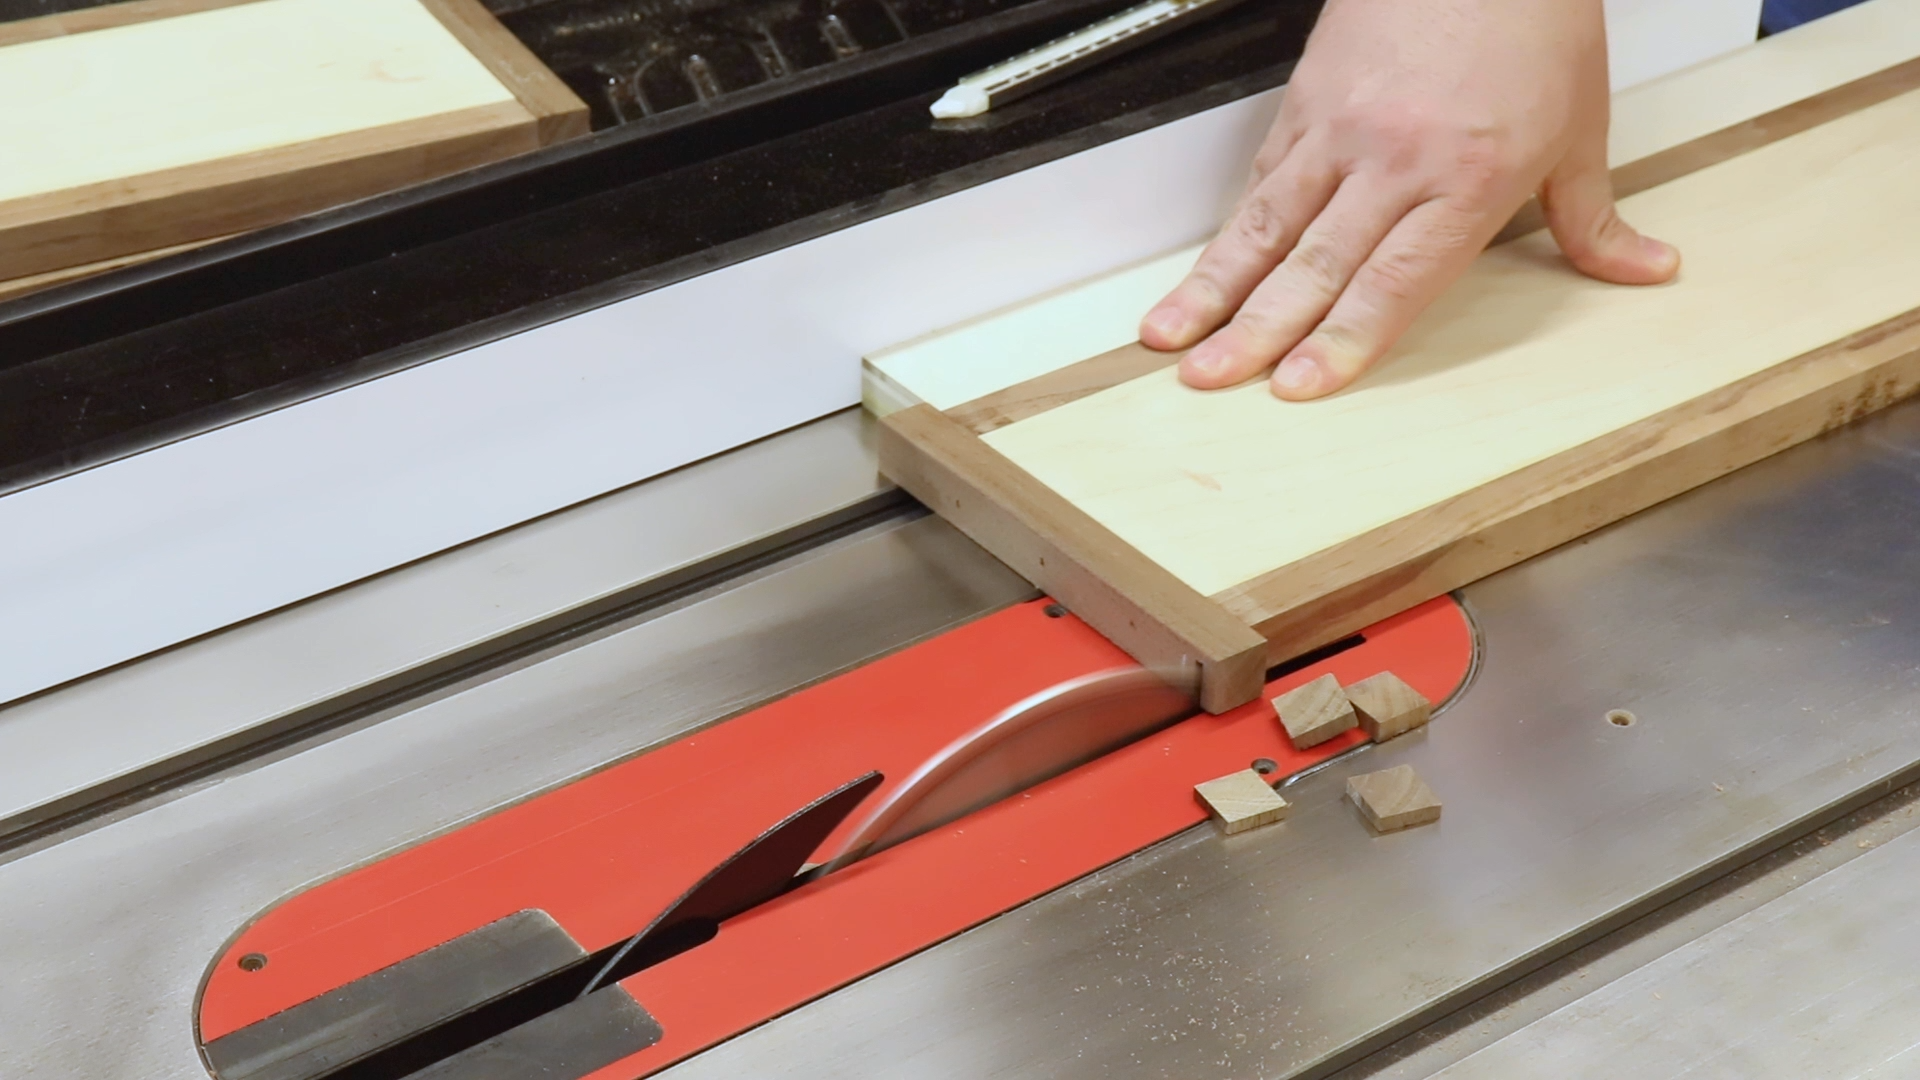
Trimming the Drawer Front Borders
And then more planing to flush up these ends.
Attaching the Drawer Fronts
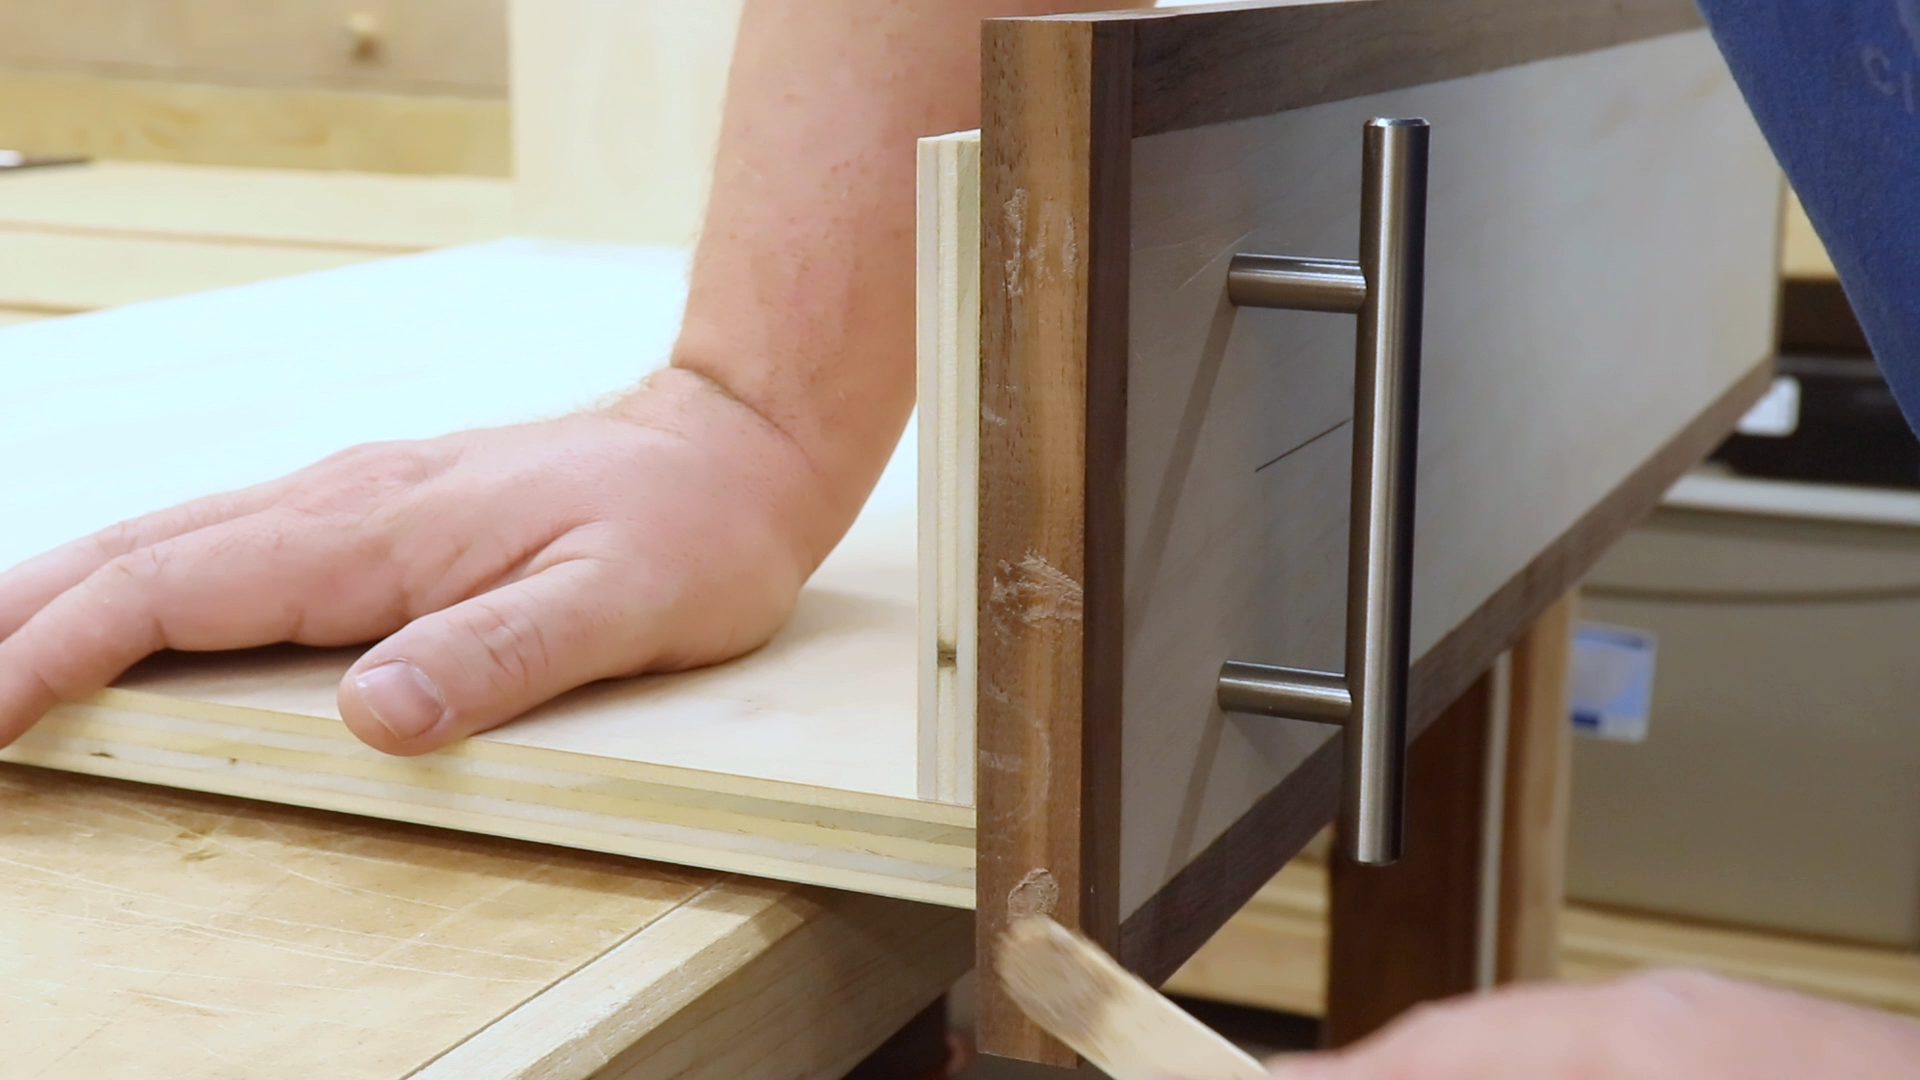
Now that the drawer fronts were complete I could attach them to the drawers. This was very easy since I used pulls that are attached with screws that run through the entire drawer front. I clamped a piece of plywood to the bottom of the cabinet. This supported and aligned the bottom drawers and pull outs. I used spacers to stack the remaining fronts. Unfortunately, I misplaced the footage of drilling the holes for the pulls. That was done using the Kreg drawer pull jig. Using those holes I could temporarily attach the fronts to the drawers which allowed me to pull out the drawer. I then drilled holes for the inside and drove in screws to permanently attach the fronts. After removing the temporary screws I drilled out the holes for the drawer pull hardware and installed the drawer pulls.
Temporarily Attaching the Drawer Fronts
Attaching the Drawer Fronts
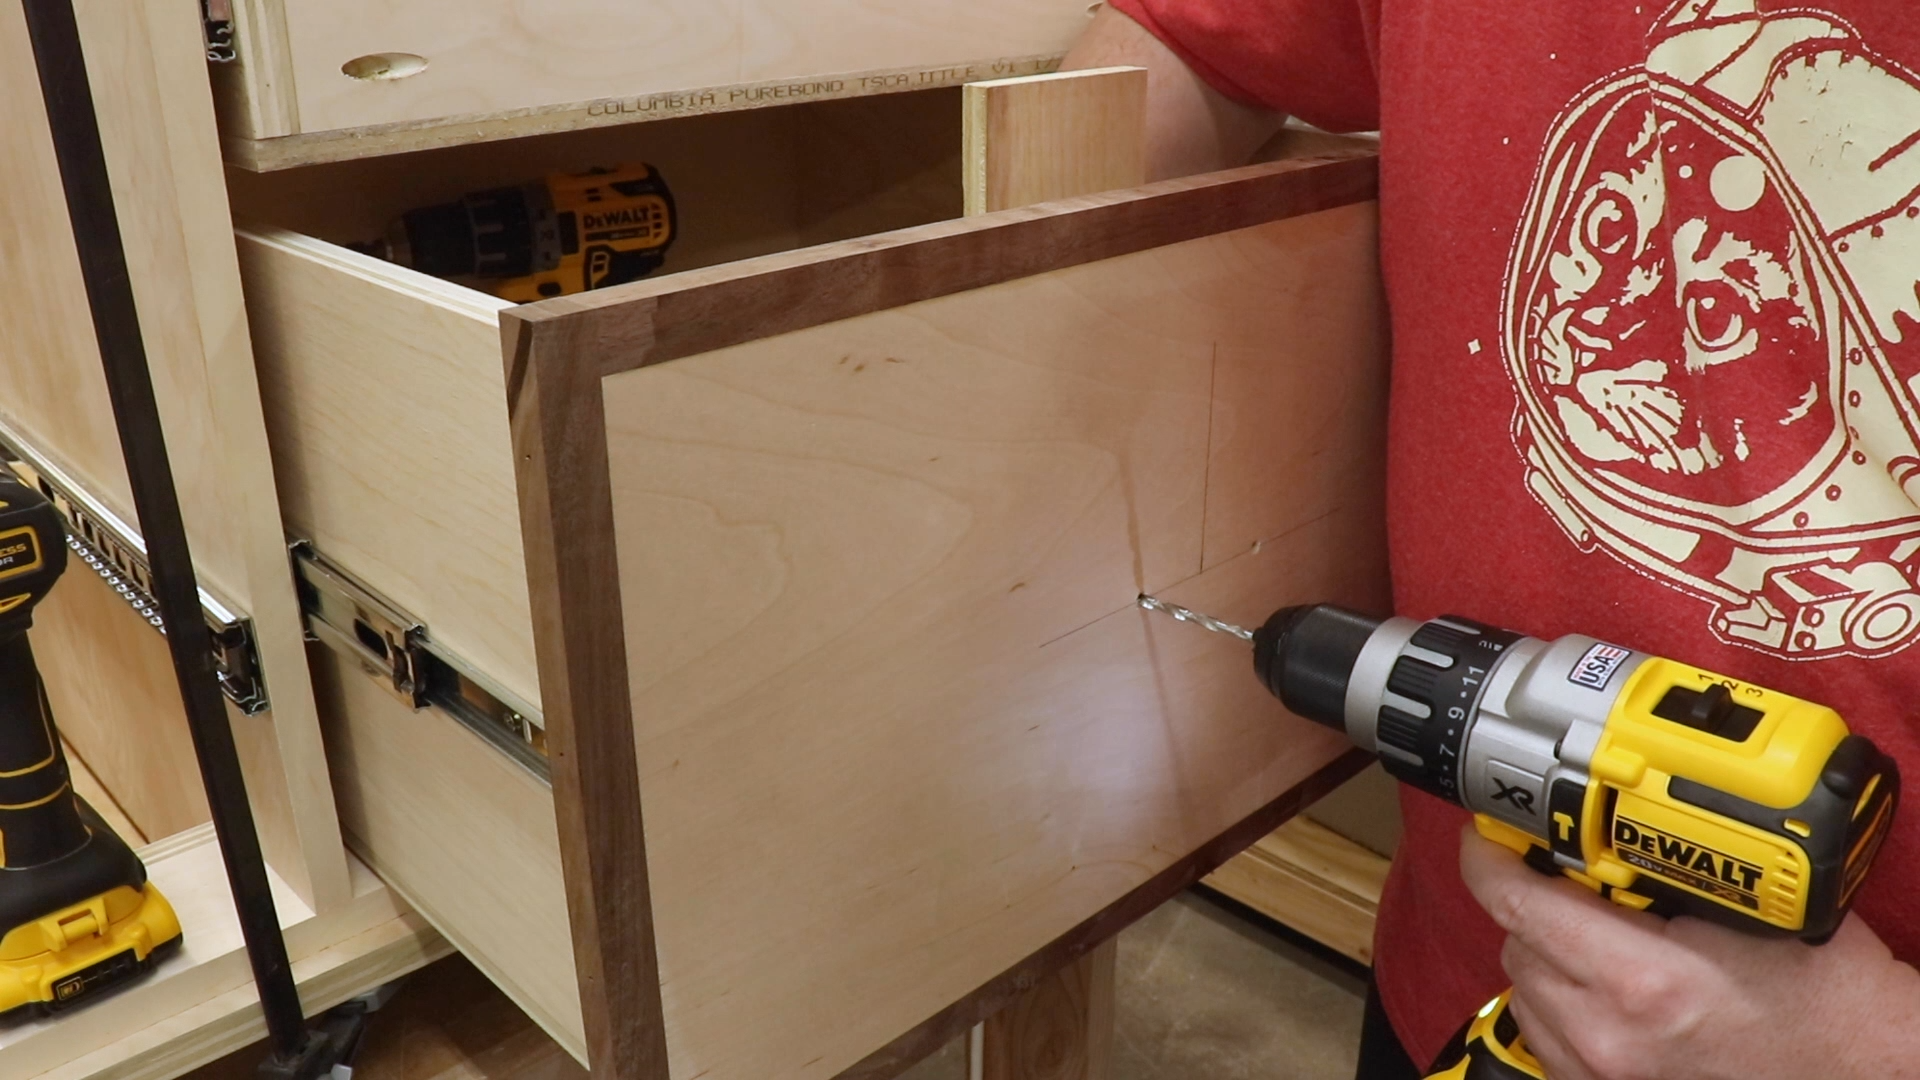
Drill the Holes for the Drawer Pulls
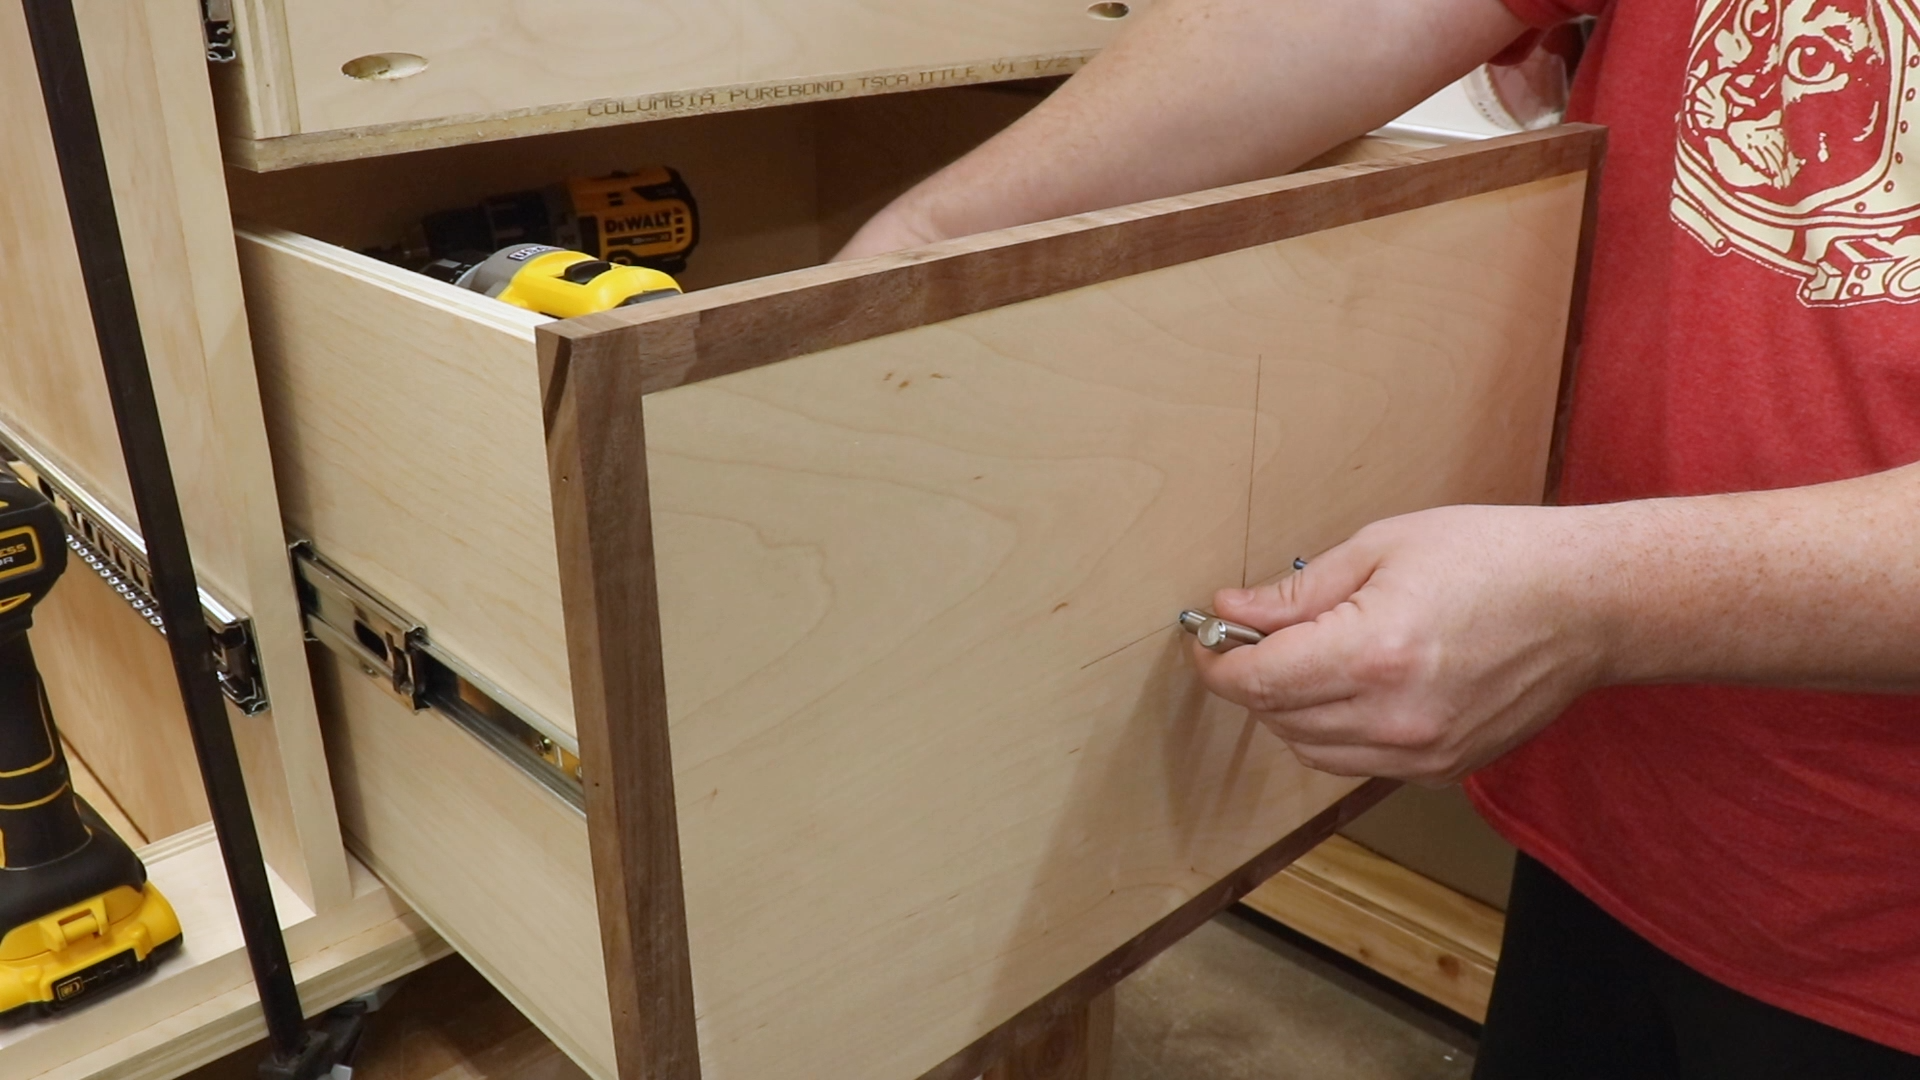
Attaching the Drawer Pulls
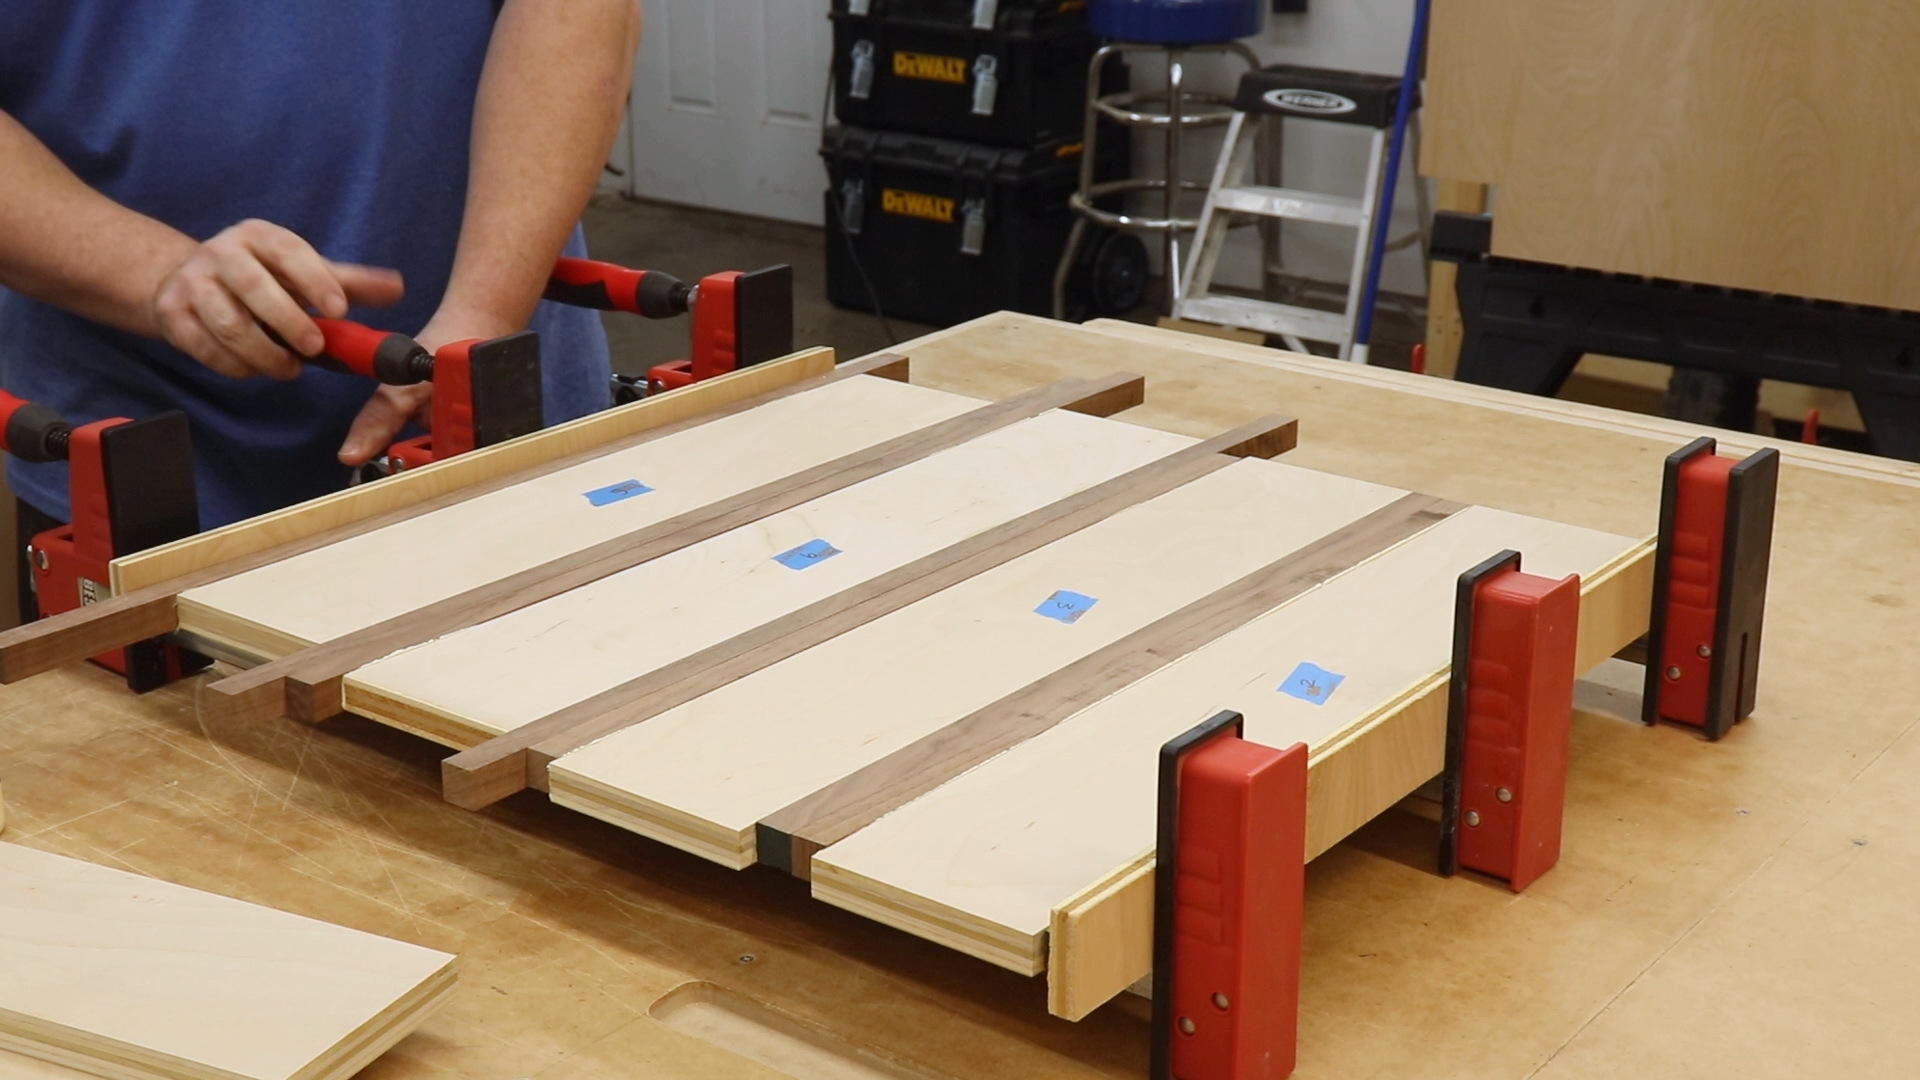
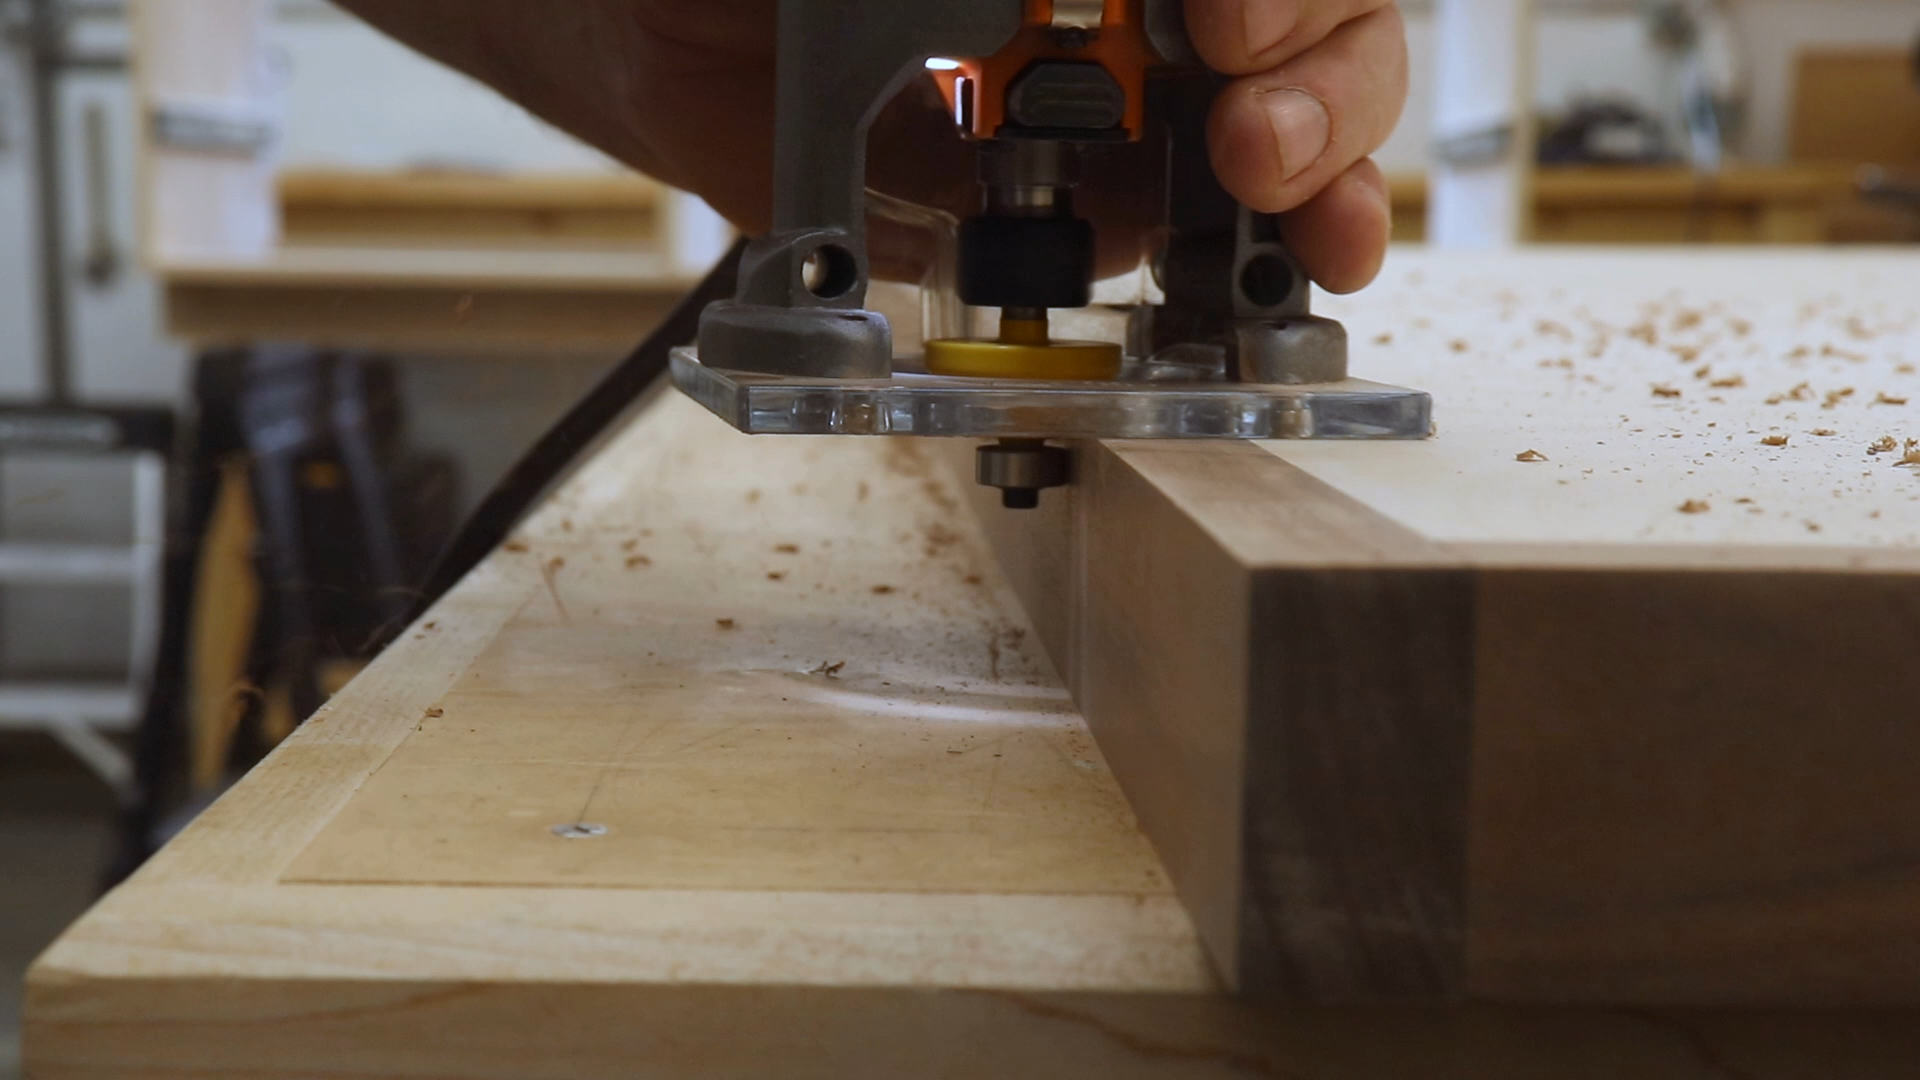
Making the Top
Back at the table saw I cut out all of the pieces for the top assembly. This included one layer the full size of the top and several stretchers to make the top two layers thick. I attached the stretchers to the underside of the top layer so they would sit on top of the sides and dividers. Then, I positioned the stretchers so they were a little proud of the top. I could then go back and flush everything up with my trim router.
Cutting the Top Pieces
Attaching the Sub Top
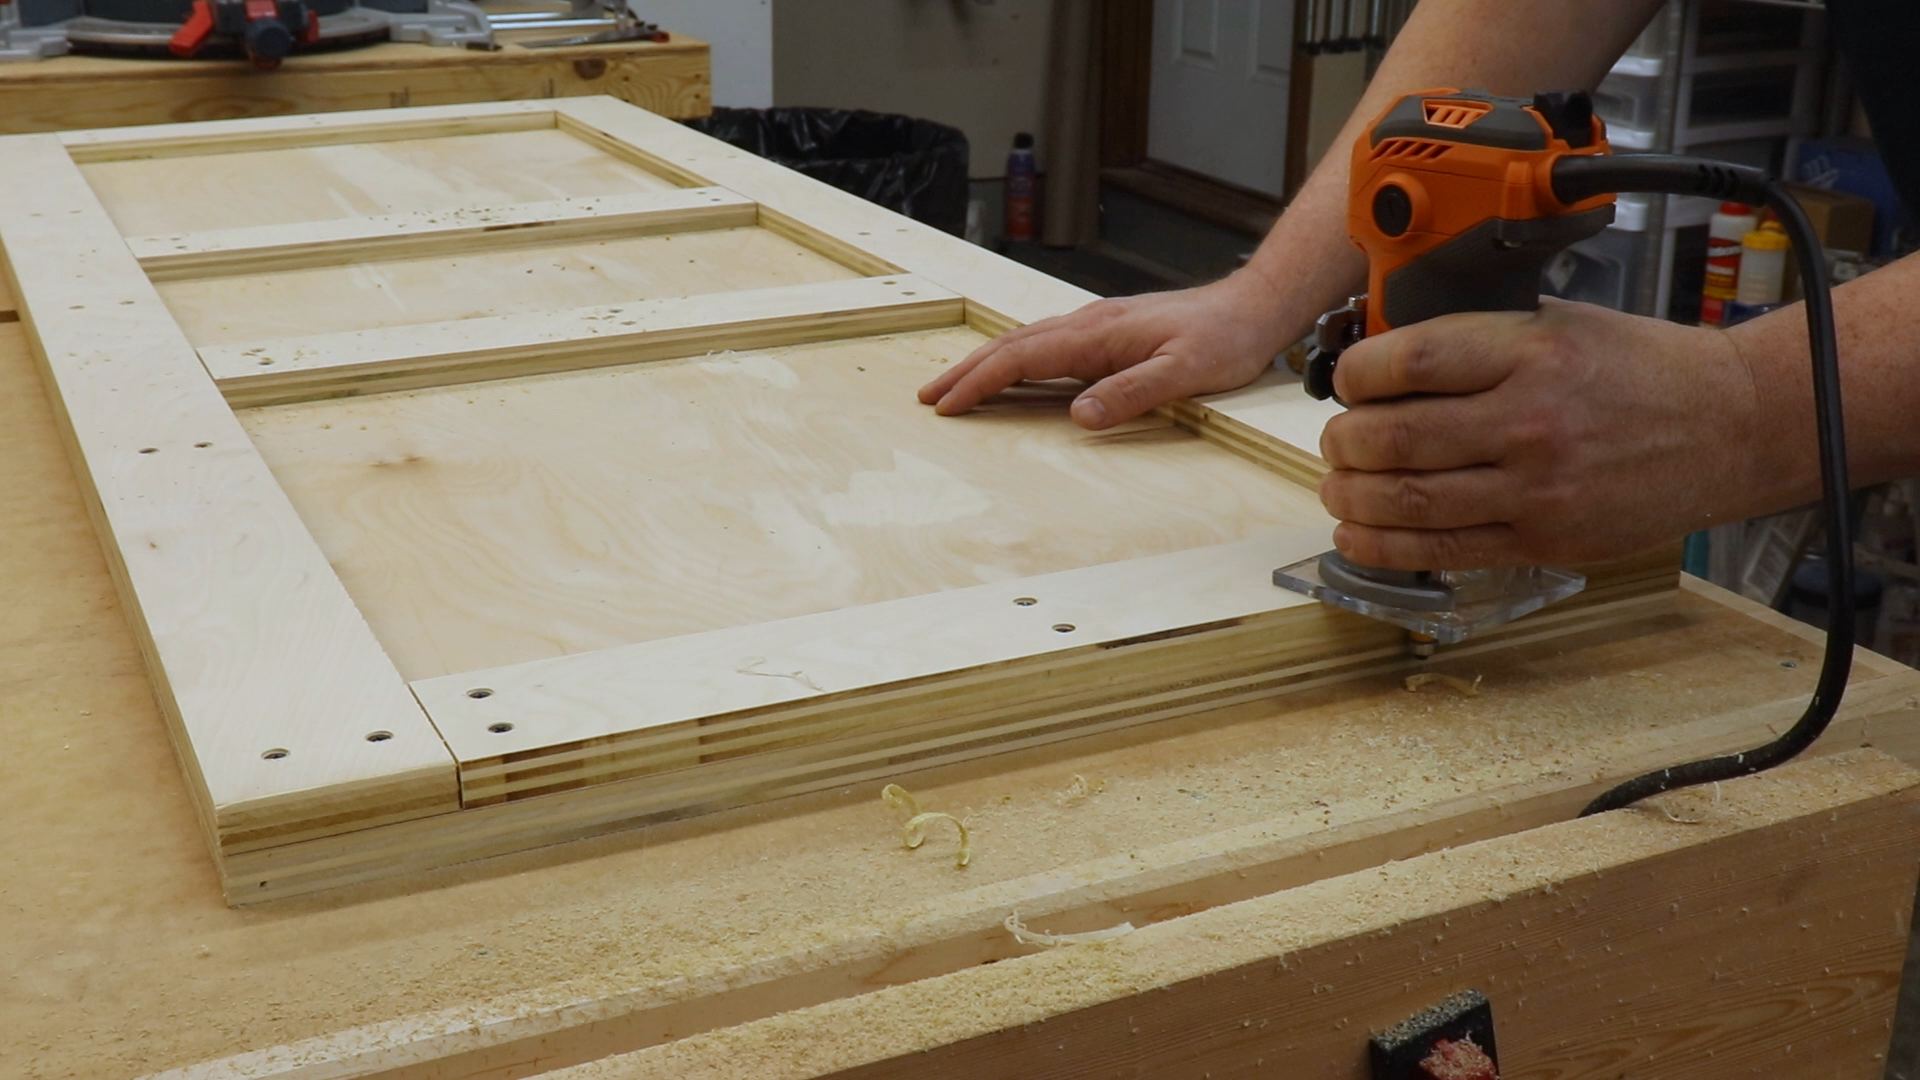
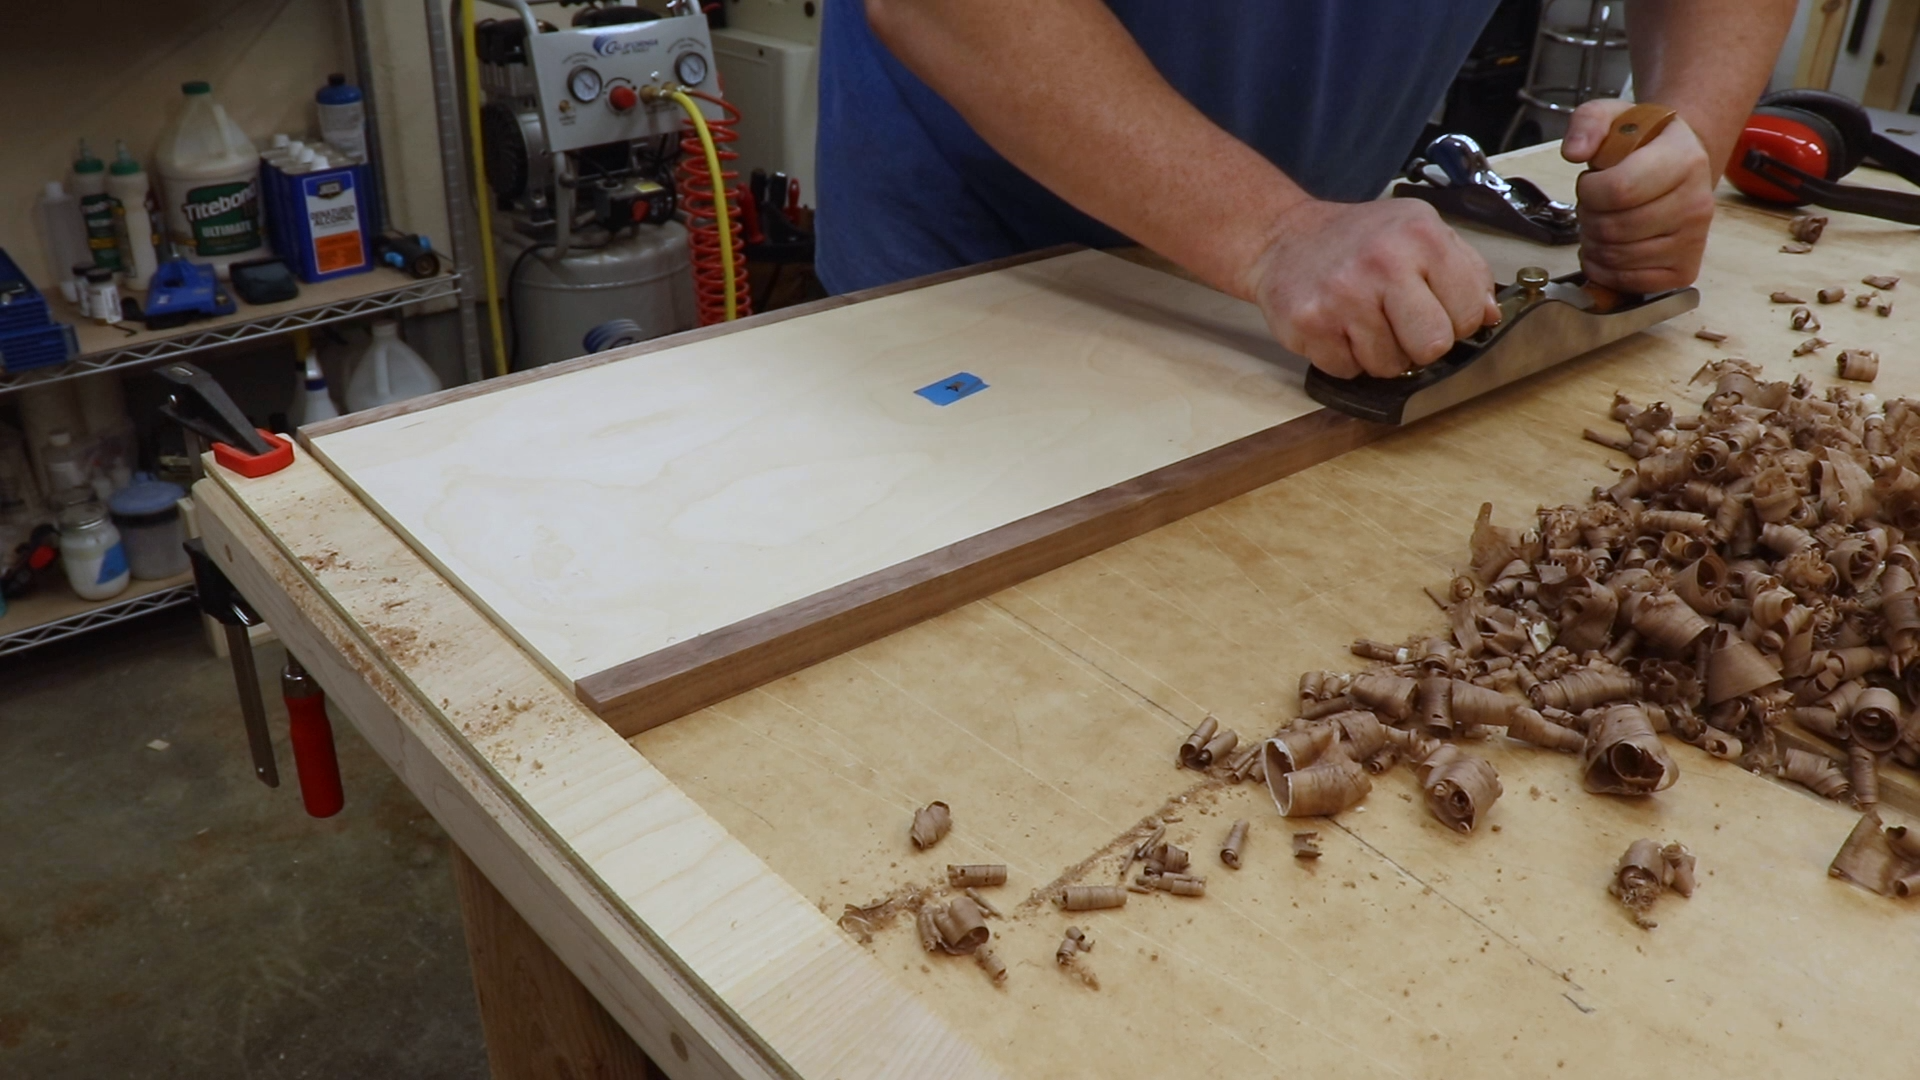
Flush Trimming the Sub Top
Next, I glued and clamped the front trim.
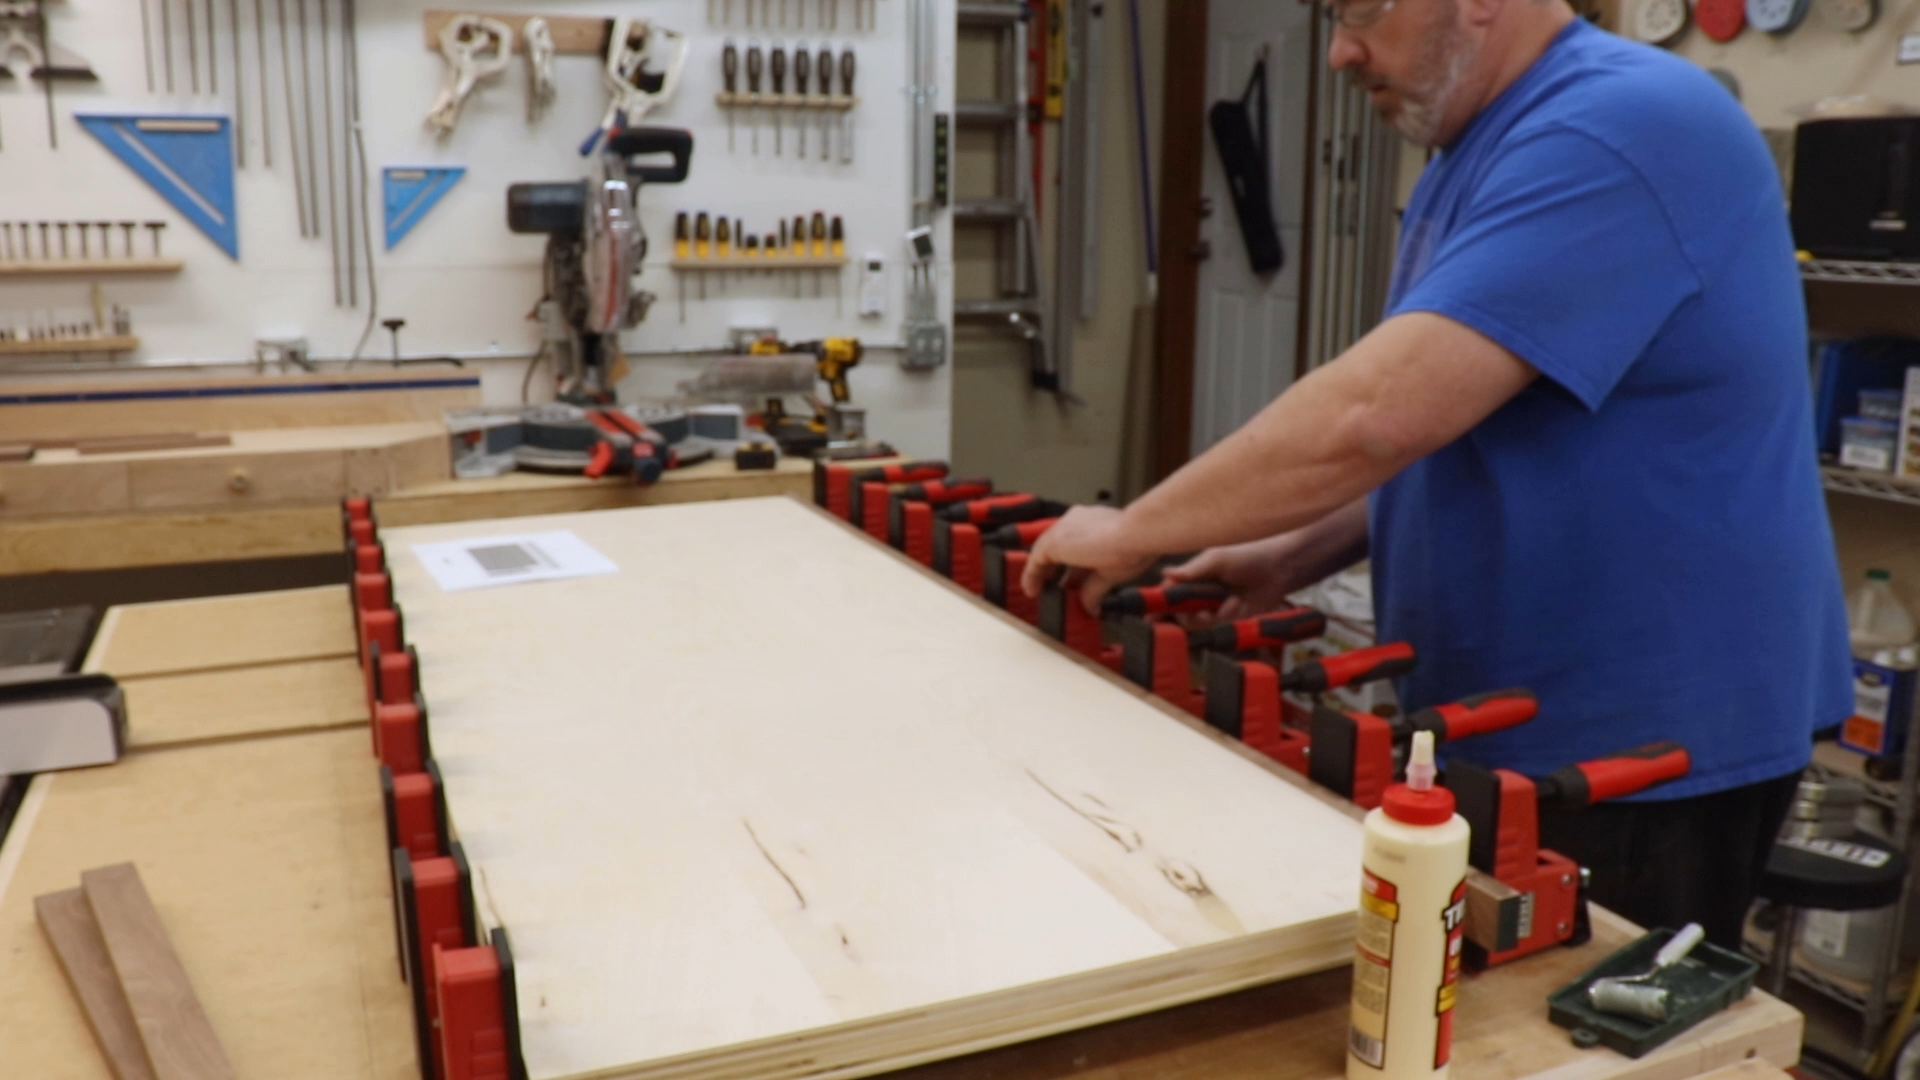
Attaching the Front Trim
I sanded down some walnut and mixed the dust with some glue. This produced a filler which I applied over the brad nail holes on all of the drawer front borders. The drawer fronts were then sanded to 220. I sanded everything else to 220 before assembly.
Filling the Nail Holes

Attaching the Top Side Trim
Once the front trim had cured I glued on the side trim pieces. I then cut the front trim piece to flush with the sides.
Cutting the Top Trim to Length
Next, I used a hand plane to flush up the side trim pieces with the top.
Finishing Touches (zing)
I used a trim router to add a chamfer to the front and sides of the top.
Adding a Chamfer to the Top
Everything got another quick sanding to 220 to prep for finish.

Sanding Everything to 220
I initially decided to brush on some water based polyurethane. That’s tedious and boring. I headed out to Harbor Freight and picked up one of their HVLP guns. It made quick work of spraying down the cabinet, top, and drawer fronts.
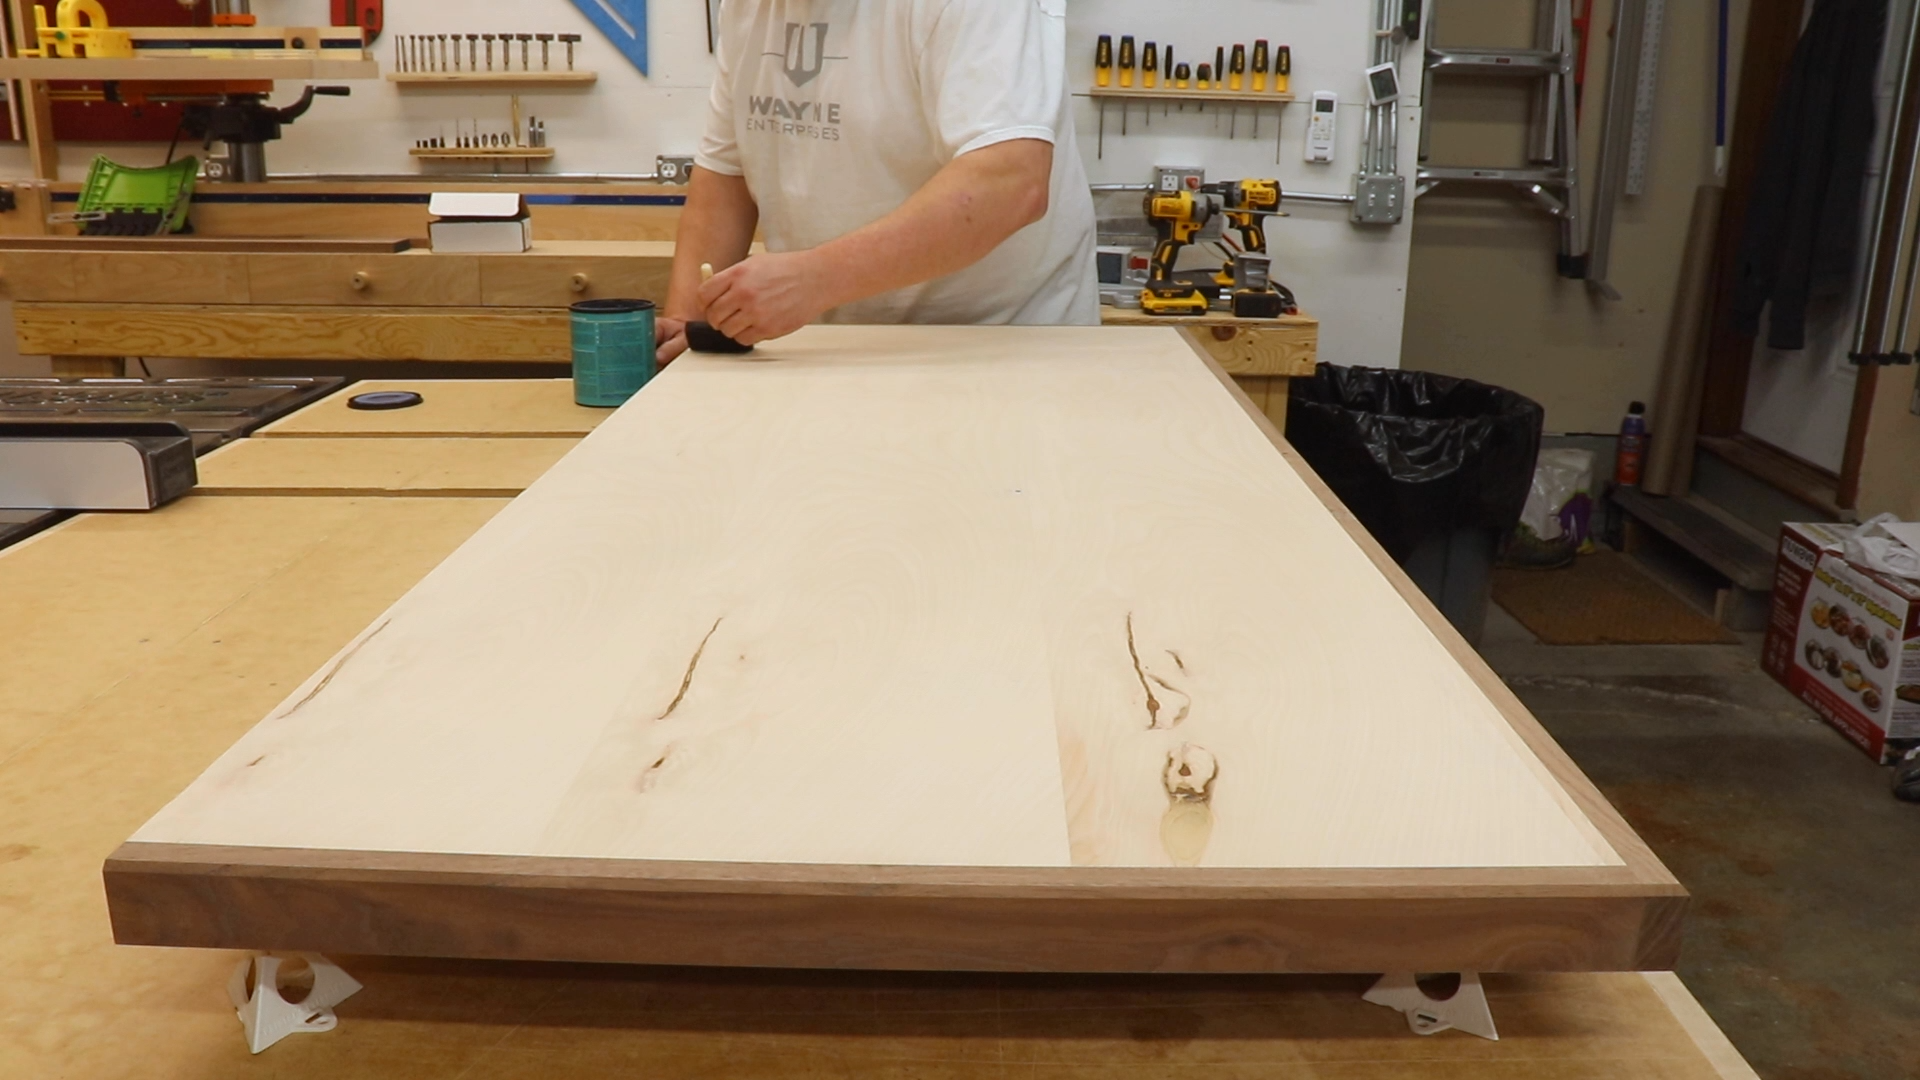
Brushing the Finish
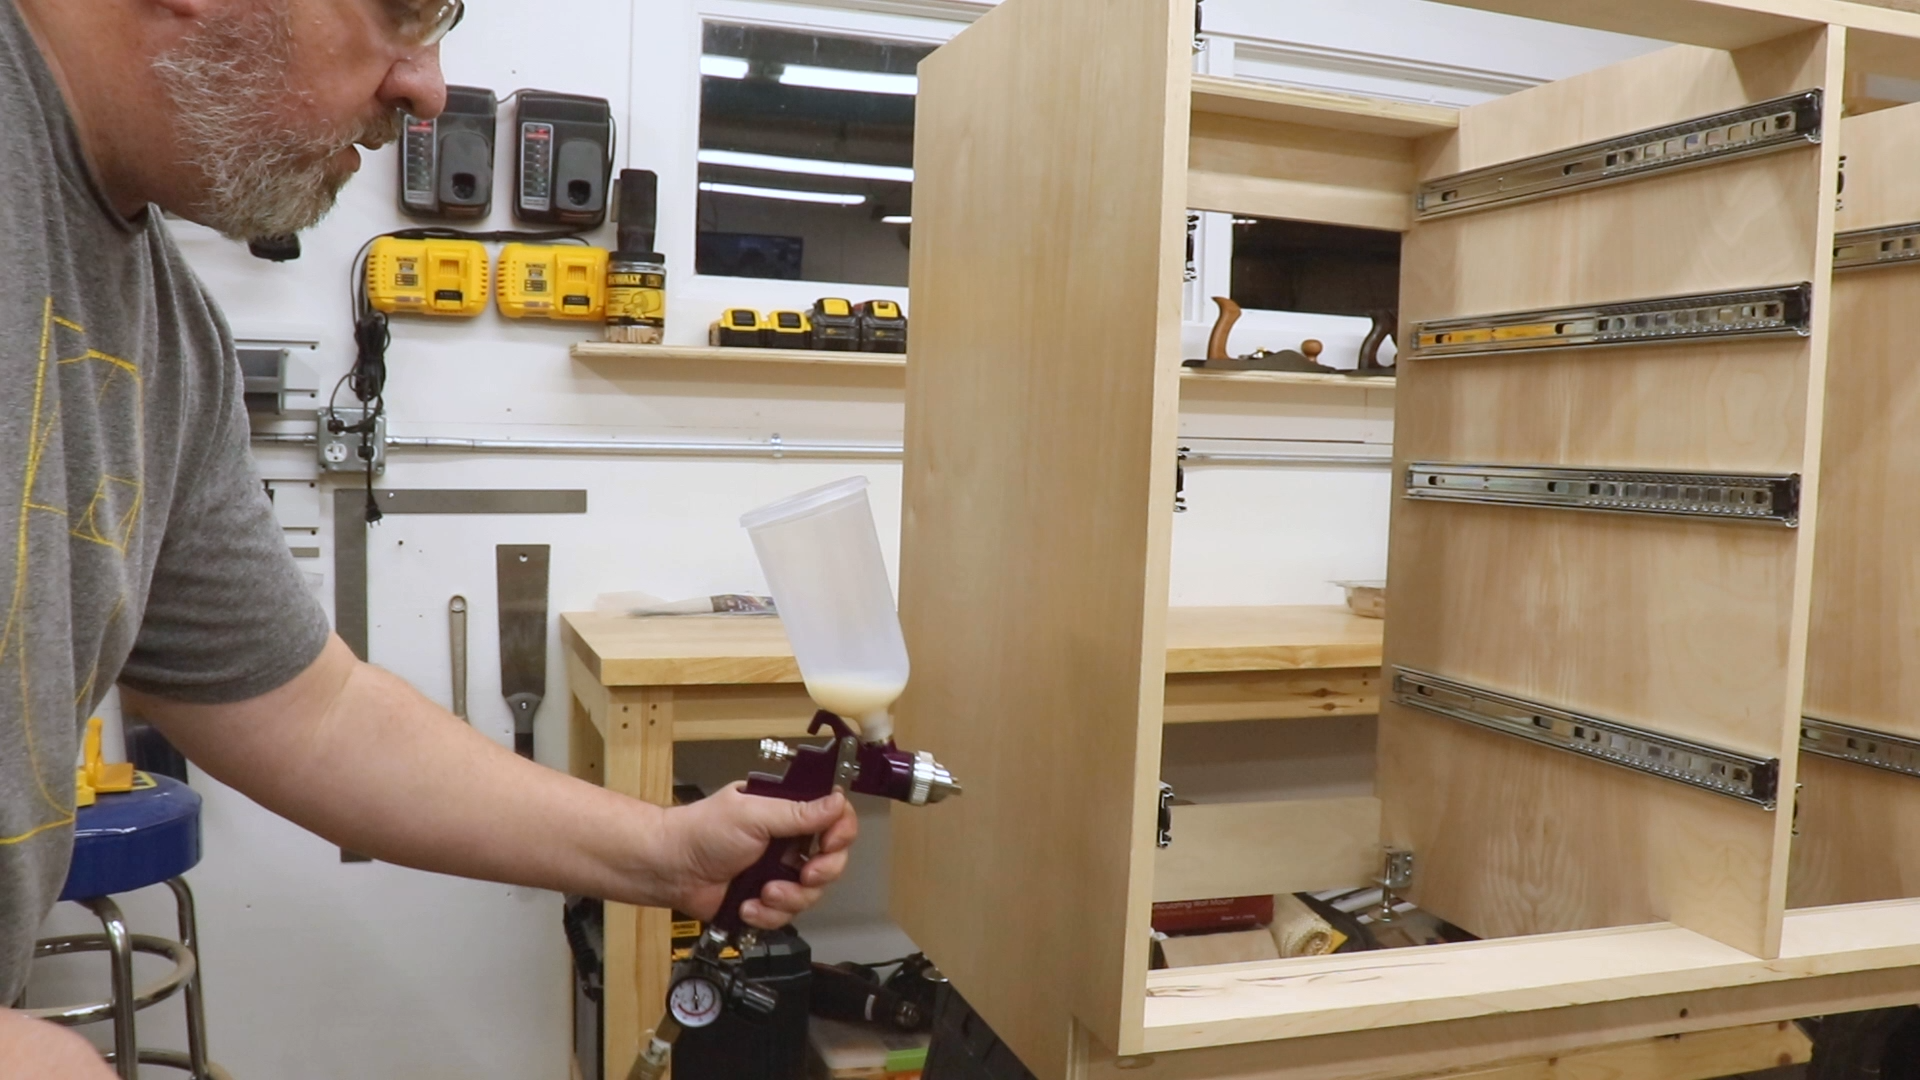
Spraying the Finish
I used a piece of walnut to cover the toe kick.
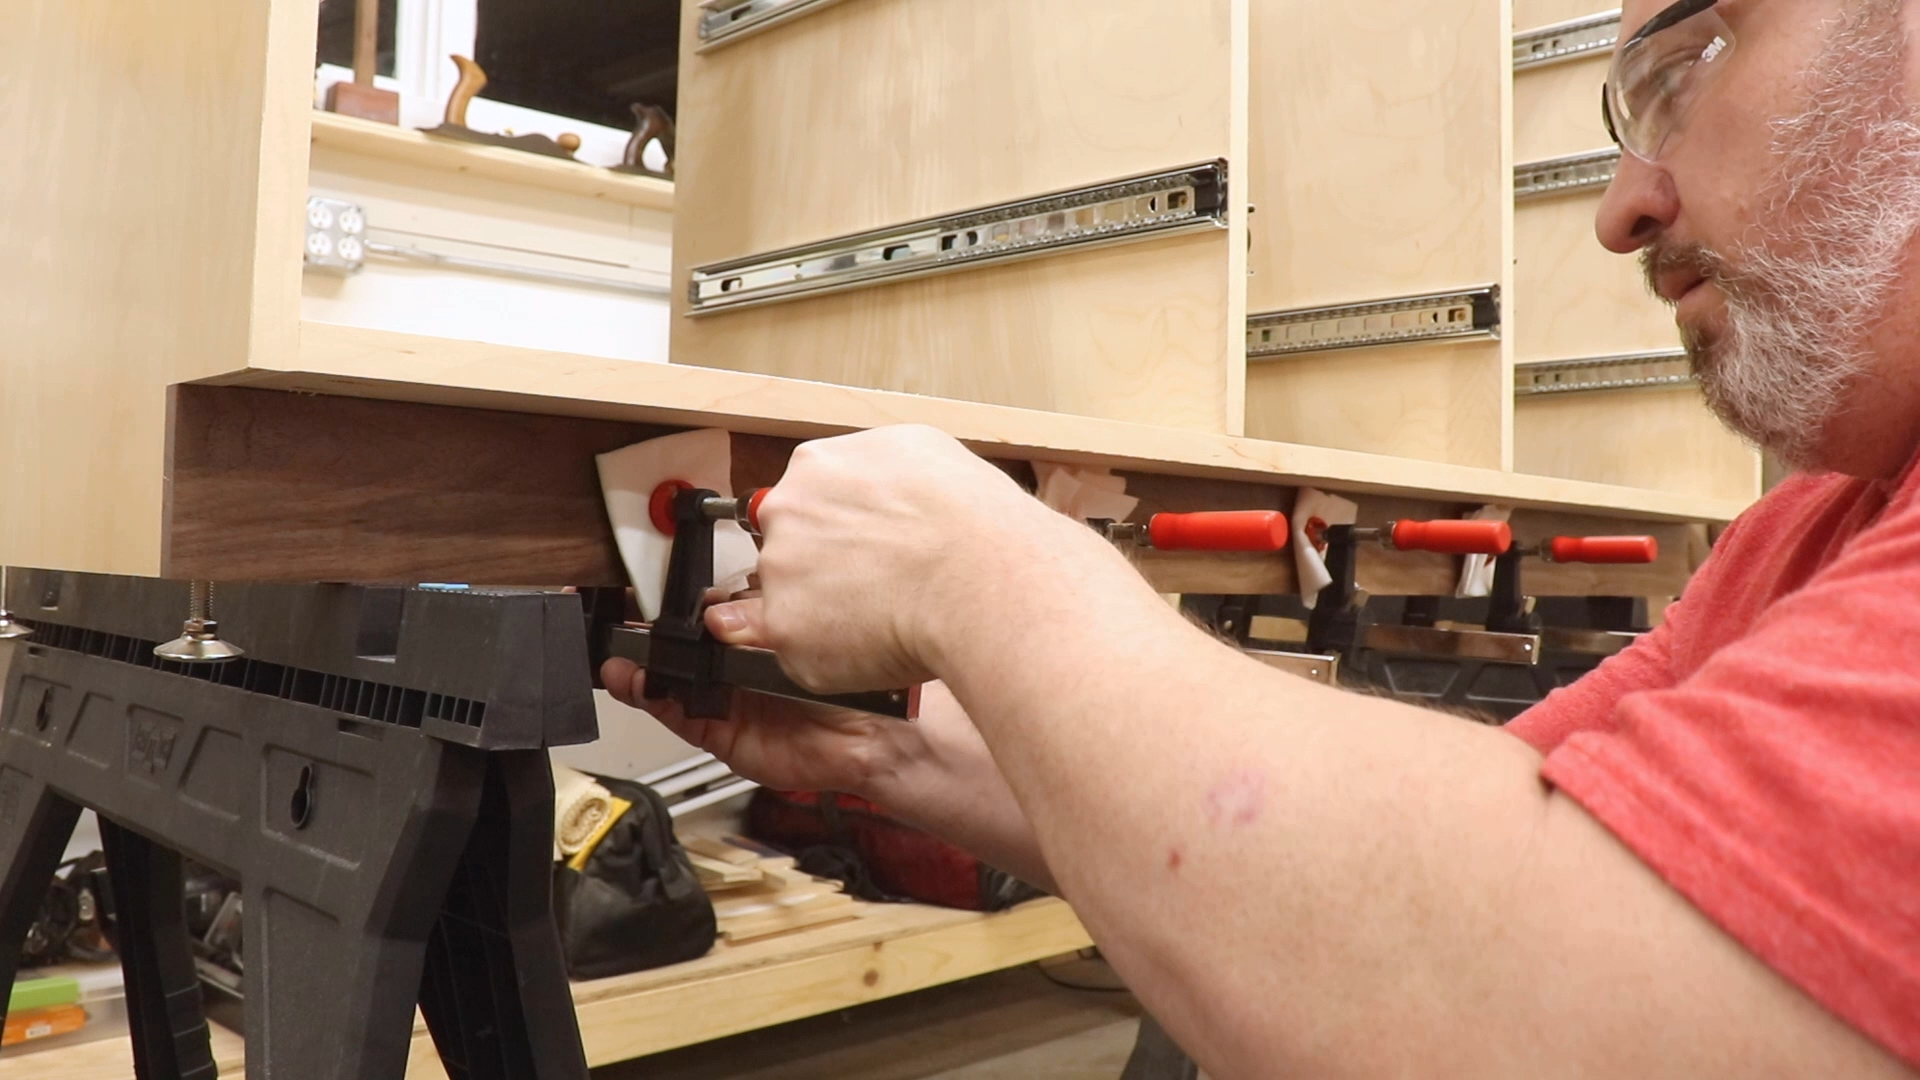
Attaching the Toe Kick
The drawer pulls were reattached.
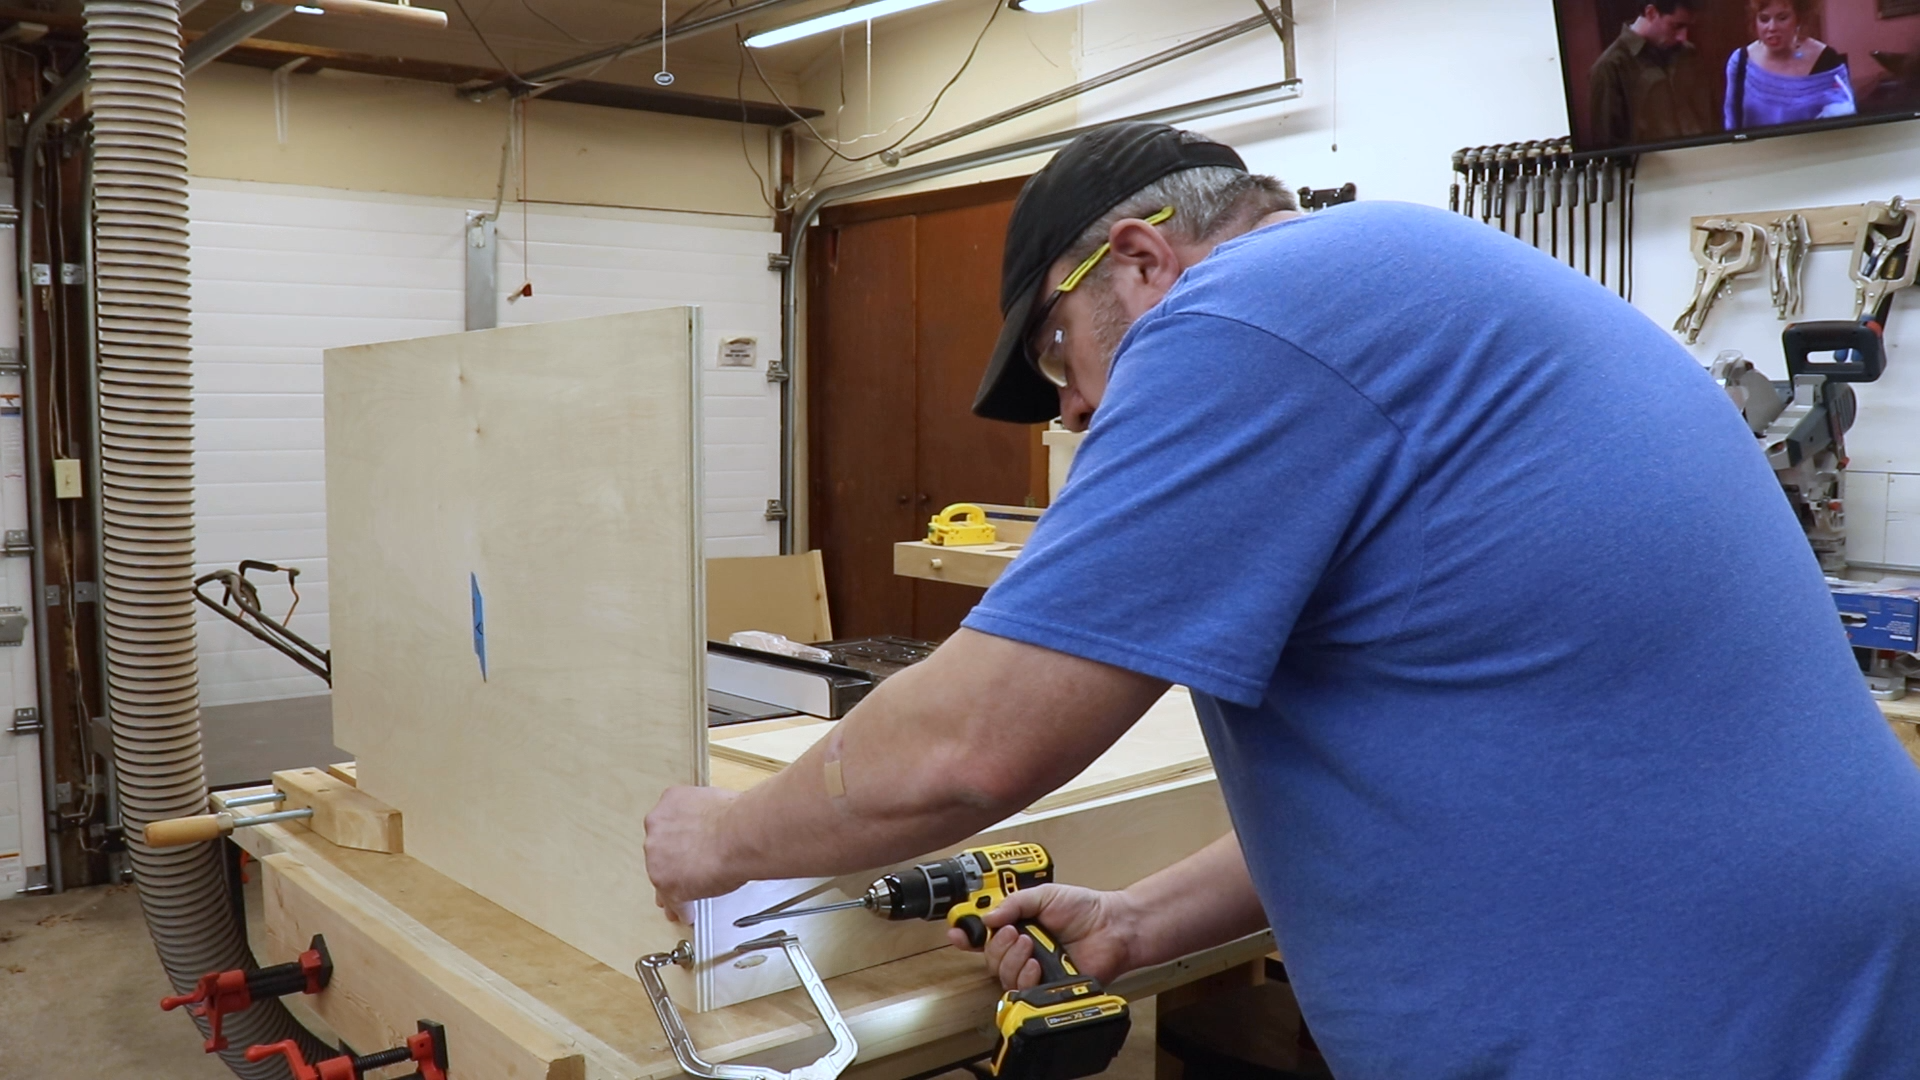
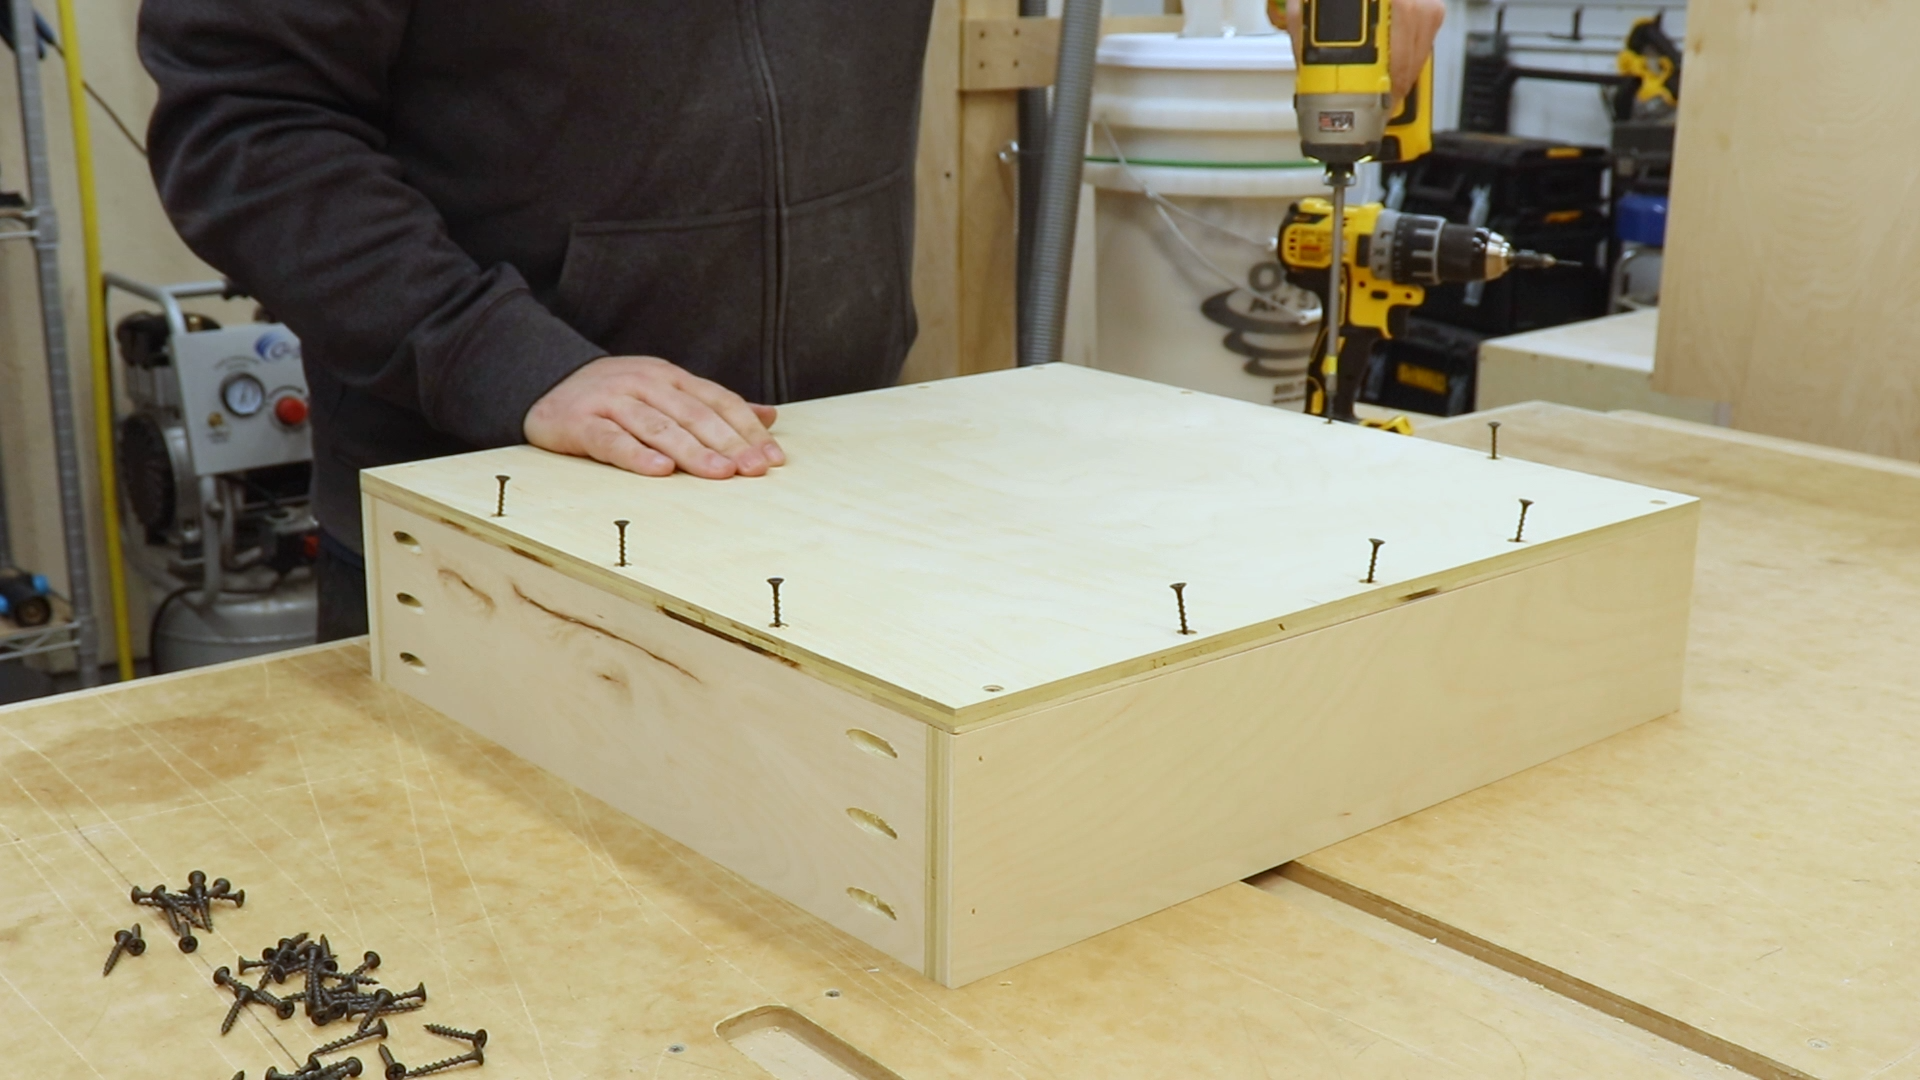
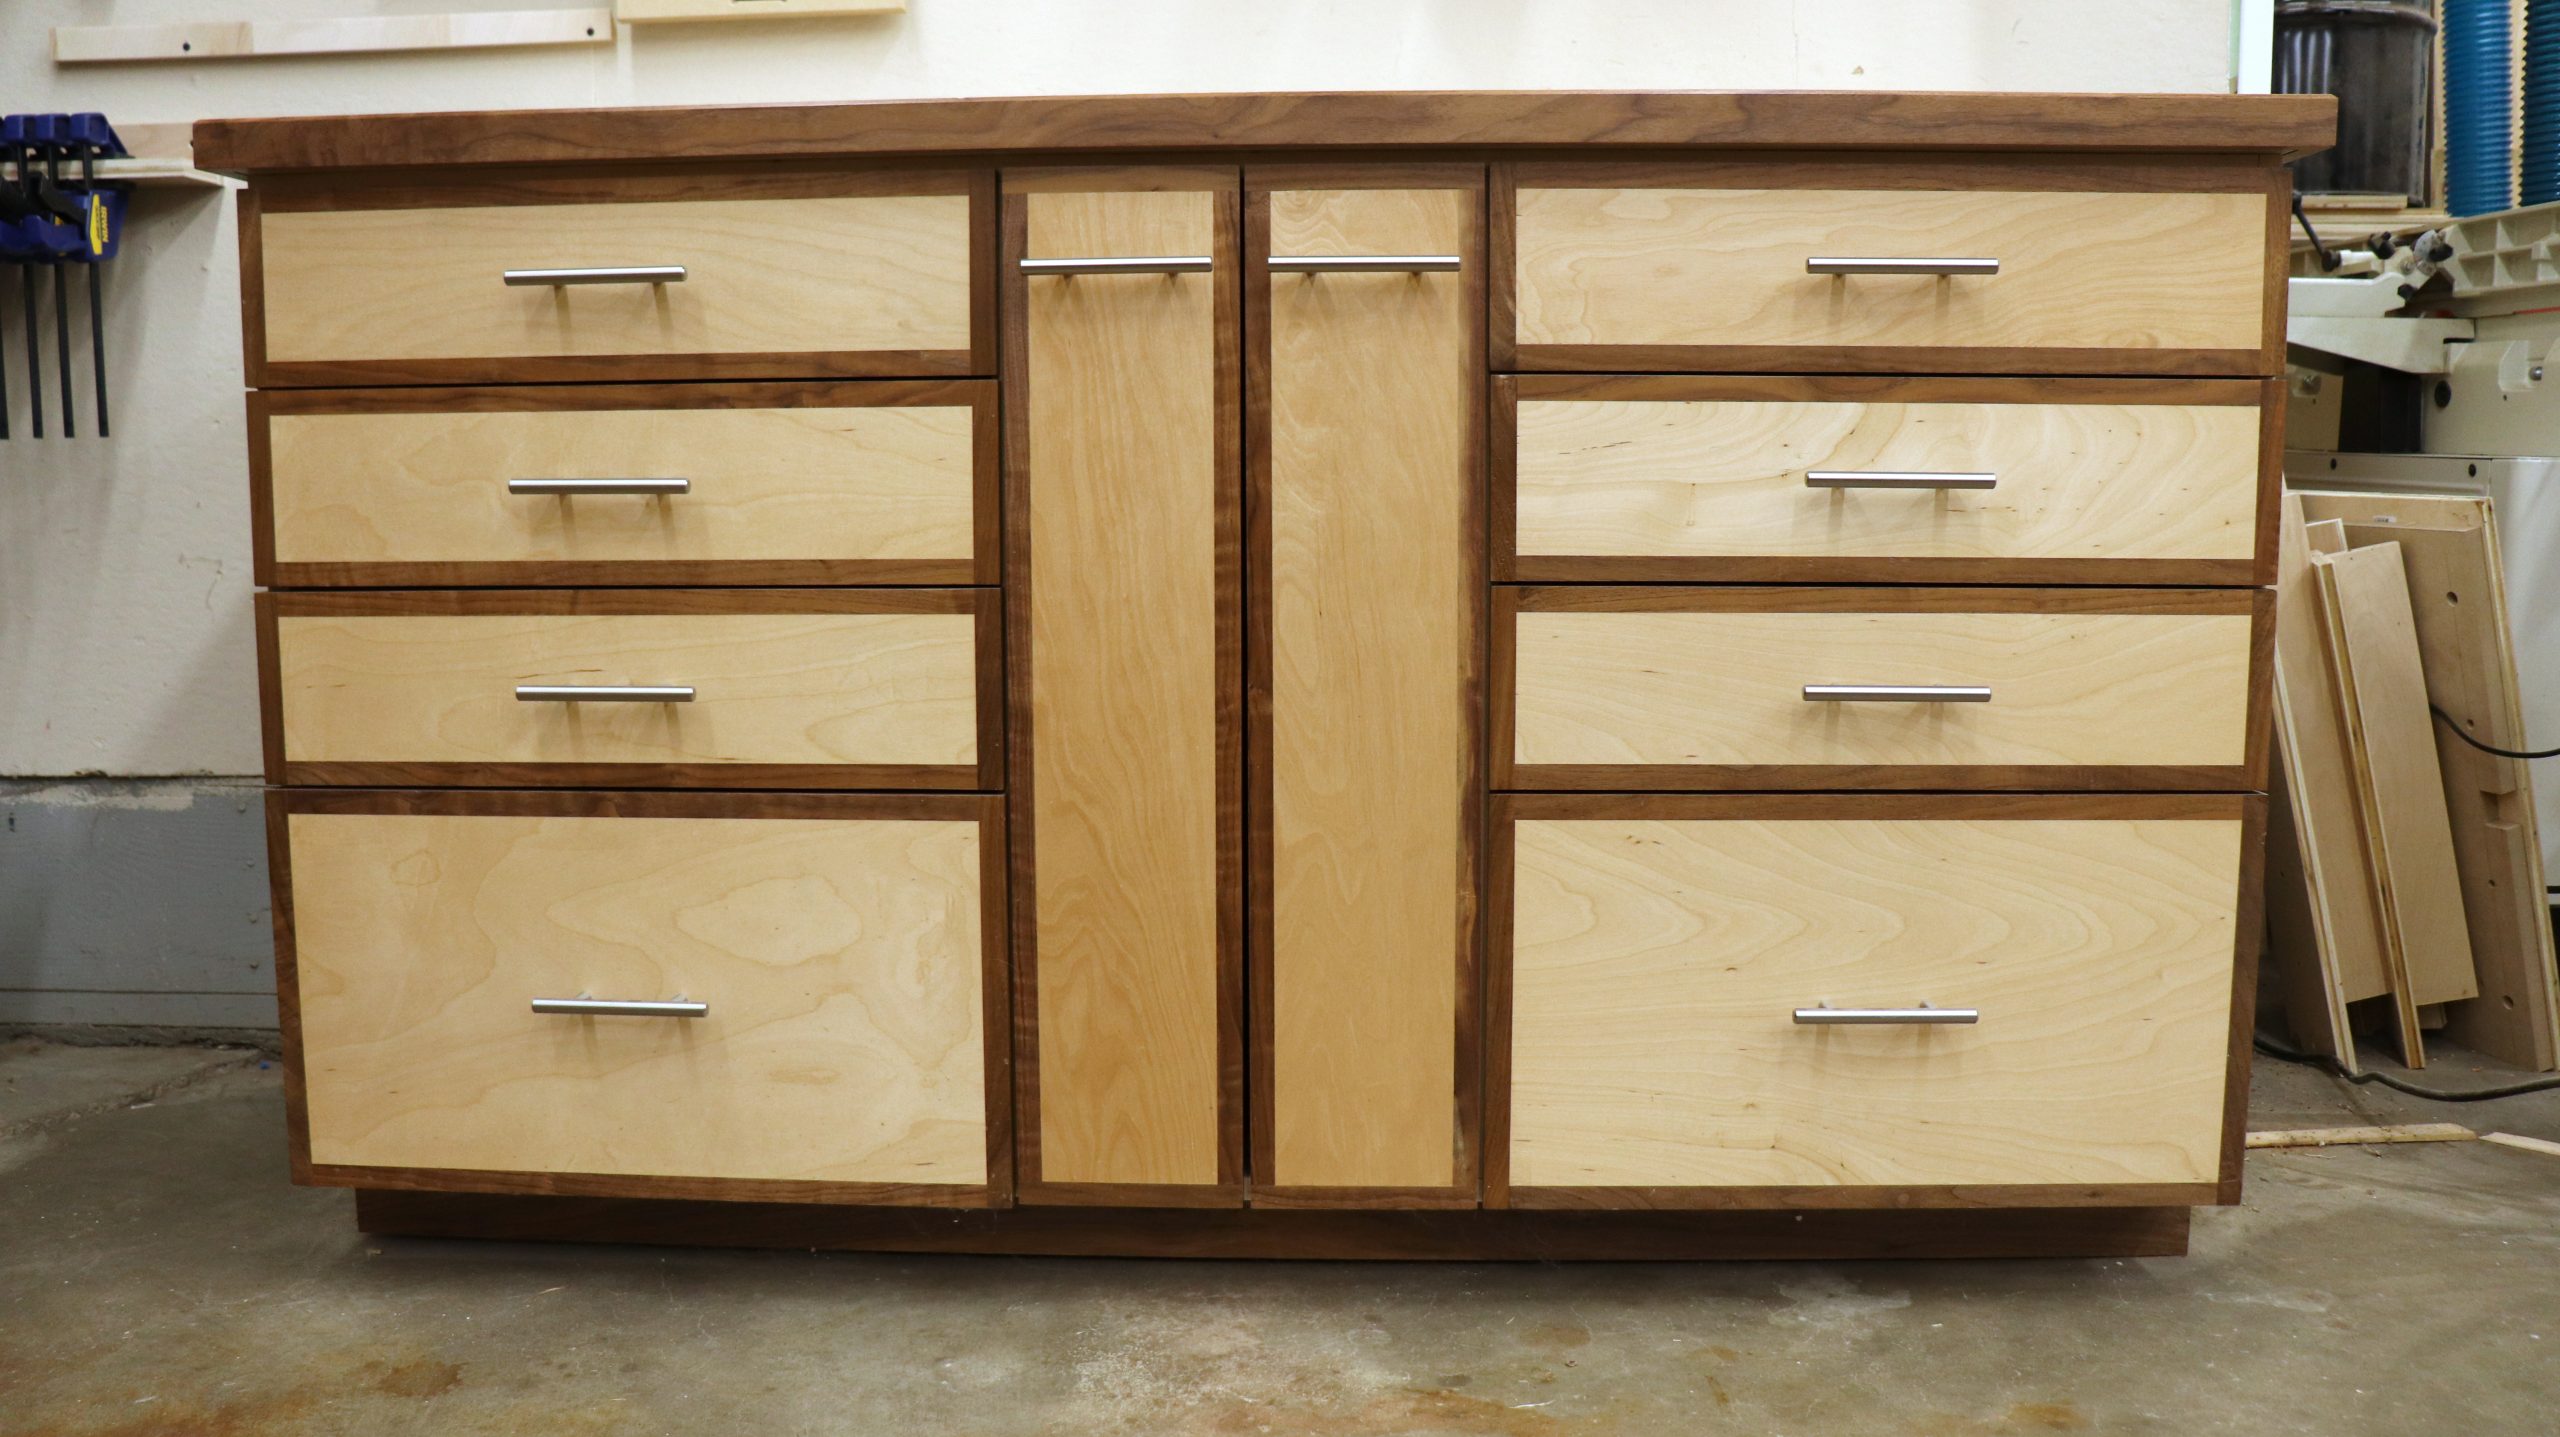
I attached the top using inch and a quarter screws.

Attaching the Top
This shop storage cabinet is replacing a wire shelf rack and some rolling totes. I removed all of the items to make space for my new shop storage cabinet.
DONE
Thank you for taking the time to read this Shop Storage Cabinet build article. If you’re interested in building one for yourself, plans are available in my store.


2 Comments
After paying for the plans how does one gain access to said plans?
You should have received a receipt and there is a link to download the plans. If you did not please reach out via the contact form https://theaveragecraftsman.com/contact/ Thanks