
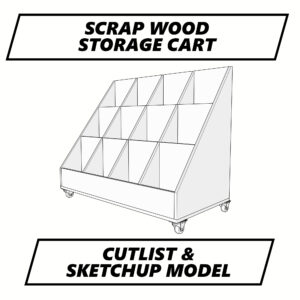
Scrap Wood Storage Cart – Easy Shop Organization
Get a handle on your scraps with this awesome mobile scrap wood storage cart.
The Problem
One thing every woodworker has to deal with is scraps and they certainly pile up quickly. Fortunately, we’ve got a few options 1) trash em 2) burn em (at least, the ones that are burnable) or 3) keep them. Options 1 and 2 are a waste of money. Option 3 is why we’re gathered here today. If you keep your scraps you will quickly come to the realization that you need a solution for storing them in an accessible, out of the way place.
I had scraps all over my shop. In trash cans, on my bench, on my lumber rack, basically anywhere there was space. This worked for a while but as I accumulated more tools, more stuff and more scraps I felt like they were always in my way and what I wanted was always at the bottom of whatever pile through which I was looking. I knew I needed a scrap wood storage cart.
The Solution
You can find a lot of different videos, plans, etc for scrap wood storage carts online and the majority of them seem to be very big so they can handle full sheets of plywood. I am able to store my plywood fairly out of the way so I mainly wanted something smaller that would handle smaller scraps and cut offs. I searched around and came across this article from Fine Woodworking: A Smart Cart for Scraps. This scrap wood storage cart was more the size I was wanting but it was probably a little too small for my needs so I made it bigger and made a couple of other changes to the design.
First, I added 12″ to the width to make it 48″ wide. Second, there were a lot of dados and bevel cuts for the angles and I just didn’t feel the need to fuss with all of that so I decided to go with pocket screws and all 90 degree cuts. The only dados required are for the dividers. Yeah, mine probably doesn’t look as good but that doesn’t bother me a bit. It’s going to be out of sight and out of mind for the most part.
The Fine Woodworking article provides so so plans so I decided to draw it out in SketchUp and make my own cut list. You can download the SketchUp file and cut list PDF here.
Materials and Tools for Building the Scrap Wood Storage Cart
Lumber and Sheet Goods
- 2 – 48″ x 96″ x 3/4″ plywood – I used PureBond birch plywood from Home Depot (love this stuff!) but any 3/4″ plywood will work – https://tinyurl.com/y7q4zcnp
Hardware and Fasteners
- 1 Box 1-1/4″ Pocket Hole Screws – https://amzn.to/2LBV1FB
- 2″ Locking Casters – http://amzn.to/2DnjxCY
- TiteBond Original Wood Glue – http://amzn.to/2rqPB7E
Tools I will be using in this build
- DeWalt FlexVolt Track Saw Kit – https://amzn.to/2JRikWR
- DeWalt 20V Max Drill and Impact Driver – http://amzn.to/2mt5nJj
- Bosch Glide 12″ Miter Saw – http://amzn.to/2F061Wk
- Kreg Face Clamp – https://amzn.to/2uSM2Xd
- Dewalt Random Orbital Sander – https://amzn.to/2GHssoy
- Kreg Right Angle Clamp – https://amzn.to/2A4dshO
- Kreg Jig K4 Pocket Hole System – https://amzn.to/2Lzjs6I
- SawStop CNS Contractor Table saw – http://amzn.to/2mr6Lw2
- Microjig GRR-RIPPER – http://amzn.to/2ruNUWM
- Microjig GRR-RIP Push Block – https://amzn.to/2mCF7g2
- Bessey F Style Clamps – https://amzn.to/2uOdWU3
- Bessey 24″ K Body Revo Parallel Clamp – http://amzn.to/2DPPd7H
- Oneida Mini Gorilla 1.5 HP Dust Collector – https://amzn.to/2tdEwEs
- Shop Vac – https://tinyurl.com/y9zeju4l
- Dust Right Universal Small Port Hose Kit – https://amzn.to/2LzPvmJ
- Oneida Dust Deputy Deluxe Cyclone Separator Kit – https://amzn.to/2NE9ka7
- Dewalt 9ft. Magnetic Pocket Tape Measure – https://amzn.to/2JvlTTK
- DeWalt 8-Inch 24-Tooth Stacked Dado Set – https://amzn.to/2JNFU77
theaveragecraftsman.com is a participant in the Amazon Services LLC Associates Program, an affiliate advertising program designed to provide a means for sites to earn advertising fees by advertising and linking to amazon.com
Let’s Start Building this Scrap Wood Storage Cart!
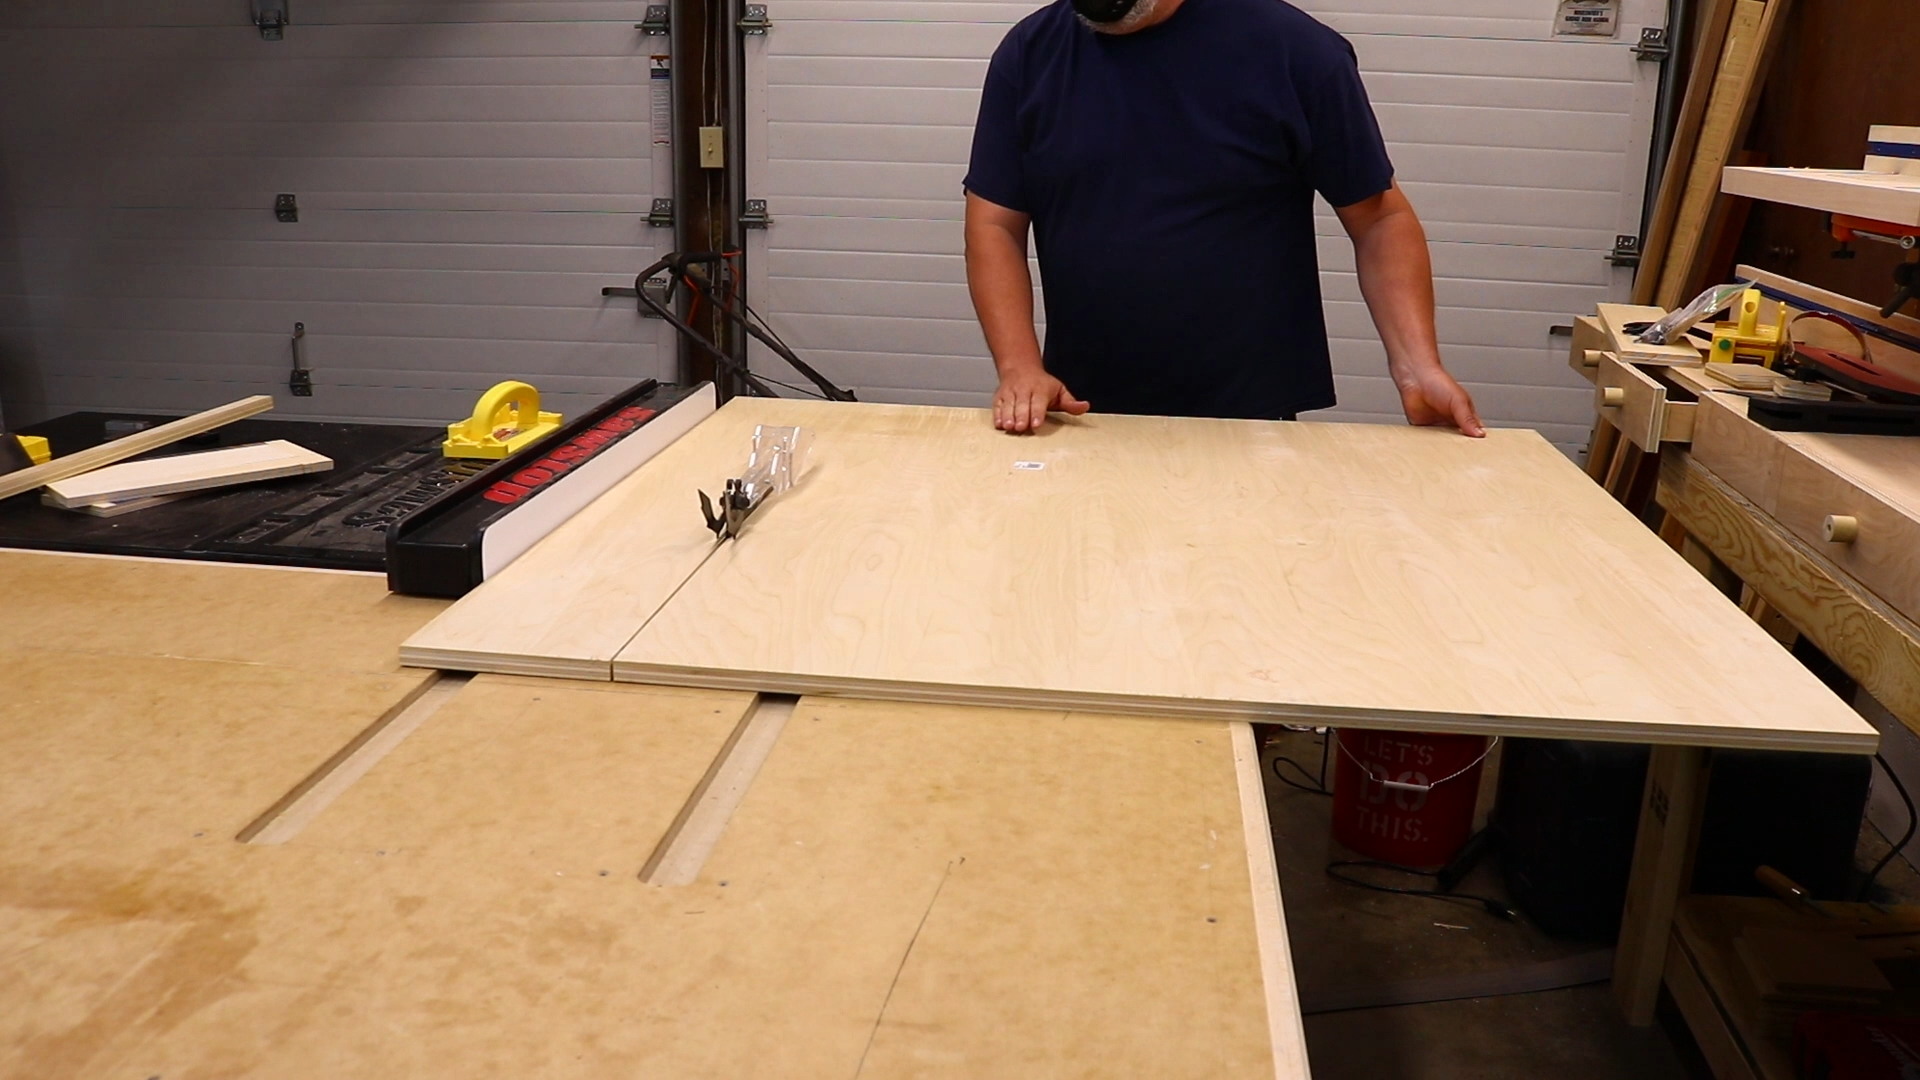
Breaking down the plywood
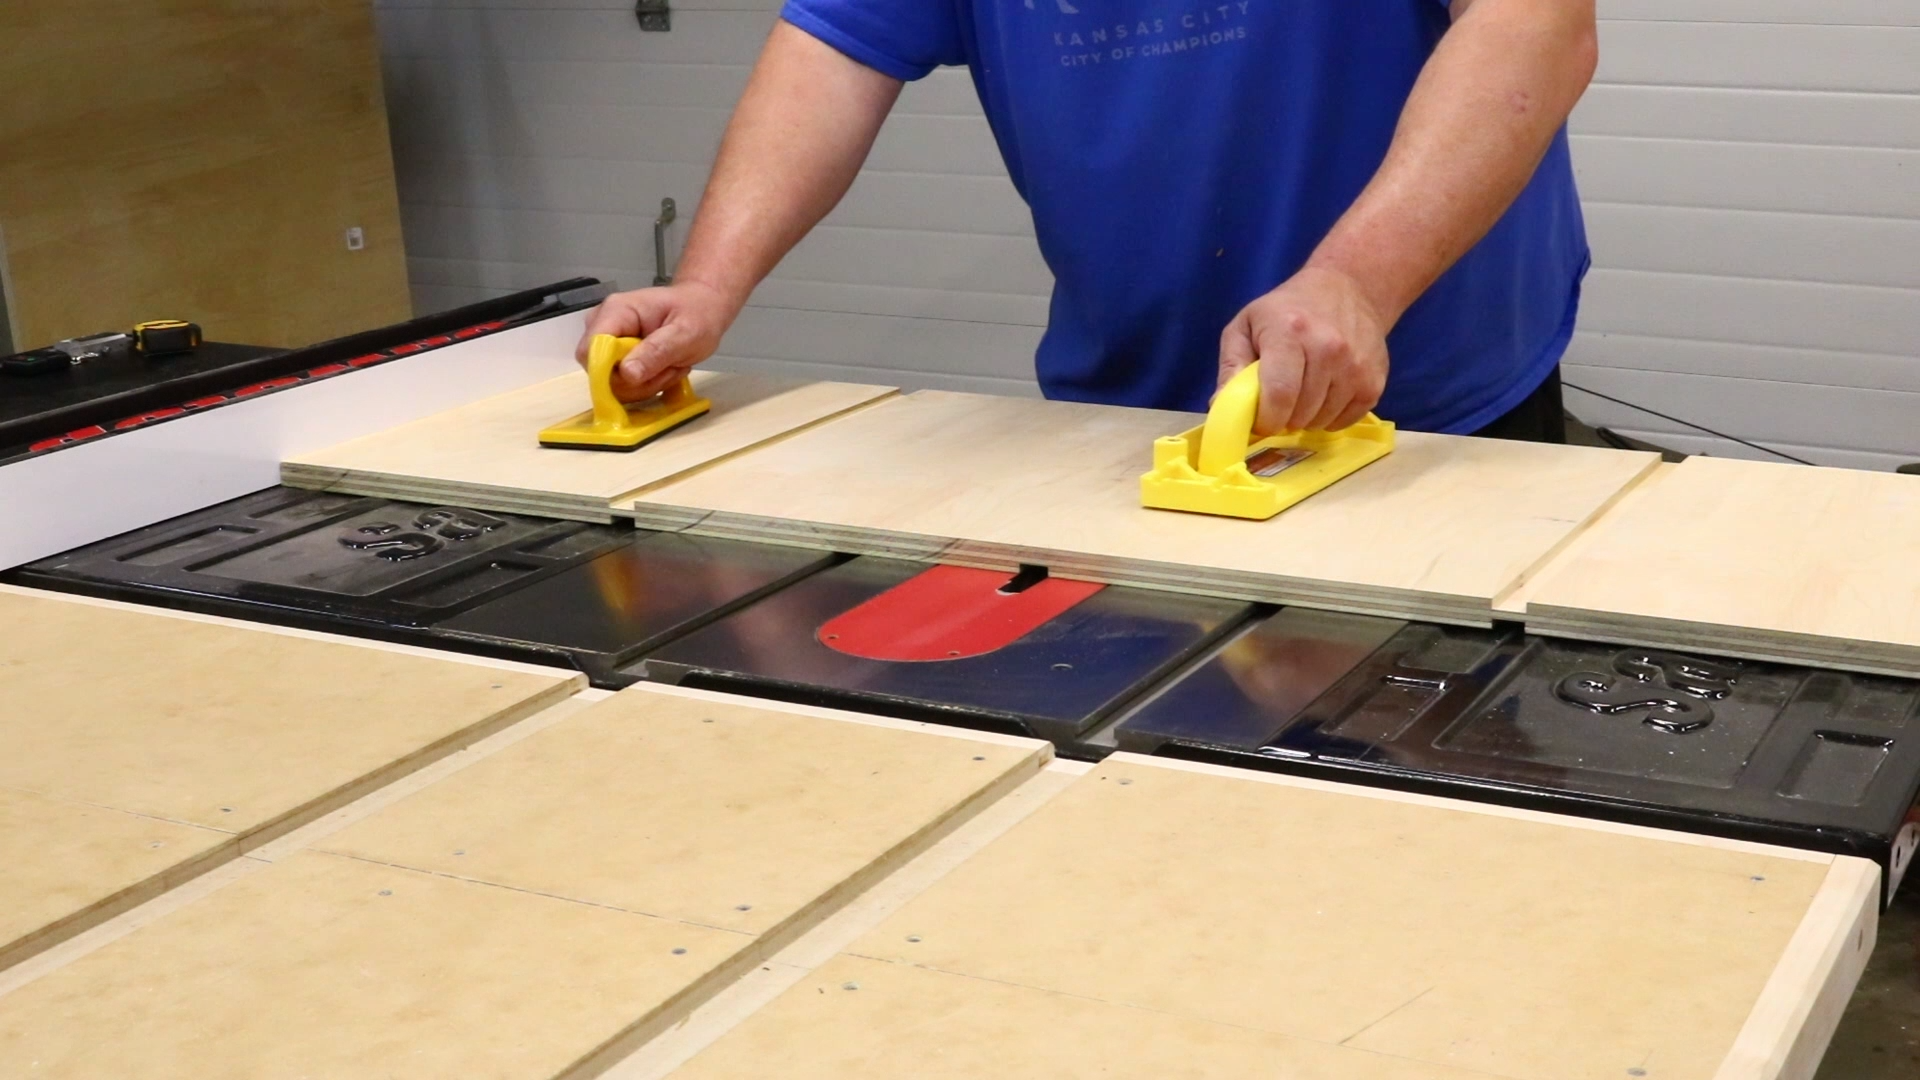
To begin the scrap wood storage cart I started out by breaking down the two sheets of plywood with my track saw. I just got this track and, wow, for breaking down full sheets of plywood, this is so much easier than wrestling it around on the table saw and quite a bit quicker and more accurate than using a regular circular saw. That’s not a comment on this particular saw but rather track saws in general. This is the only track saw I have ever used so I can’t really comment on its performance vs another brand.
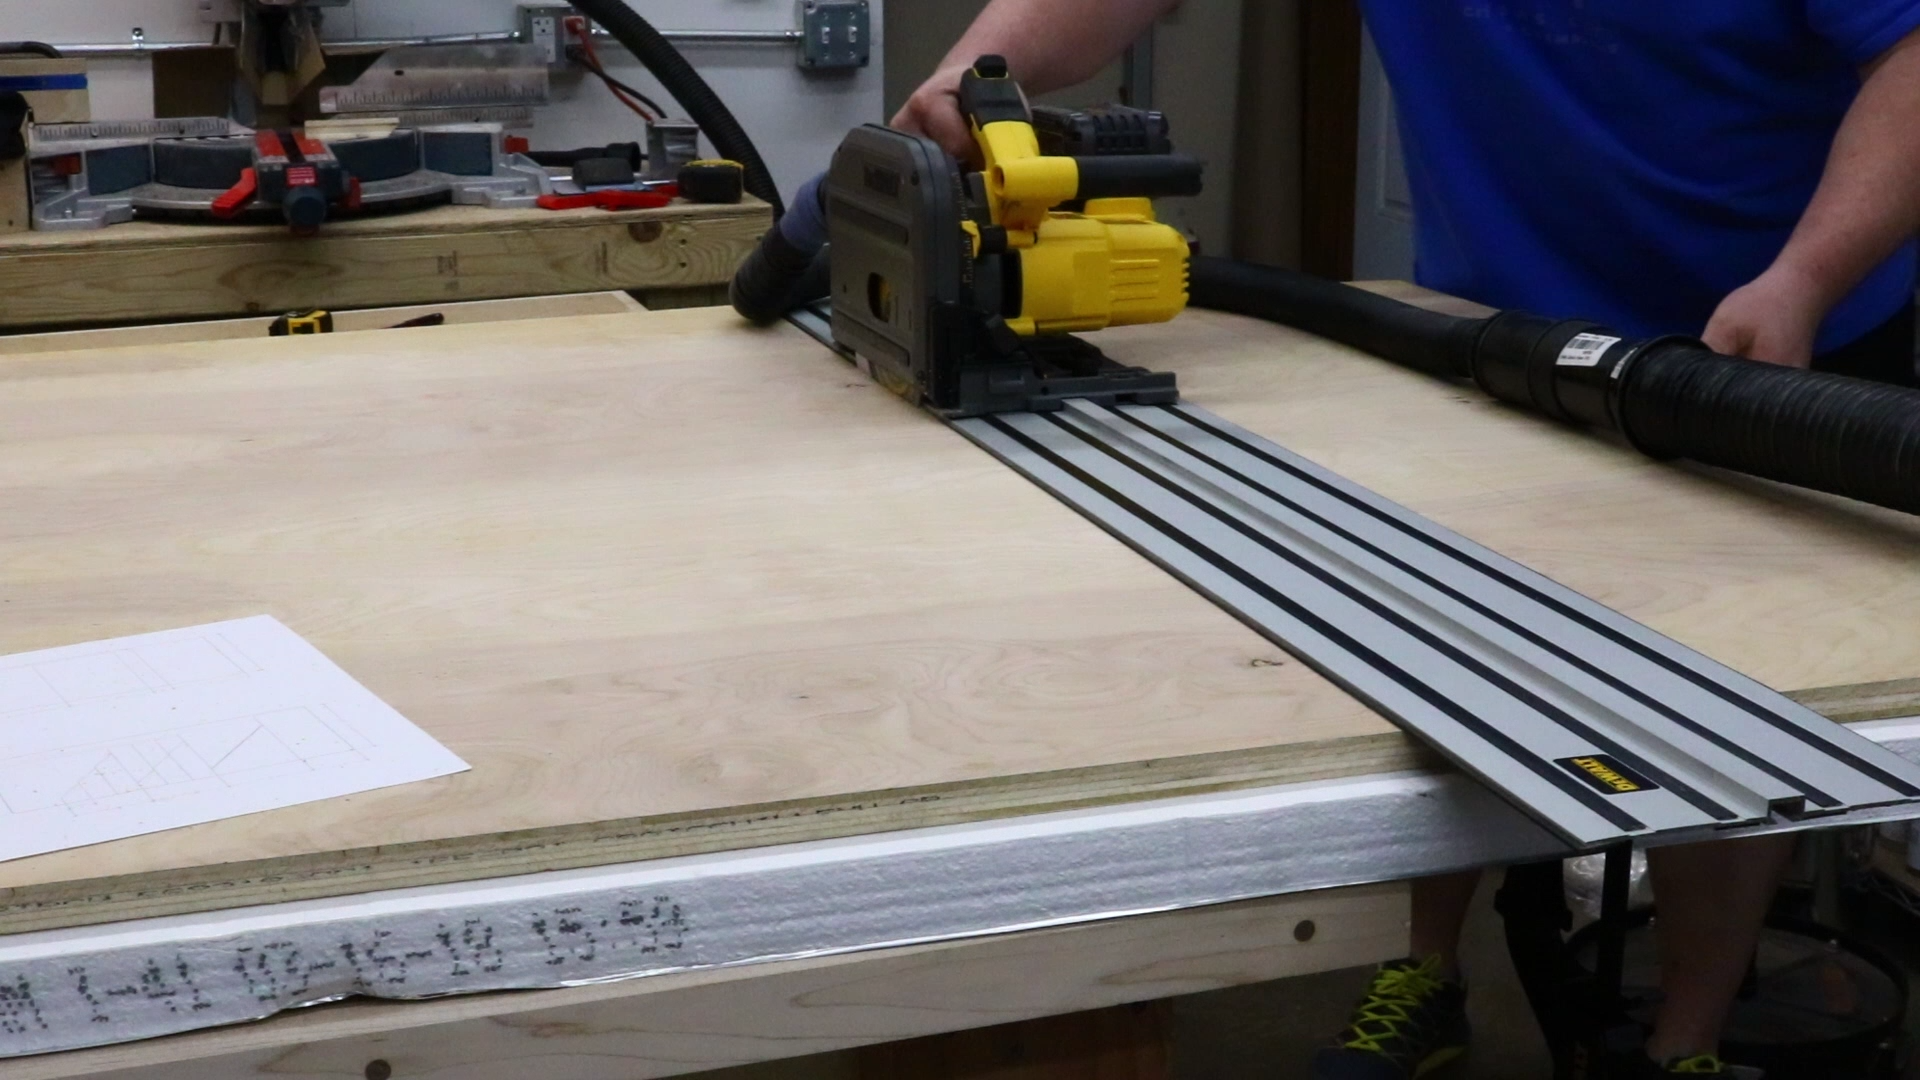
Breaking down the sheets with track saw
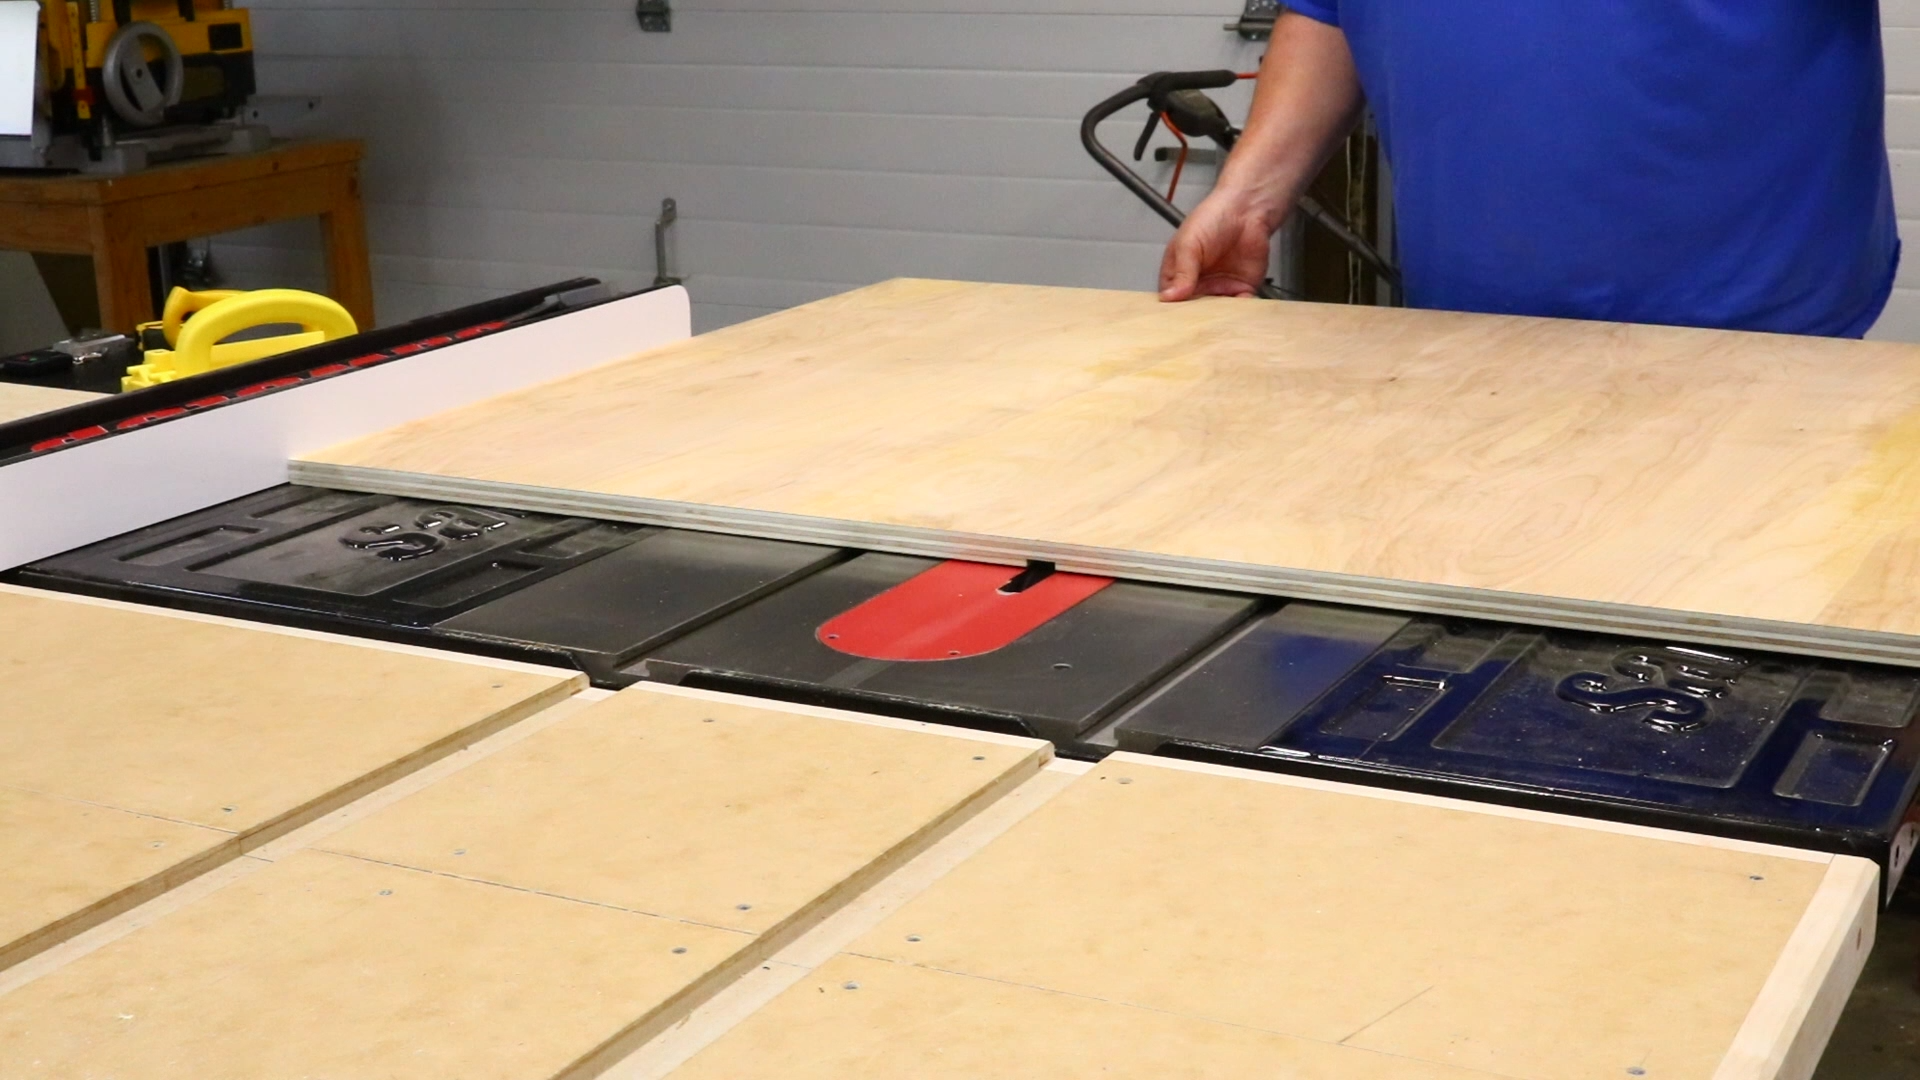
I cut out the majority of the pieces required other than the angled dividers which I will get to later.
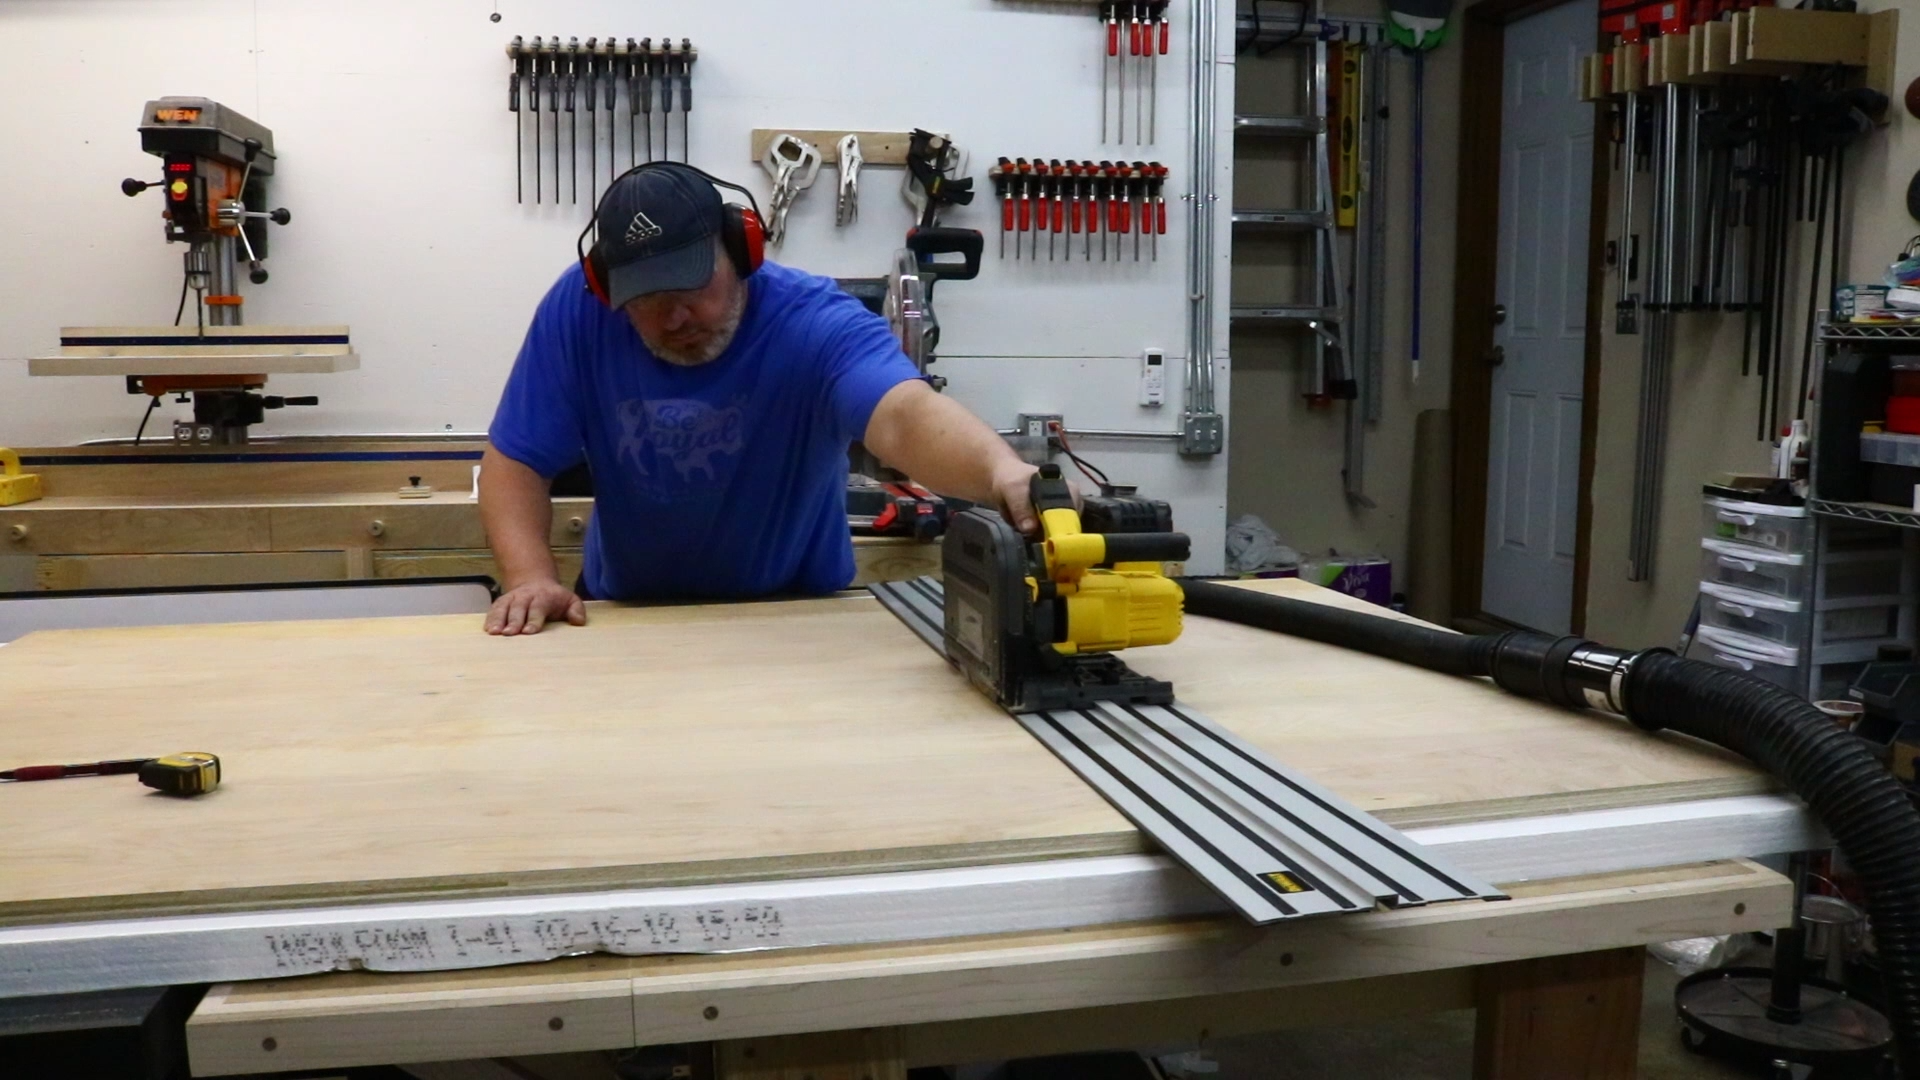
More track saw action
I cut these pieces down to their final dimensions at the table saw and miter saw.

Using my table saw to cut pieces to length

Cutting the pieces to length using the miter saw
The crosscut sled comes in hand when cutting bigger panels down to size
Cutting the dados
The front, back and middle panels of the scrap wood storage cart require dados for the dividers which I cut with my table saw. The front and back require them on one side and the middle panels require dados on both sides. This plywood is only 23/32nds of inch thick and I want the dividers to be easily removable so I cut the dados at 3/4 of an inch.
In hindsight I probably should have cut the dados for the middle front panel using the miter gauge like I did with the front panel. Cutting that middle dado on that panel didn’t feel 100% safe. When you’re cutting dados in panels like that you have to make sure that the workpiece doesn’t twist on the top of the table or you could get some nasty kickback and that panel could come right back at you.
Careful cutting that middle dado
When cutting the dados in the bigger panels I often times had to make a couple of passes and really concentrate on getting enough pressure on the workpiece so the dado was a consistent, full cut due to a slight warp in the plywood.
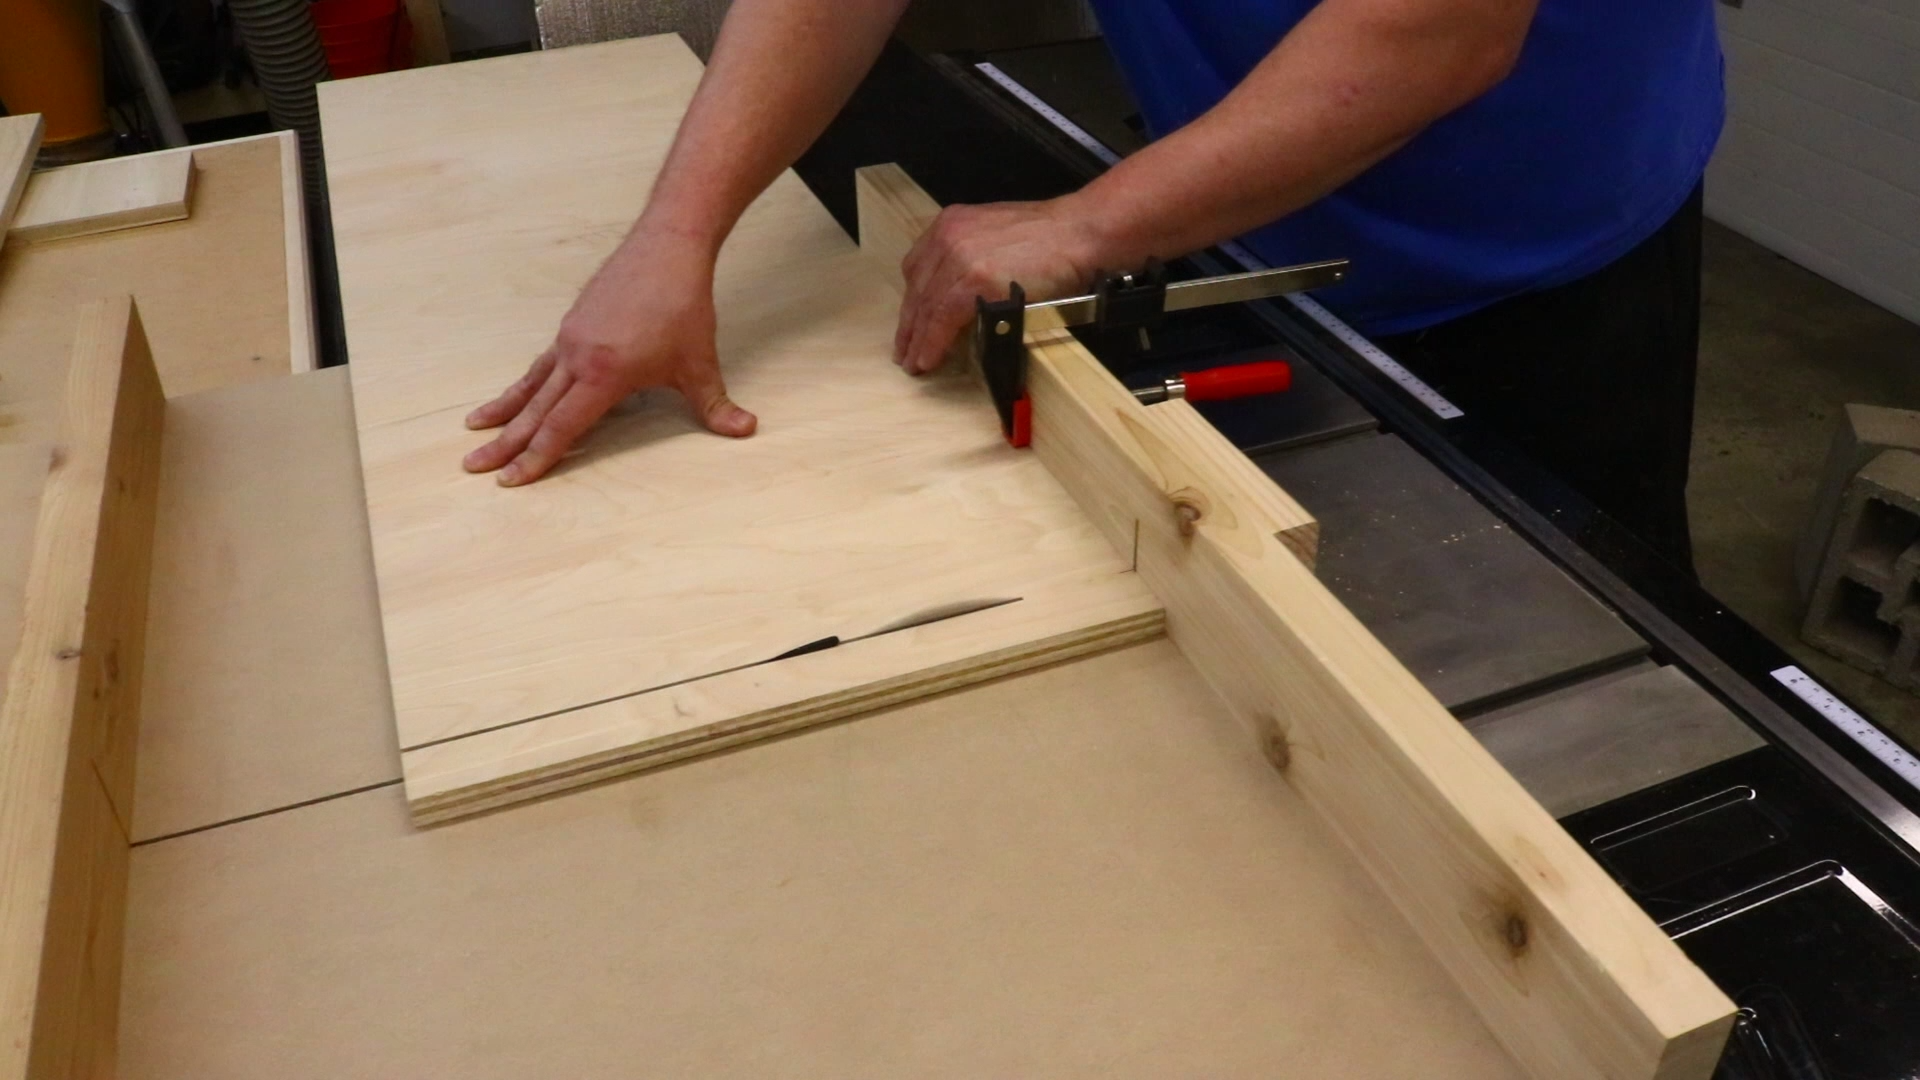
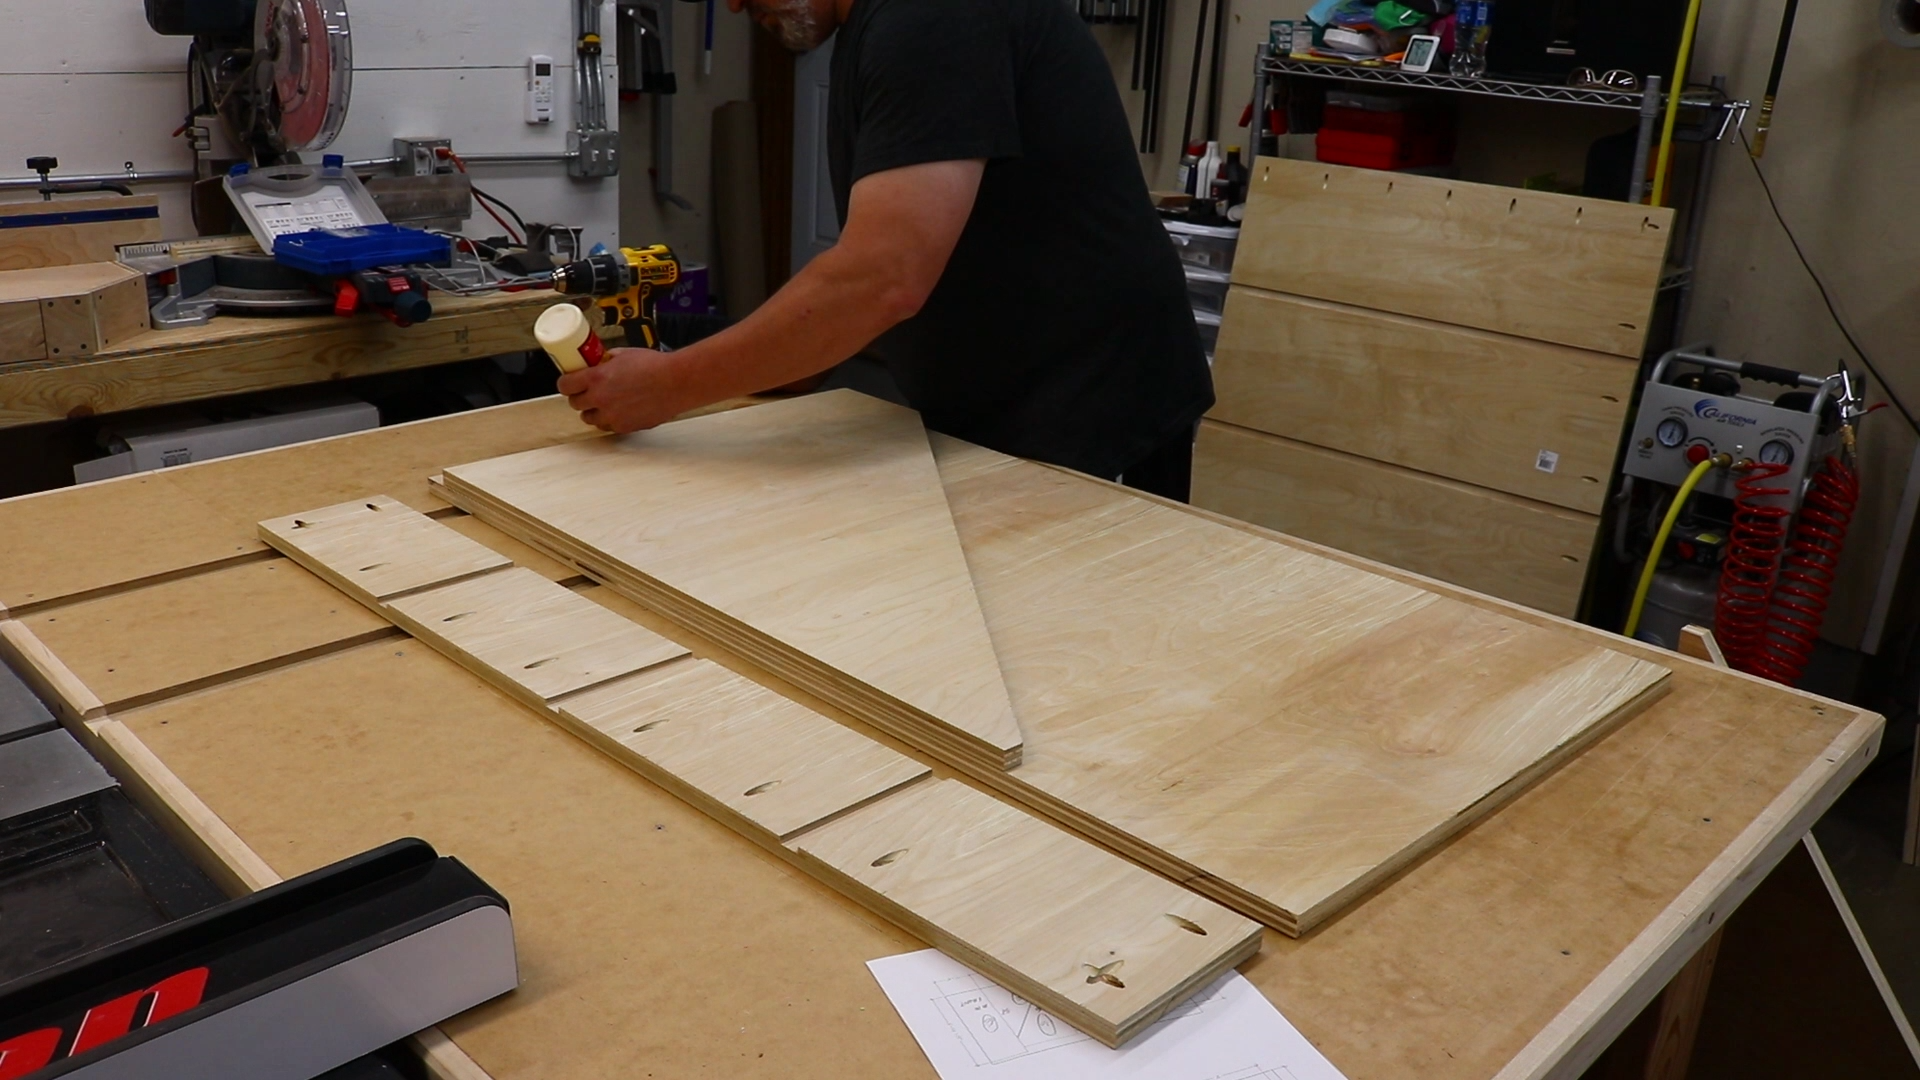
Drilling the pocket holes
With all of the pieces cut I could now start drilling the pocket holes. A lot of pocket holes. If you have a Kreg jig I highly recommend the dust collection attachment. I drilled probably 50 pocket holes and there was just a few pieces of dust that didn’t make it into my dust bin.
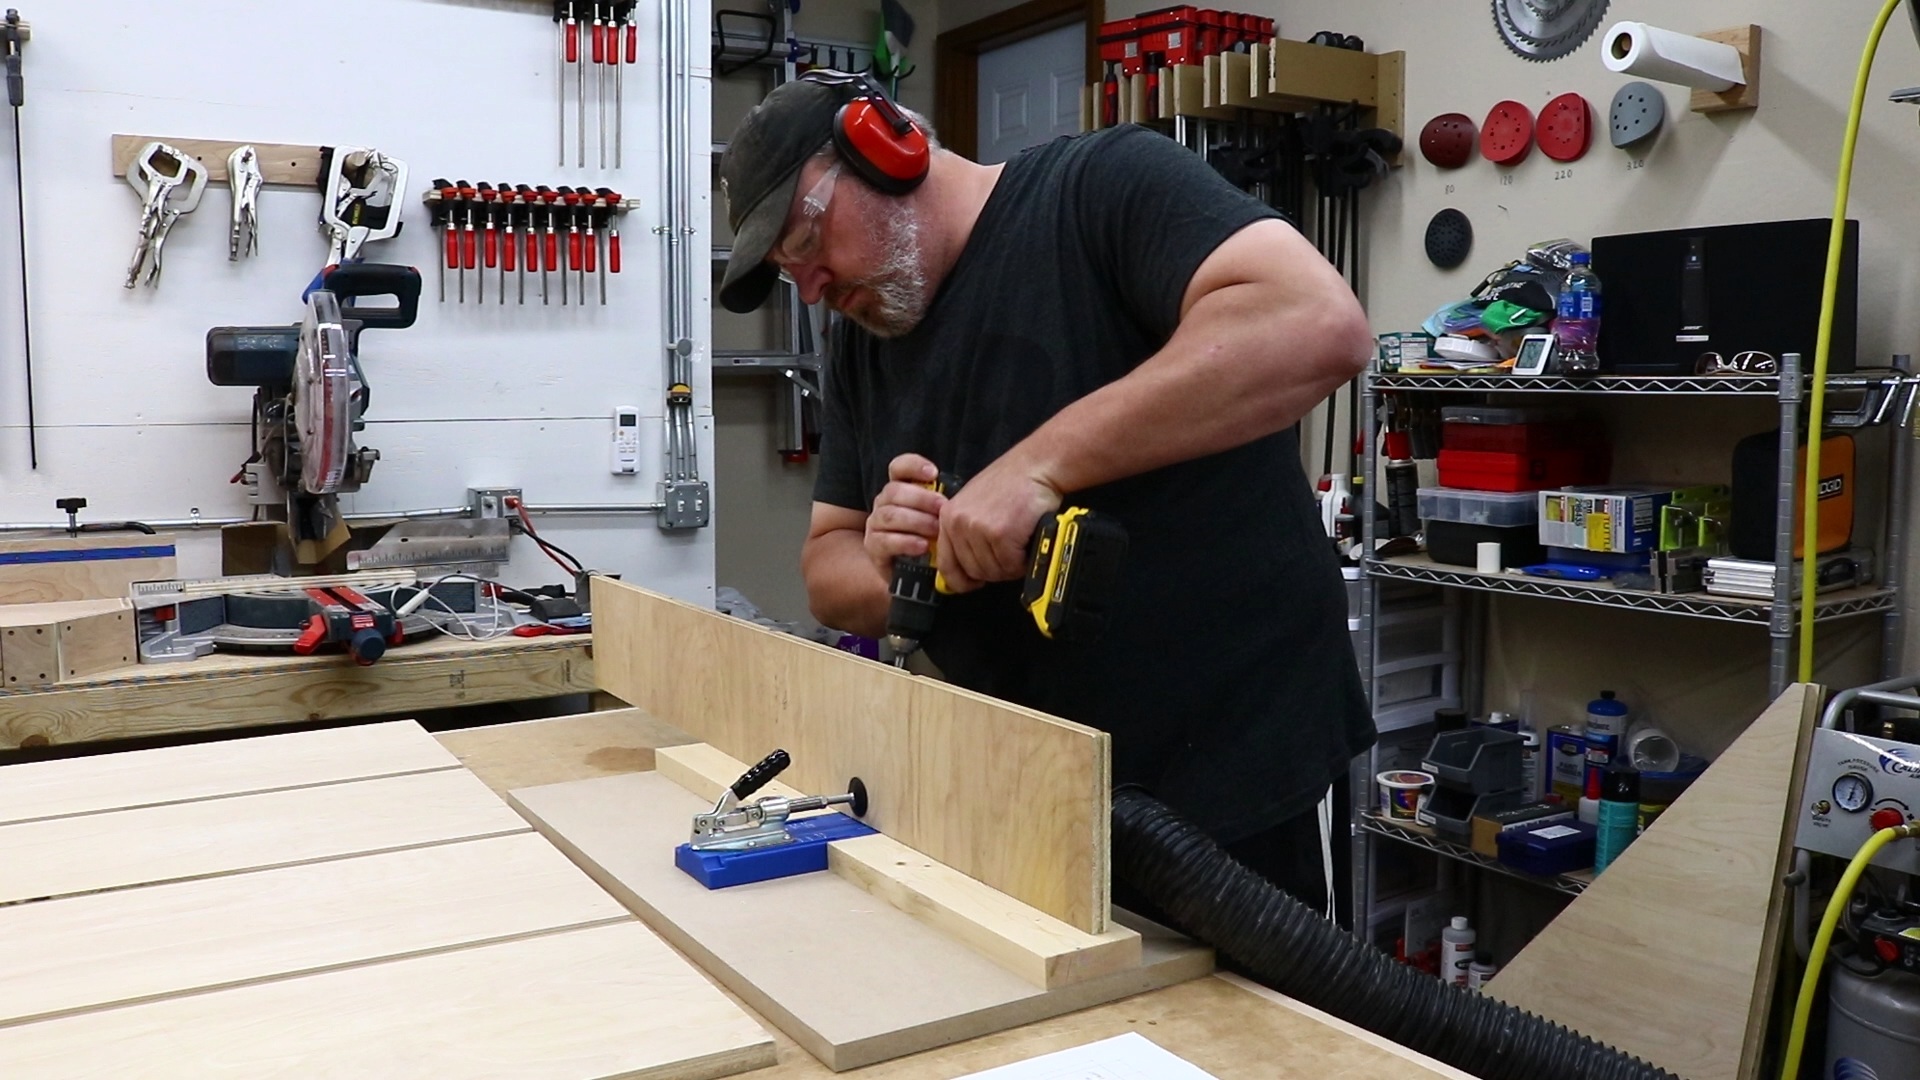
Drilling the pocket holes
Lots of pocket holes.

Pocket holes for days
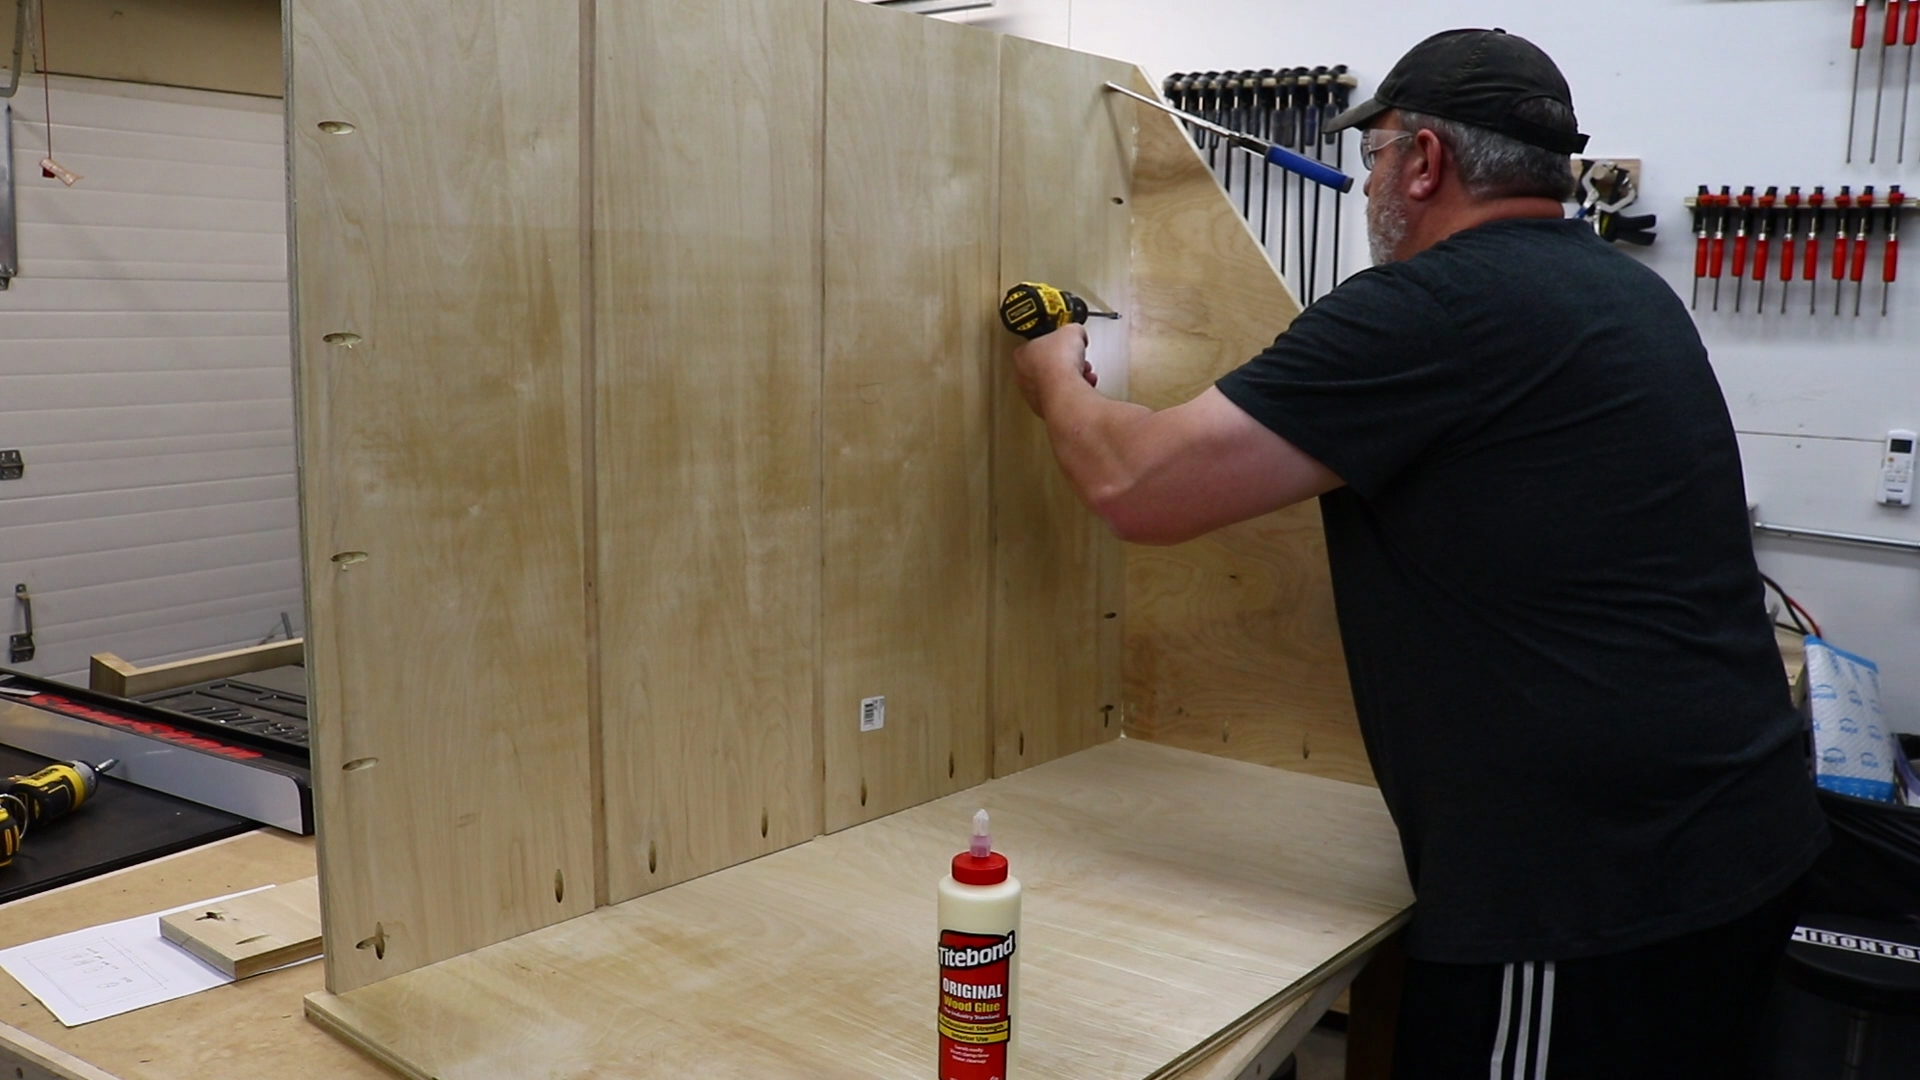
Scrap wood storage cart assembly
I applied Titebond original glue to every joint and then secured everything with inch and a quarter pocket hole screws.
Applying the glue

Securing the pieces with pocket hole screws
I probably should have drilled all of the pocket holes on the outside so the screws angled into the wood rather than towards the edge. But, I know this is only a shop project and I didn’t want all of the pocket holes on the outside. However, the way I was doing it made aligning the edges a little difficult because I couldn’t use the 90 degree clamp the way it was intended and as soon as the screws started going into the wood it would move the piece around. It took some fiddling with a few different clamps but I was able to make it work pretty well.
More pocket hole screws
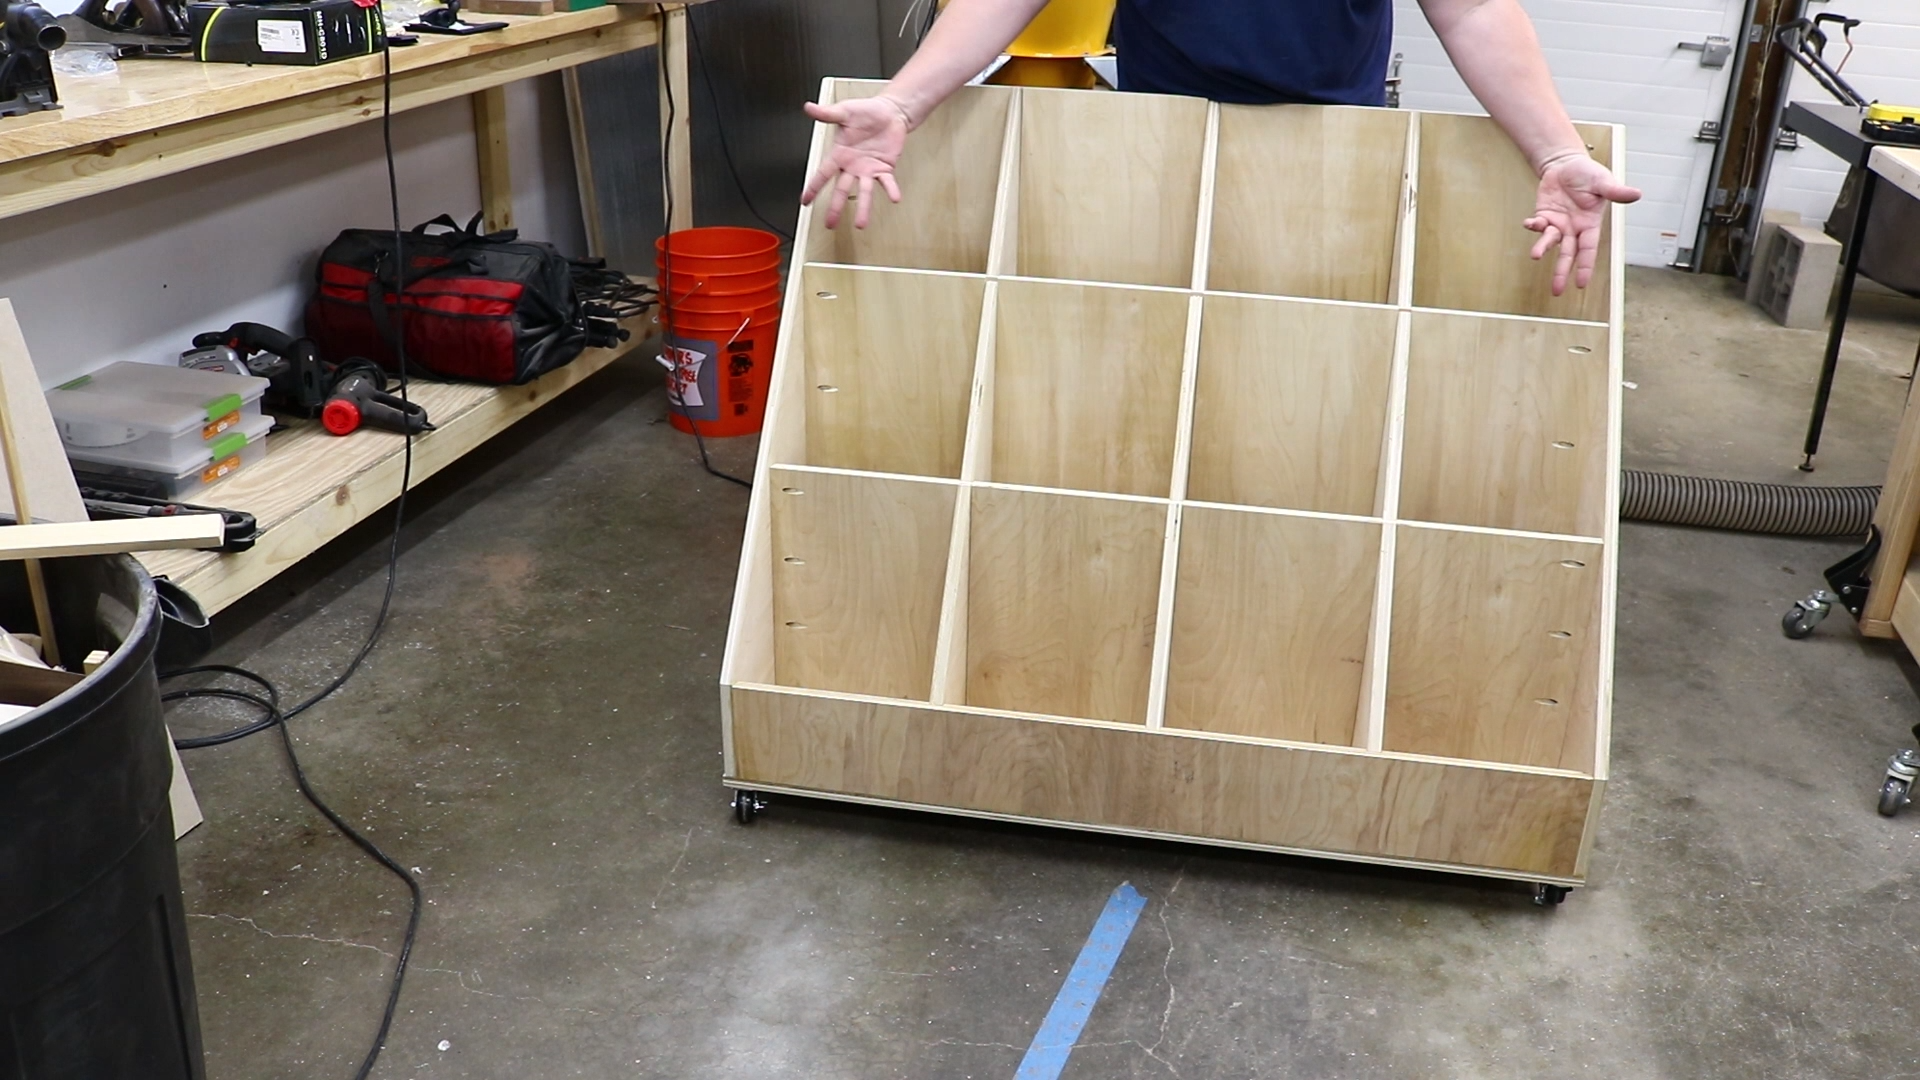
To position the middle panels, I made a jig that spaced out the panels and held them at a 90 degree angle to the bottom while I drove in the screws.
Using a jig to space the interior panels
The box is put together and that’s it as far as assembly goes for the most part. This needs to be mobile so I attached some casters with 3/4 inch screws. I might end up replacing these though as it didn’t really roll that well. It’s unclear if it’s because of the size of casters or if they were just a crappy set of casters. Oh well, it works well enough for now.

Attaching the casters
Testing out the roll
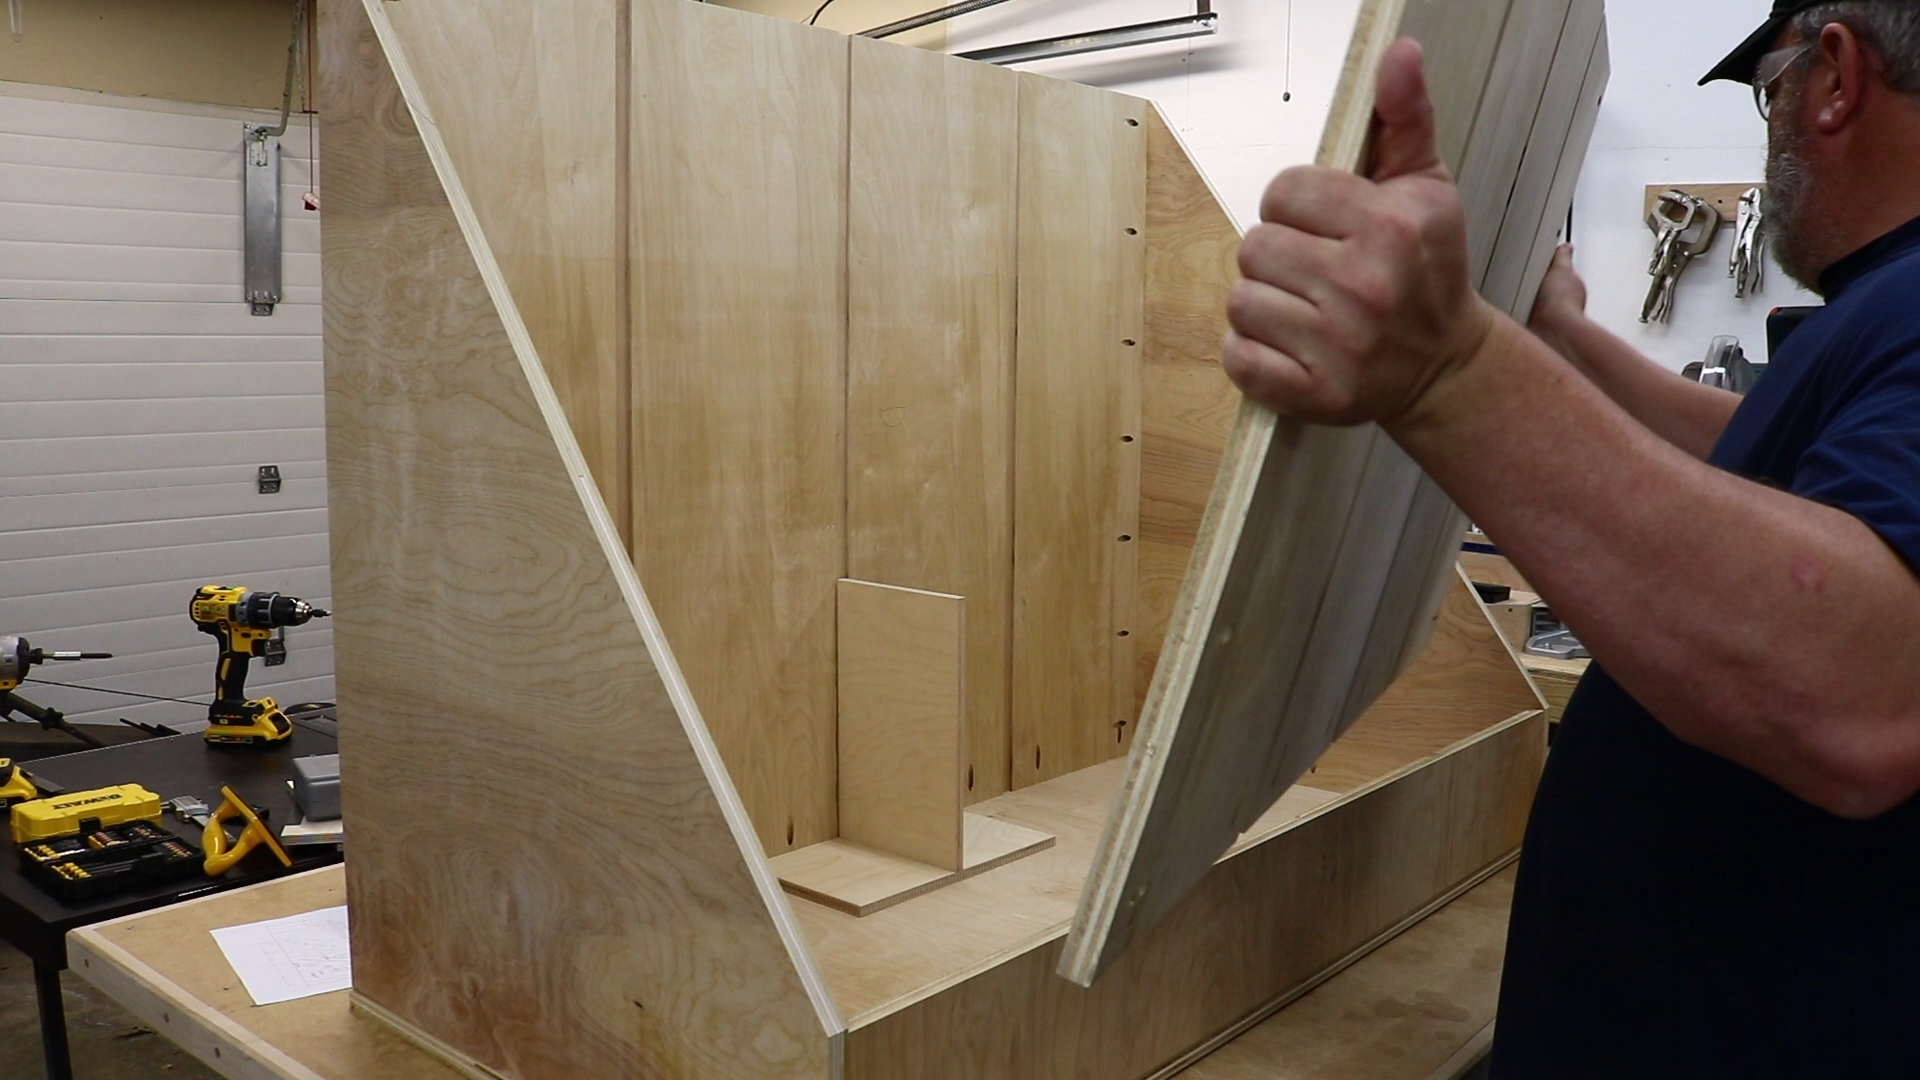
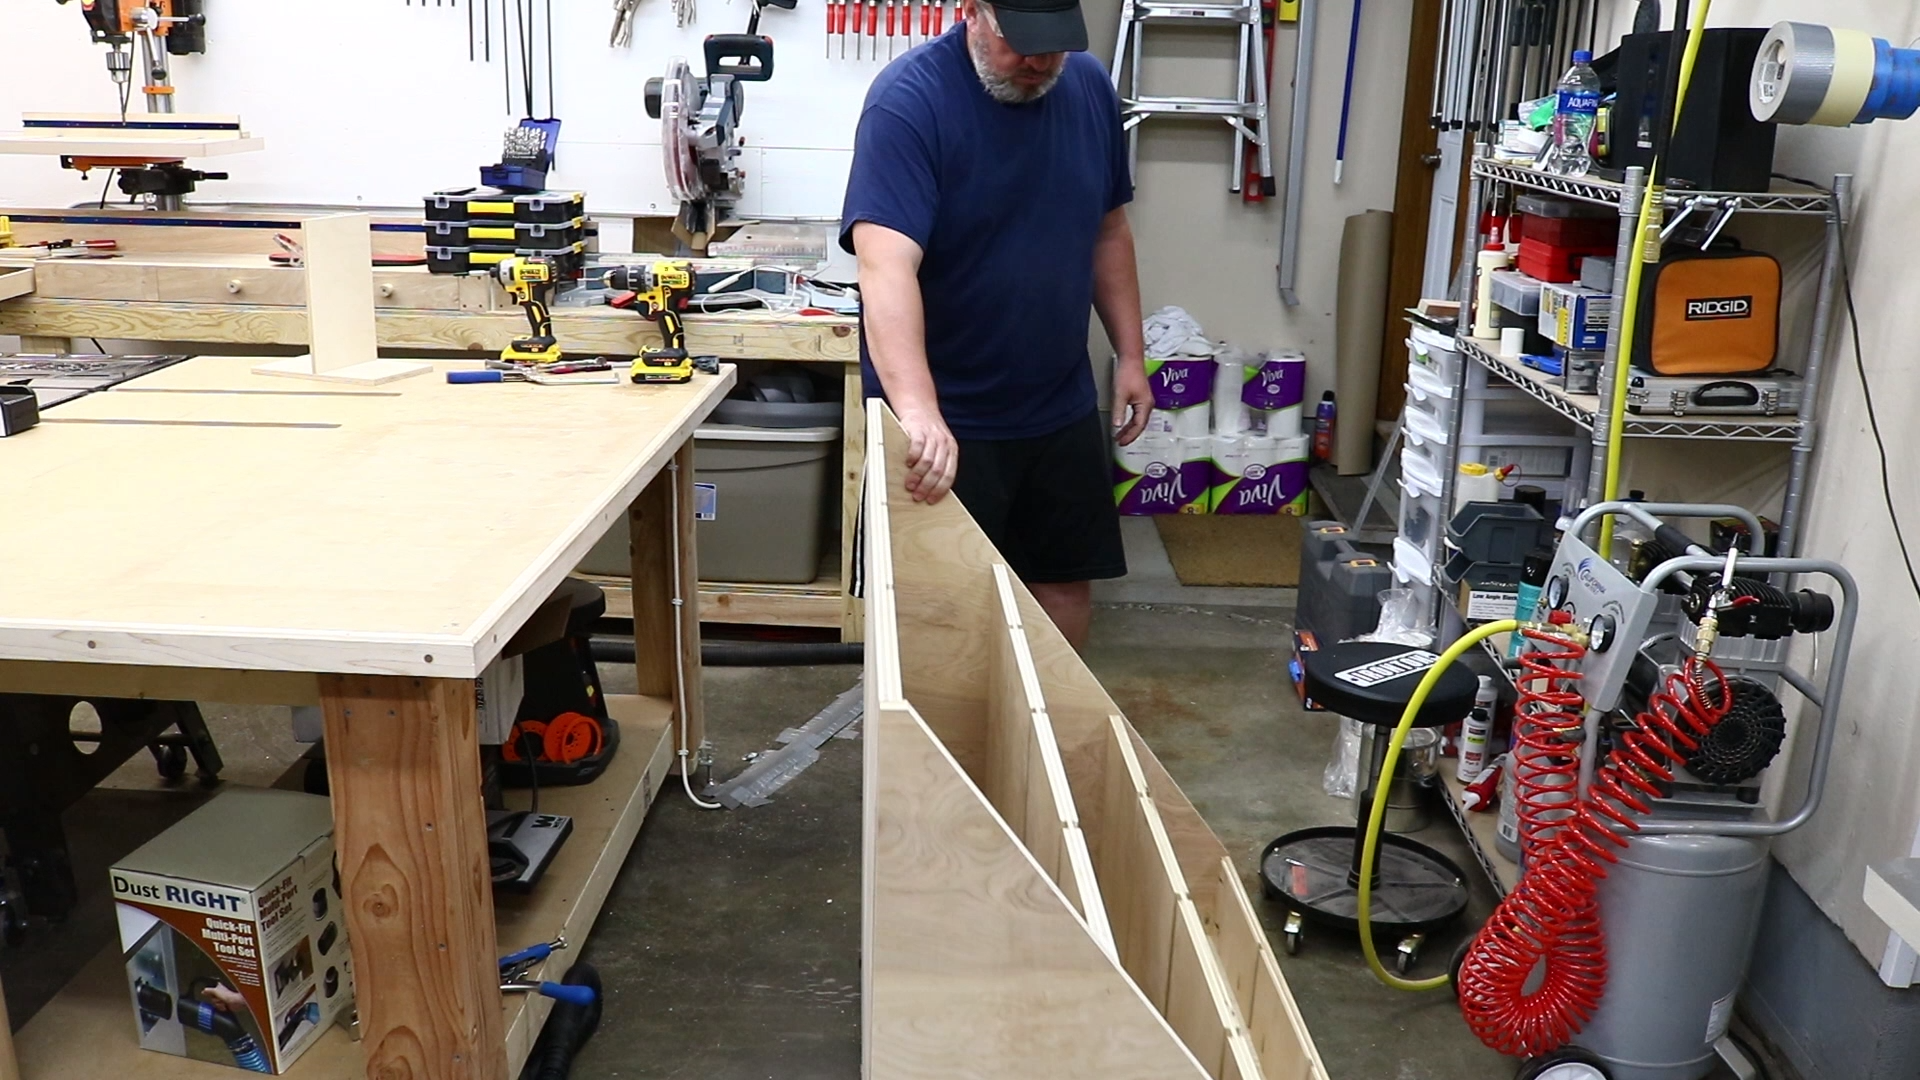
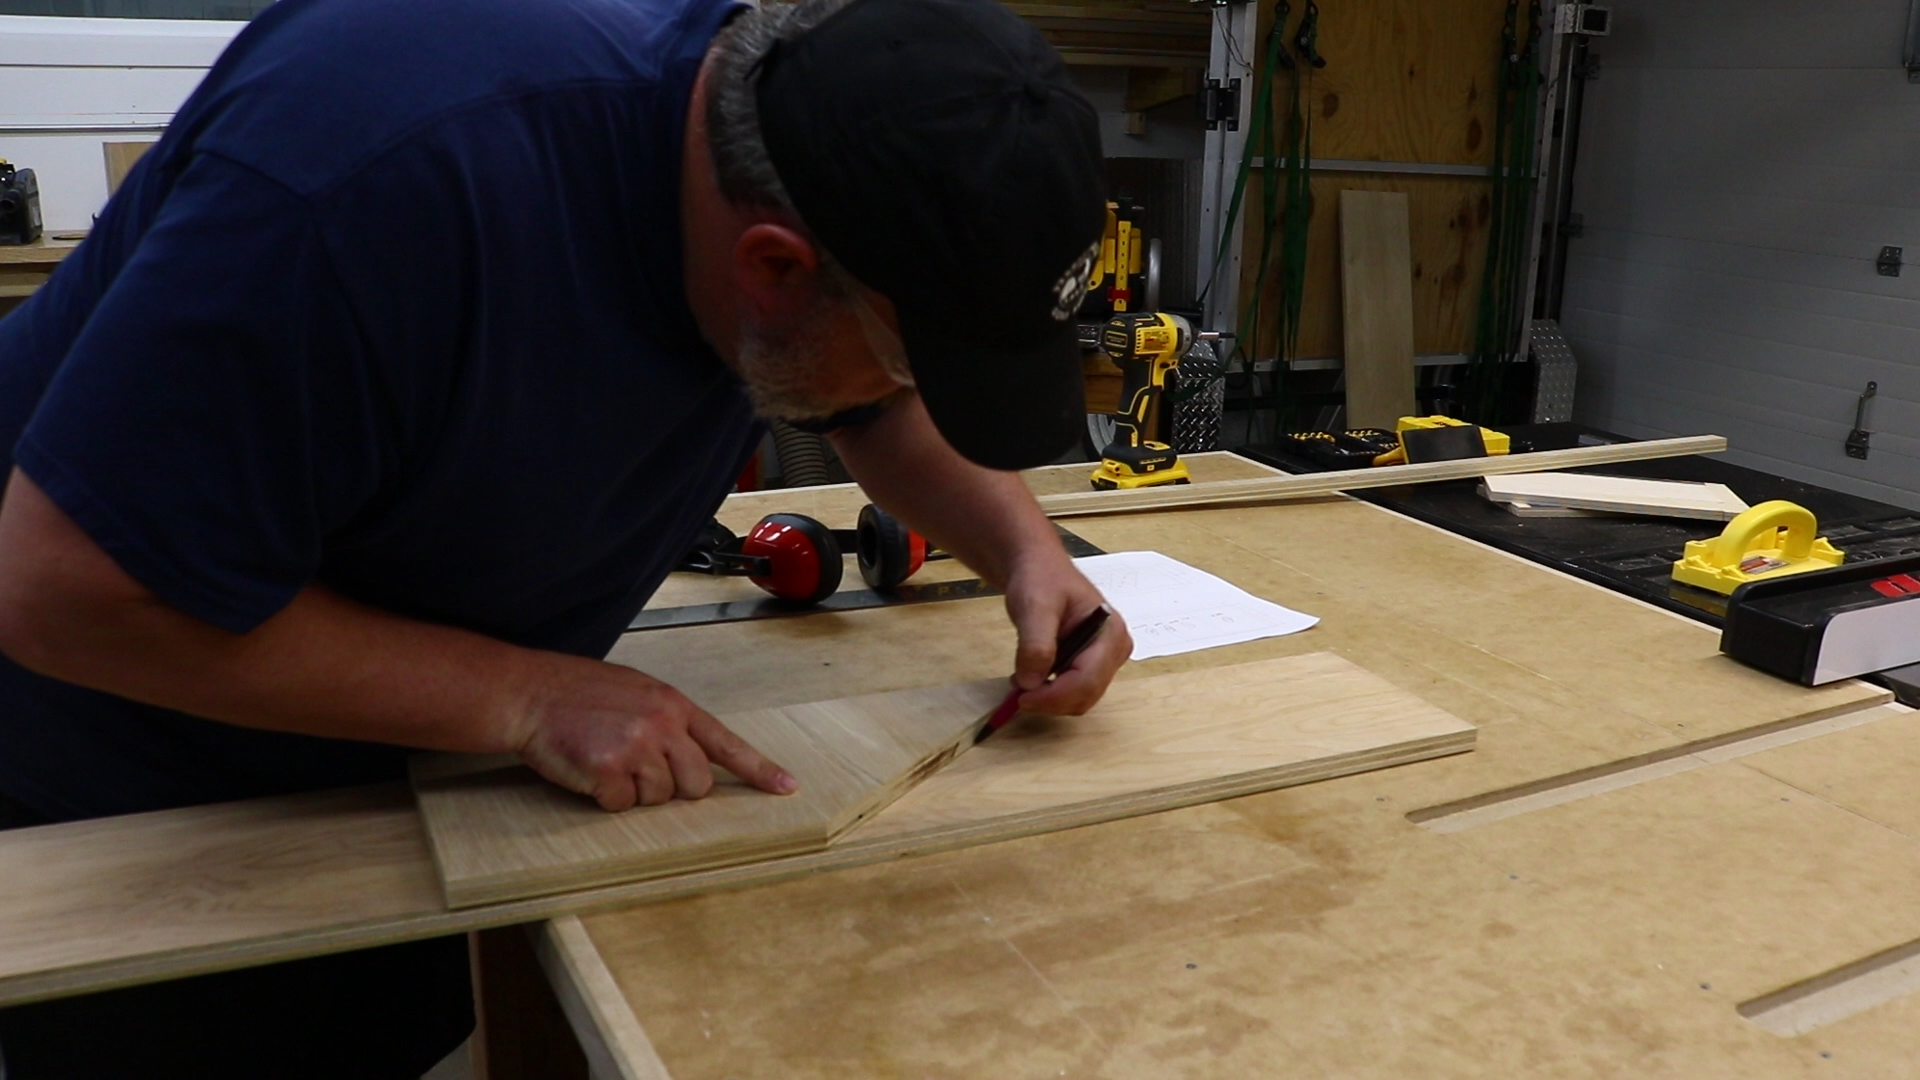
Making the dividers
I then went over to the table saw to start cutting out the dividers and I cut a bunch of pieces the same width and then planned on cutting each them diagonally to make each of the dividers. Somewhere along the way I made a mistake interpreting my cut list and ended up wasting a whole bunch of plywood. Someone once told me to measure twice and cut once. That probably would have been helpful in avoiding this mistake.
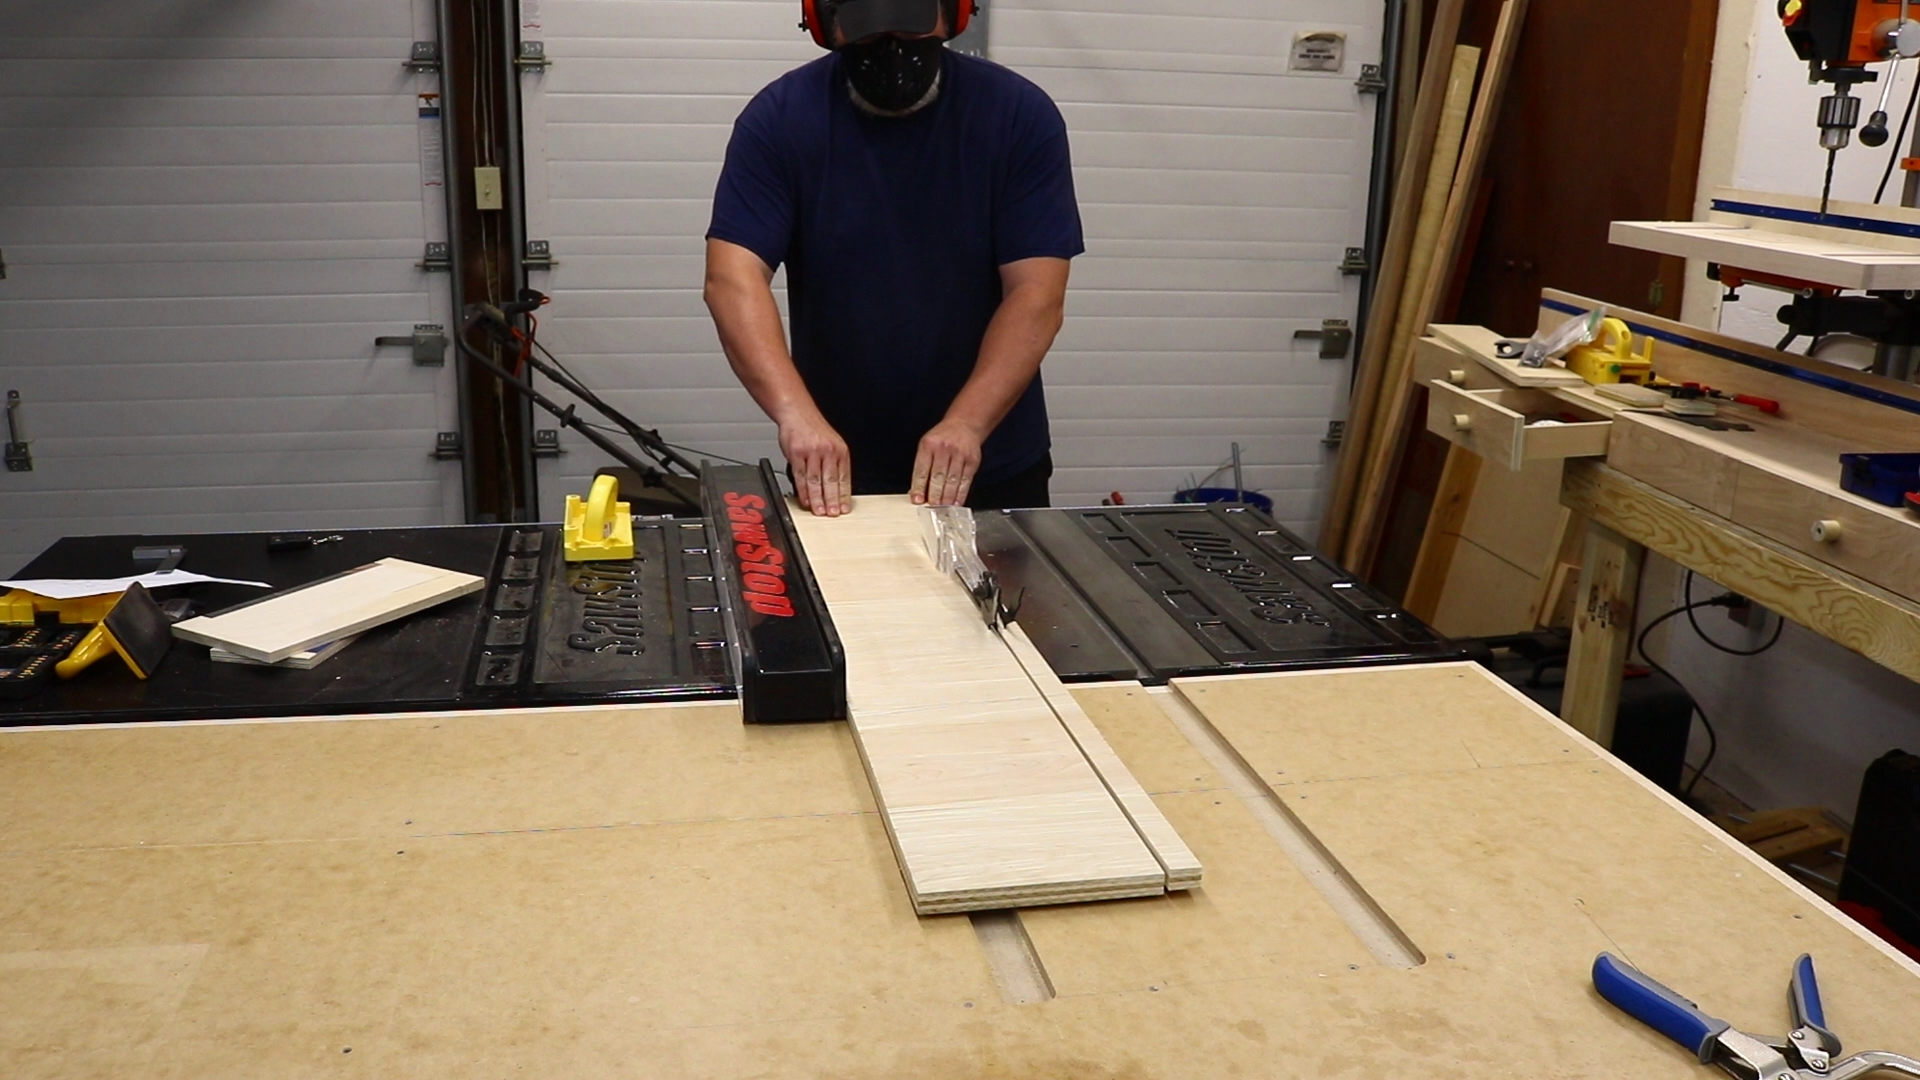
Cutting the dividers at the table saw
I cut the divider strips down to size and then put them in place so I could mark off where they hit each panel. Connecting these two marks gave me the angle I needed to cut over on my miter saw. I have a 12 inch sliding miter saw and it was juuuust big enough to make these cuts. If you don’t have a large sliding miter saw you can use a circular saw no problem.
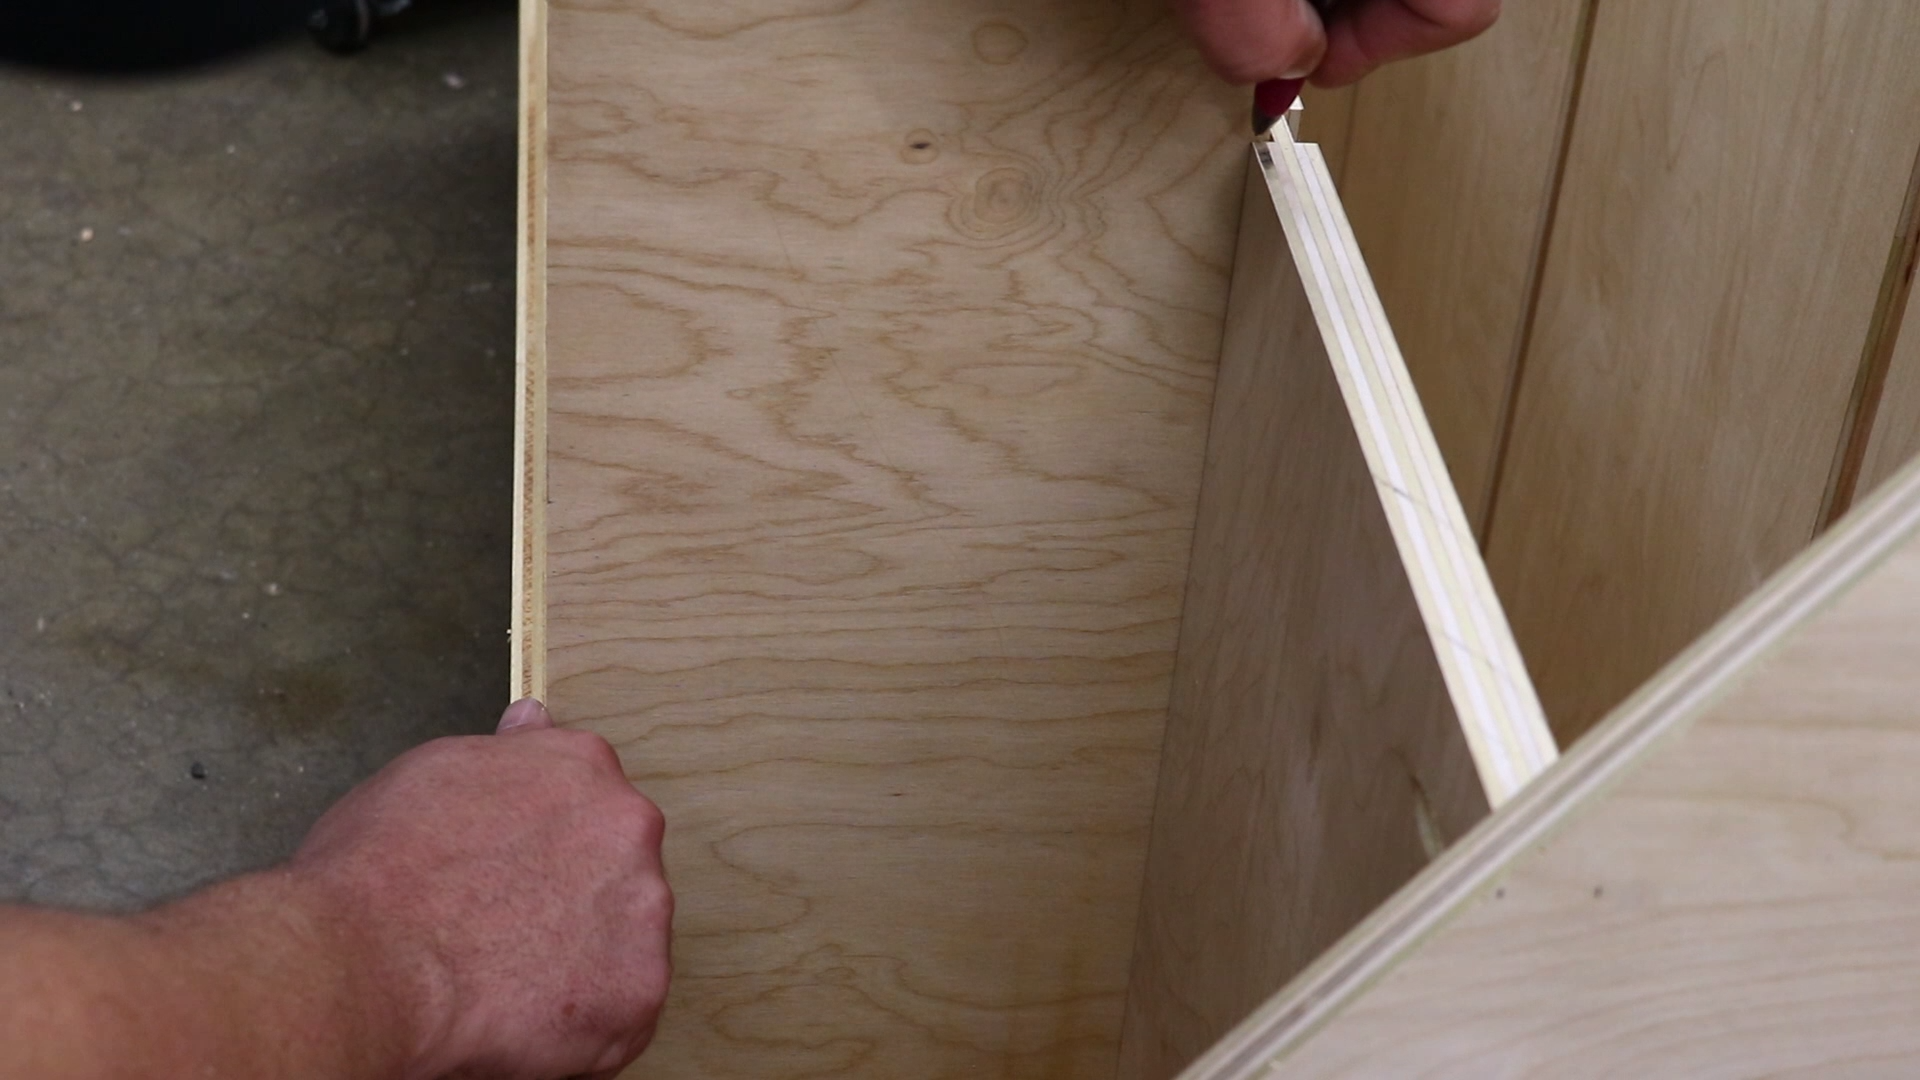
Marking the angle on the dividers
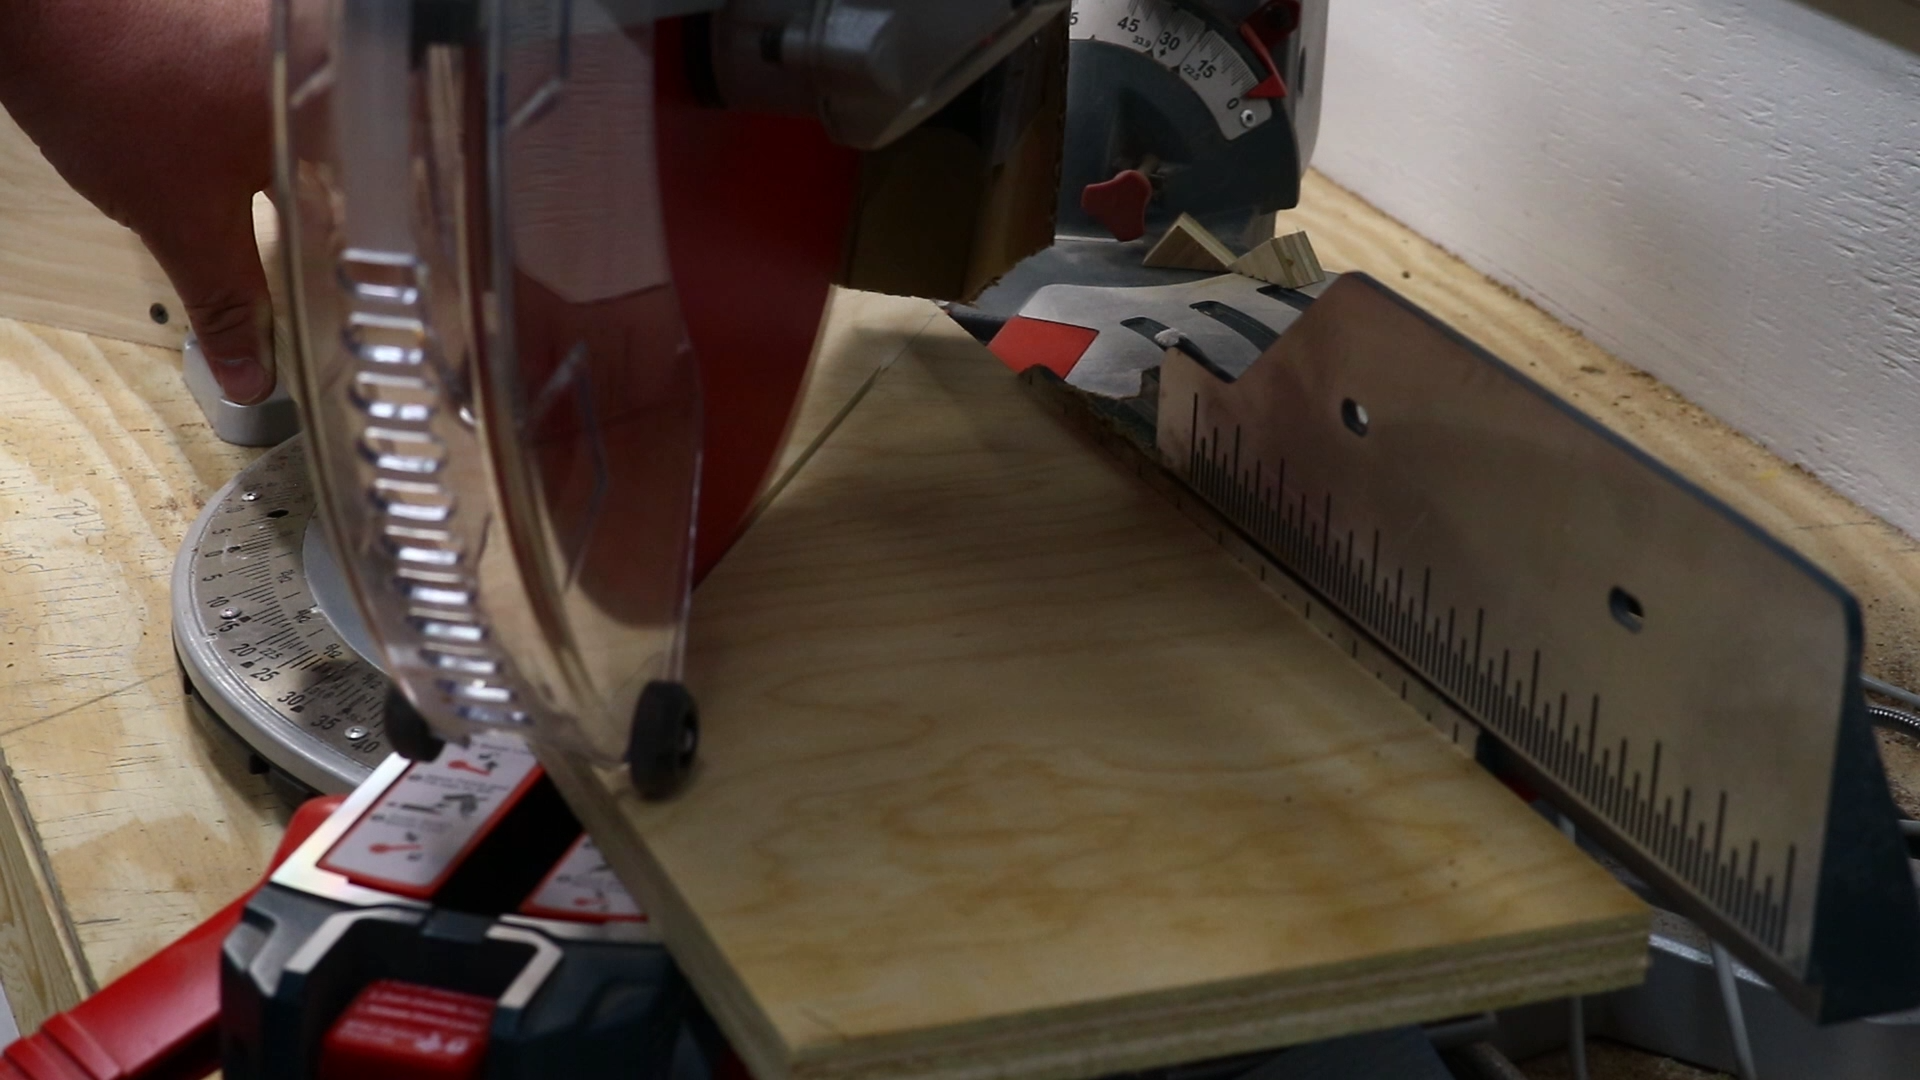
Cutting the angles on the miter saw
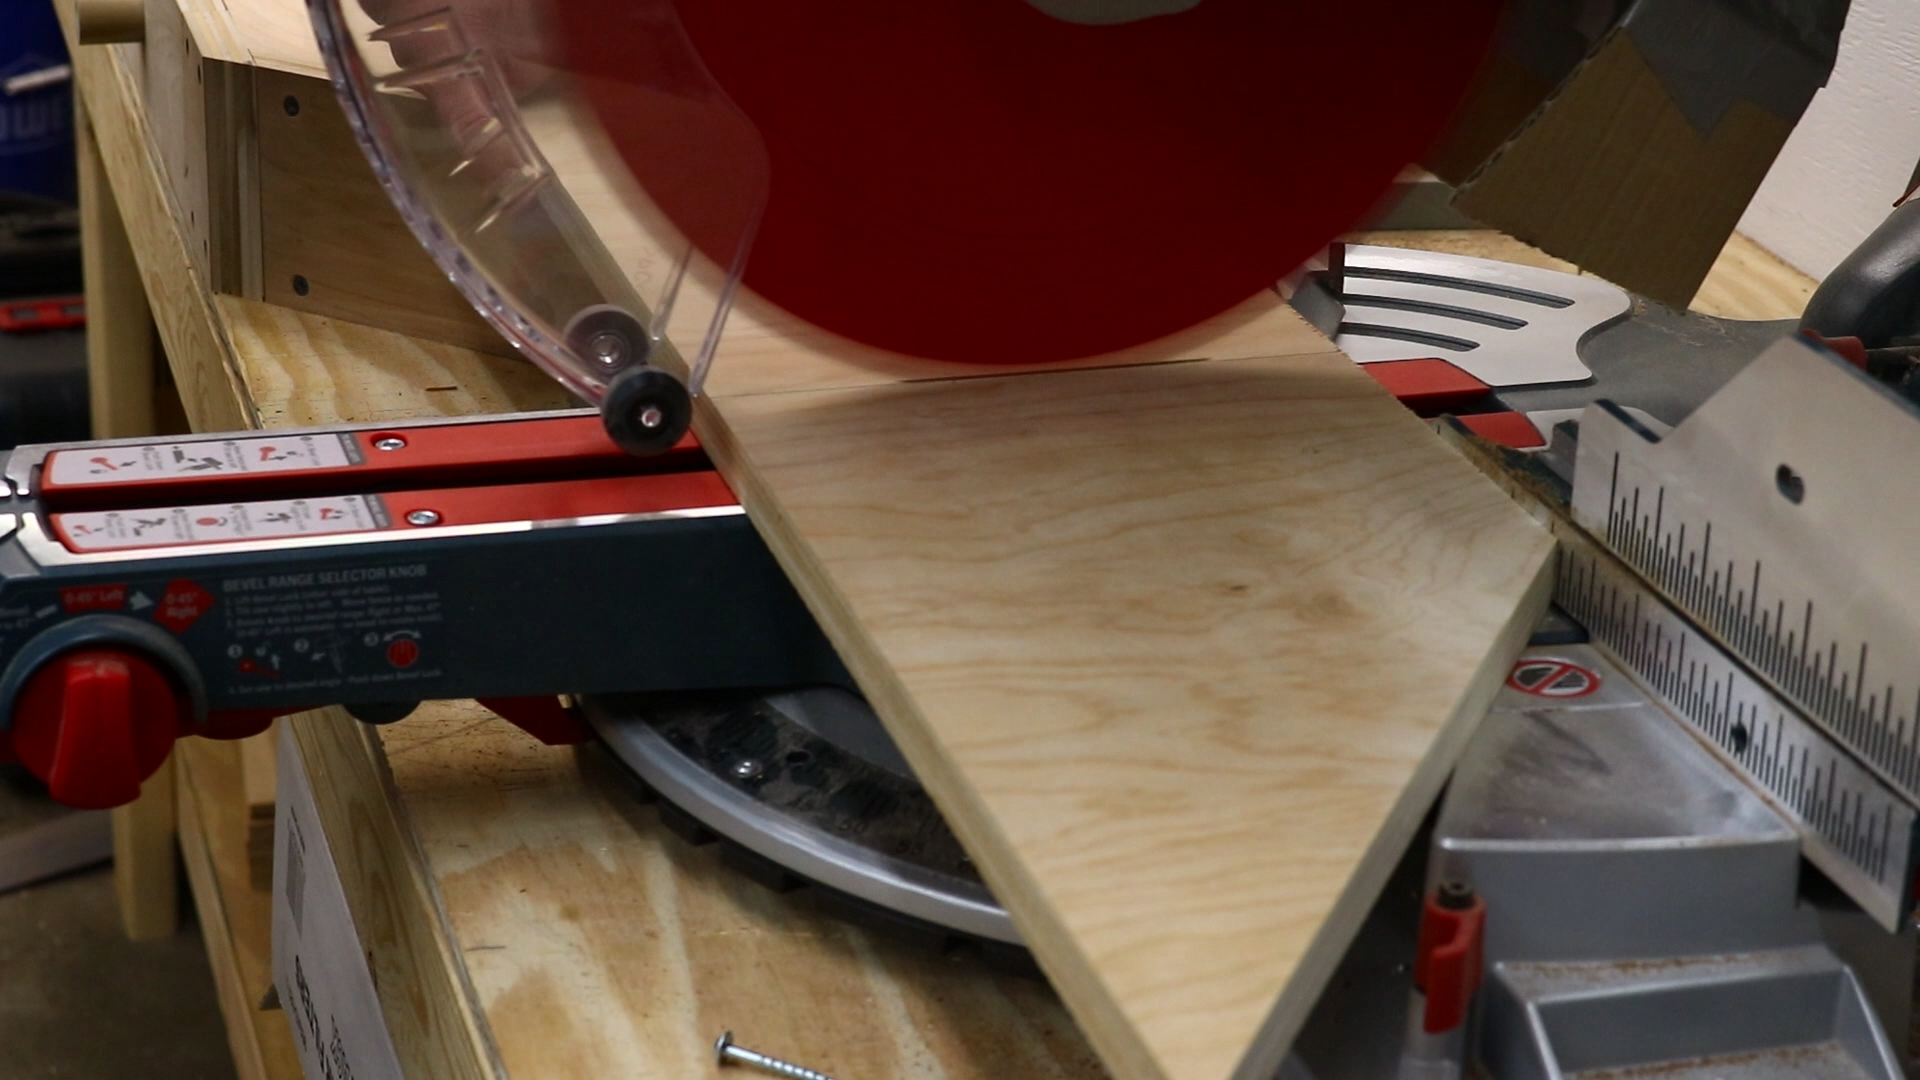
Cutting the dividers to length at miter saw
Once I had all of the angles cut I cut the pieces to length at the miter saw and then placed them into their slots. The first three dividers were done and now it was just rinse and repeat for the remaining six.
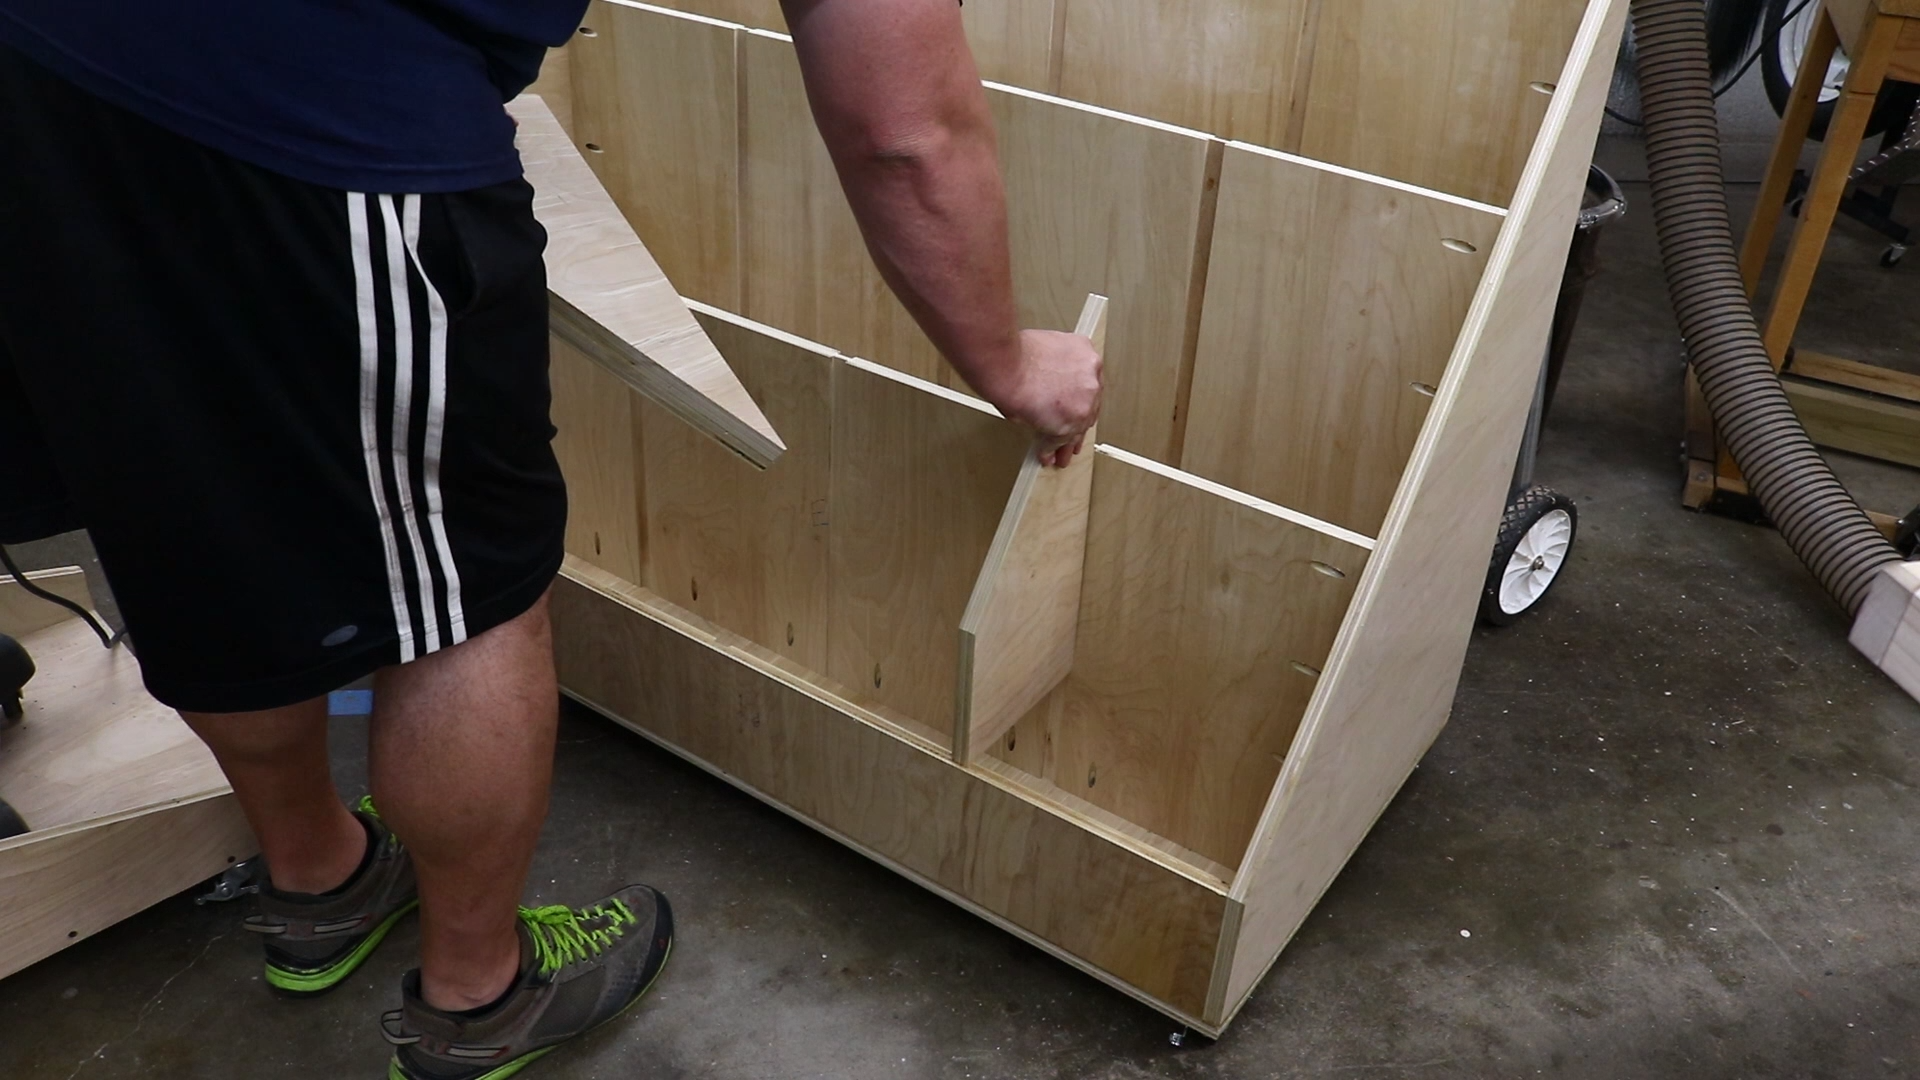
Placing the front dividers
Cutting the rest of the dividers
All of the dividers have the same angle so I just used one of those first pieces I cut to mark out the cut lines on all of the rest of the dividers.
Marking the angles

Cutting the angles
Finishing Touches
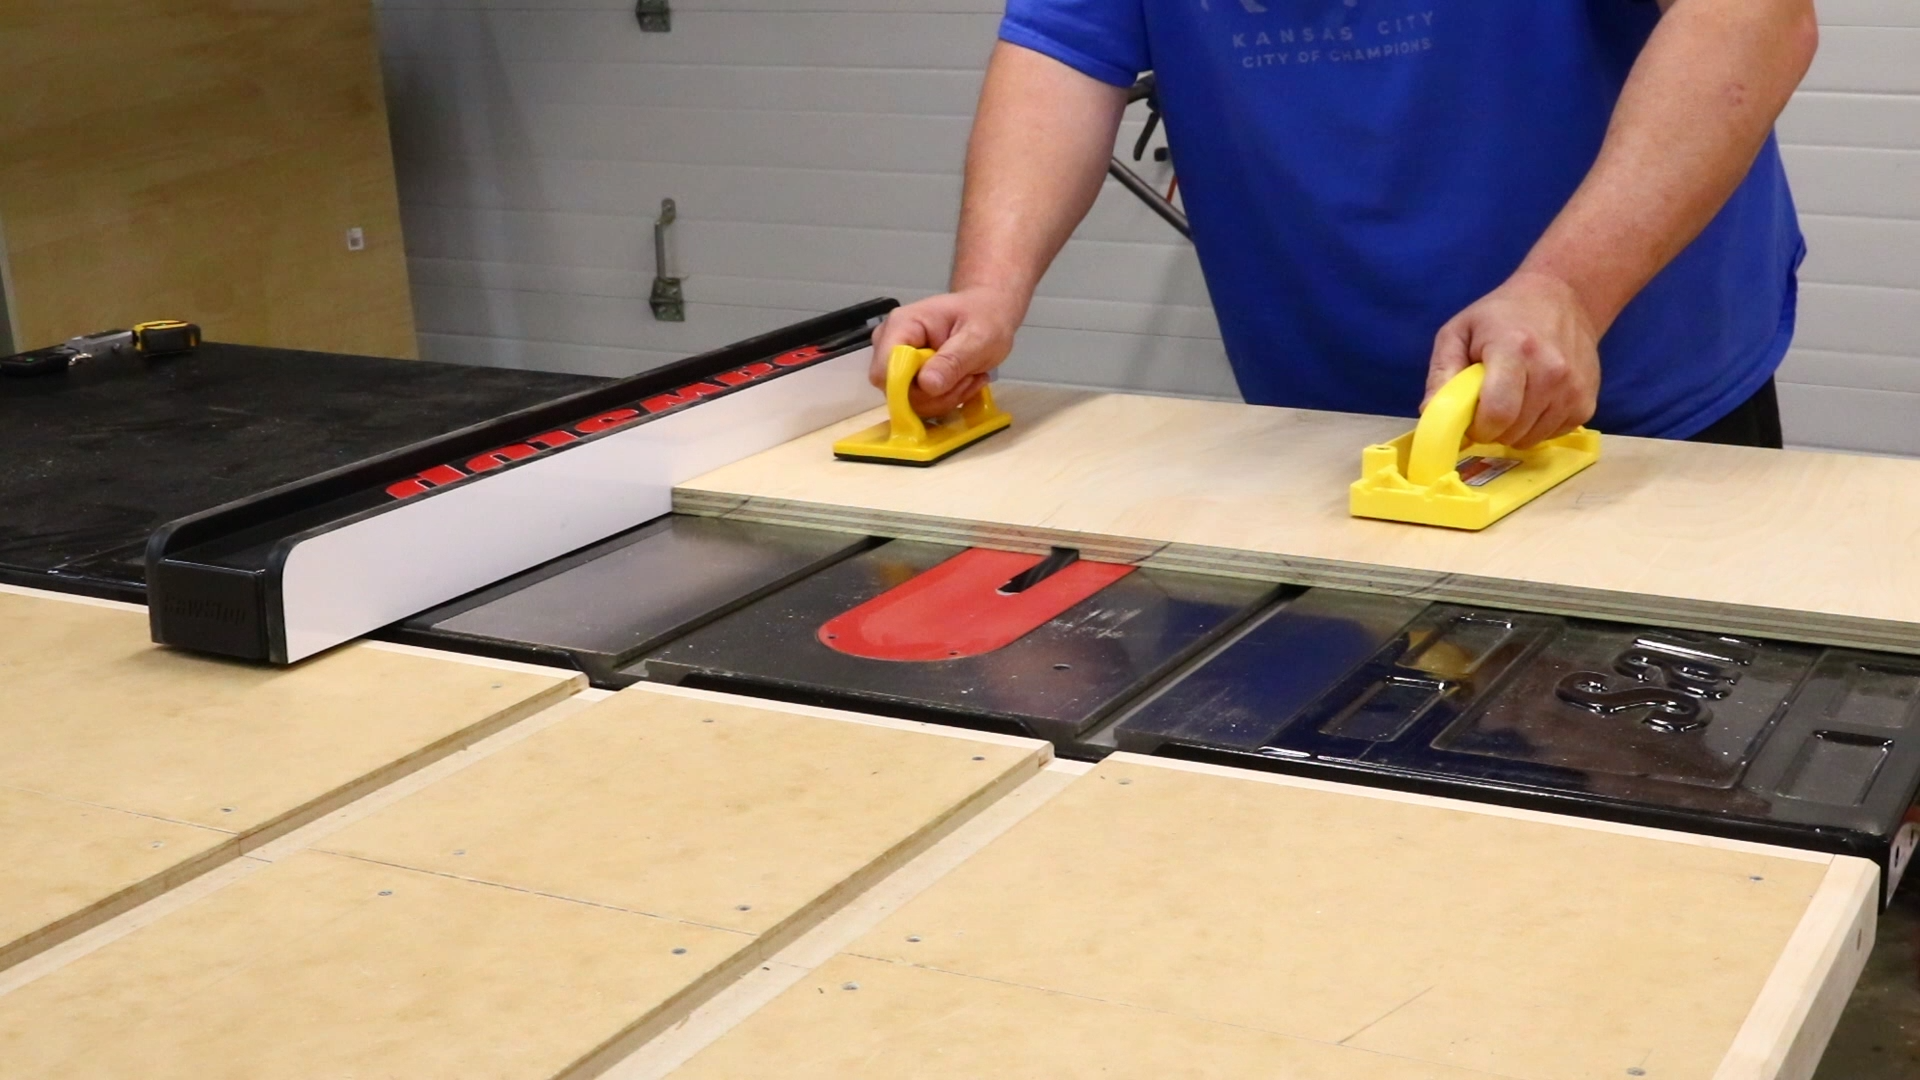
I checked to make sure everything fit and then sanded everything with 120 grit on my random orbital sander. Even though this is a piece of shop furniture that is going to get banged up pretty good, I find that sanding helps keep the chipping and flaking to a minimum, especially on the edges.
Dividers are in place
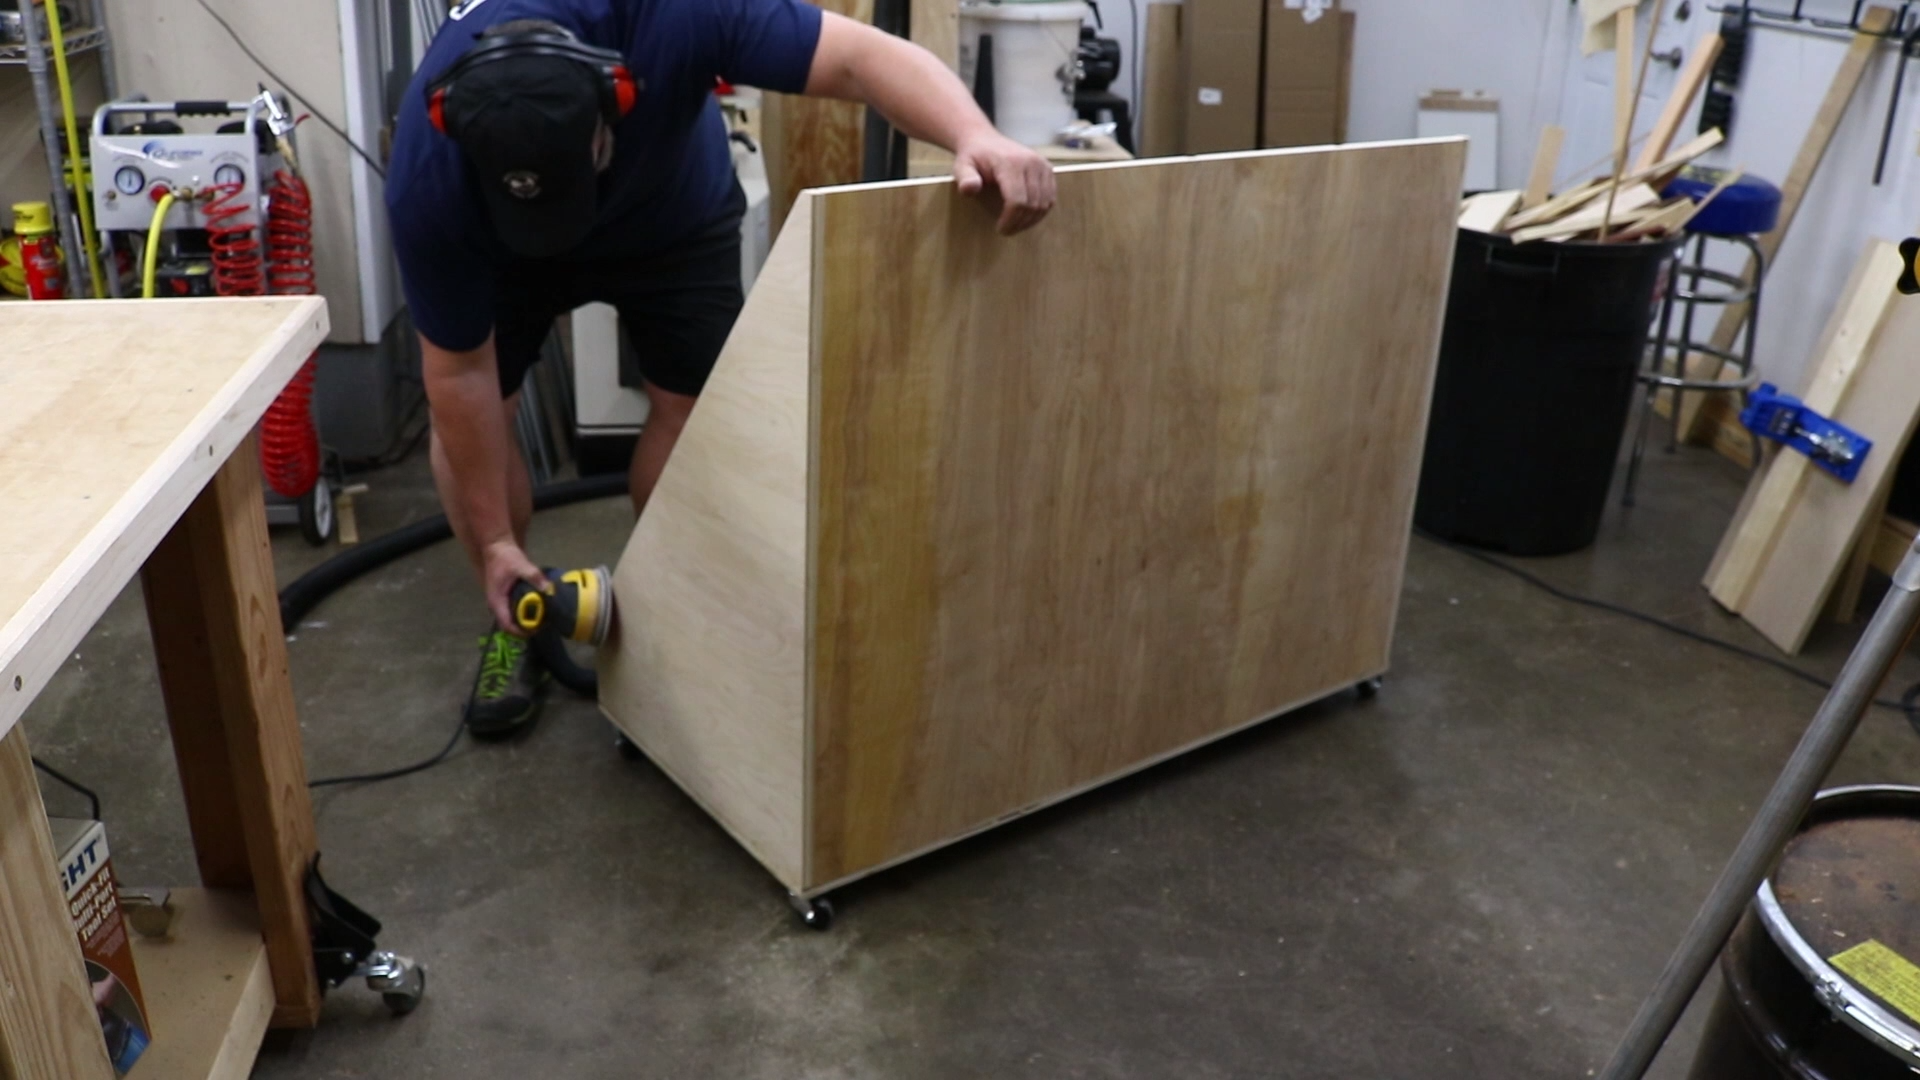
Sanding the scrap wood storage cart
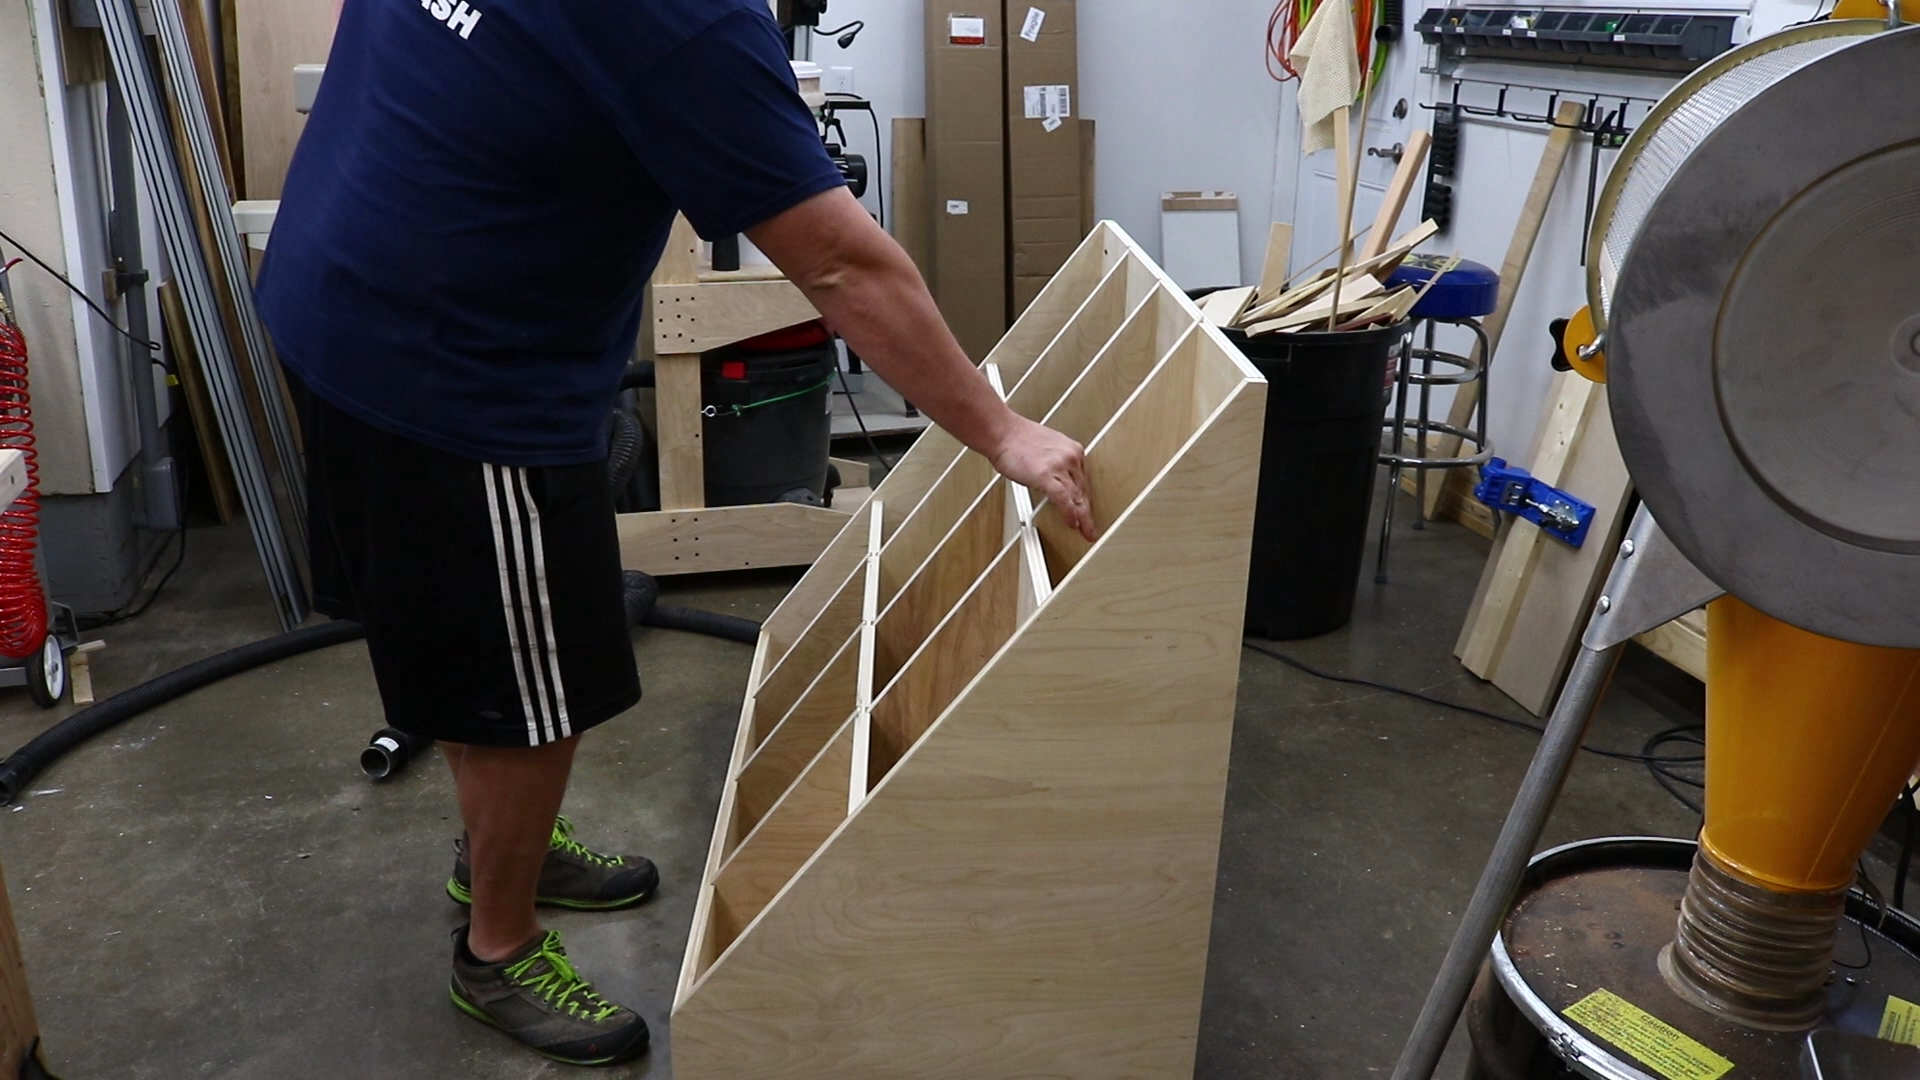
Putting the dividers back in place
All done with the scrap wood storage cart!
Time to fill ‘er up!
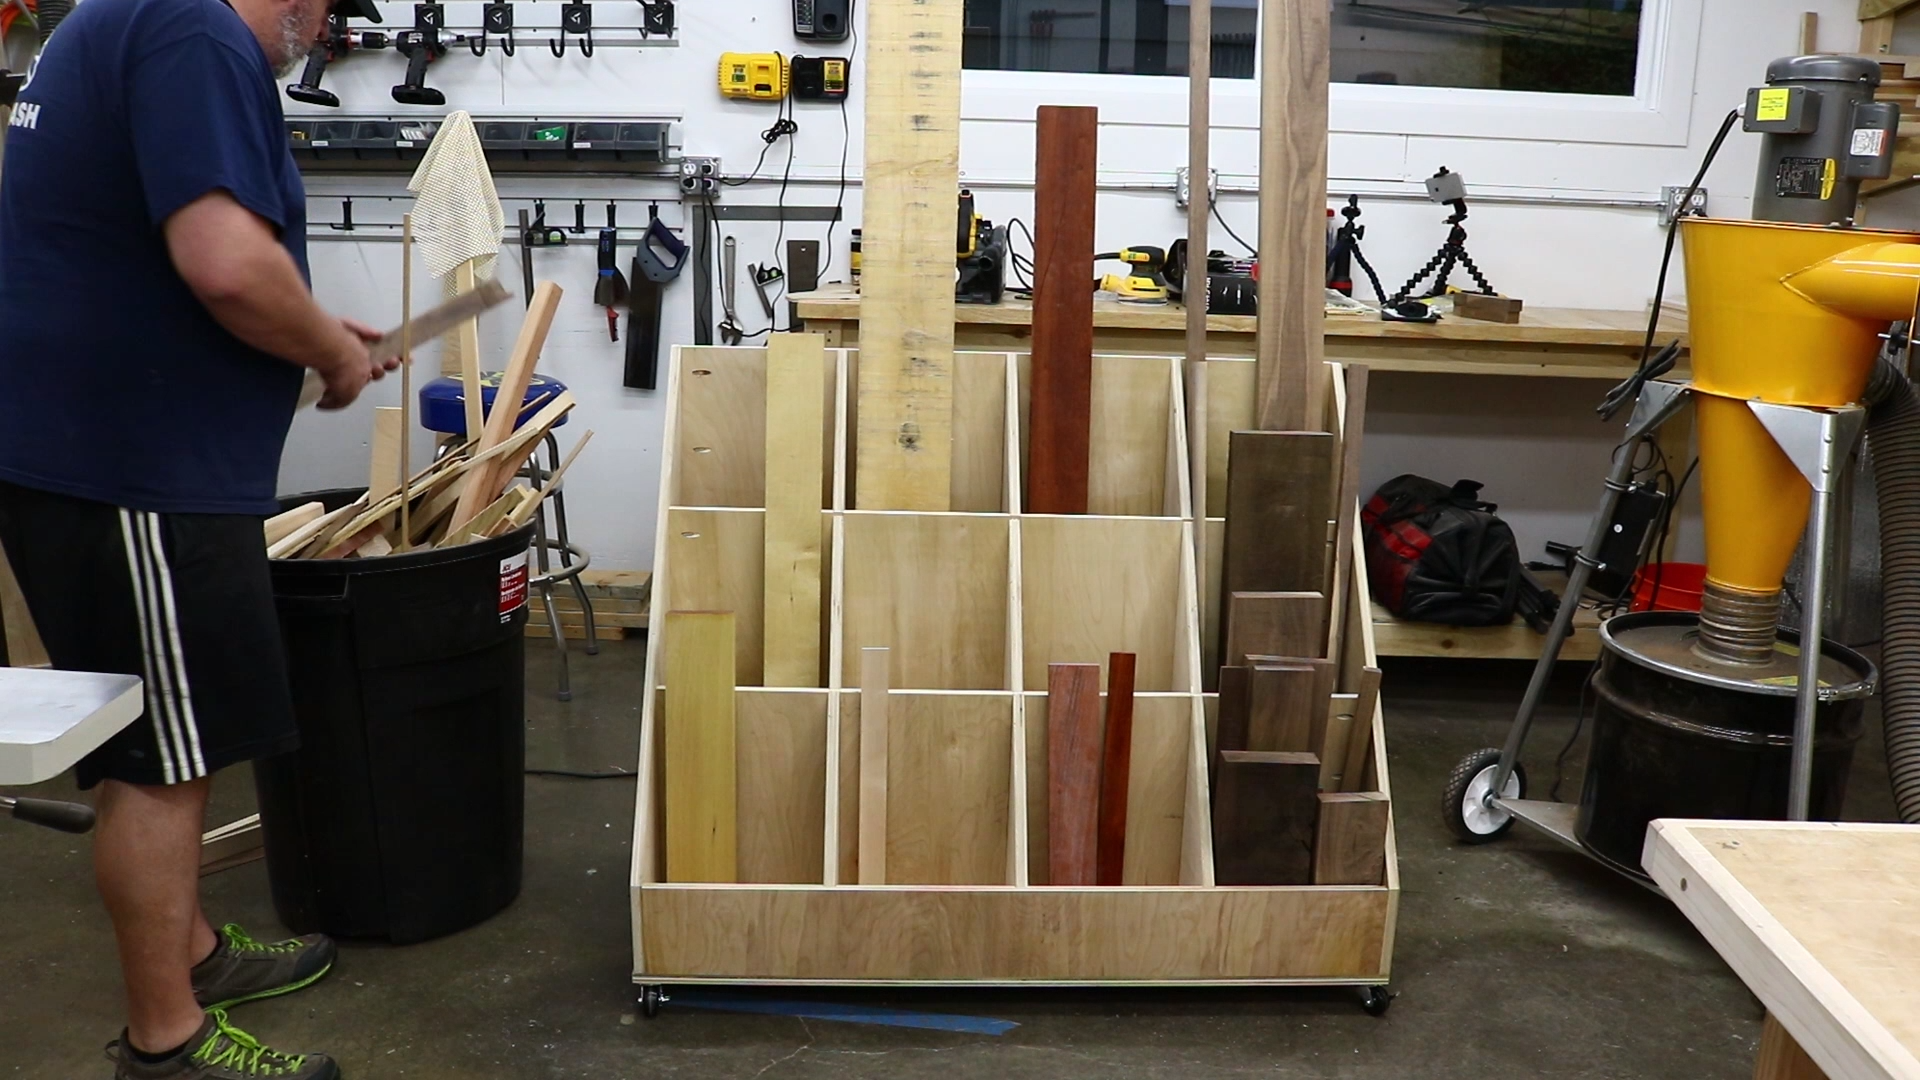
Filling it up
And That’s a Wrap

All done!
That’s it for this project. I am certainly glad I built this scrap wood storage cart. I was able to go through everything I had on hand and pick out what I wanted to keep and organize it all so whatever I am looking for is easy to find.
Do you have a great solution for scraps? Let me know down in the comments below.


5 Comments
Exactly what I am looking for Tim, I have wood everywhere. Thanks!
Thanks, John!
Thanks, Tim. Just what I needed. Your comments, including errors and “I should have”s really
helped a lot.
Thanks, Joe. Glad you enjoyed it and thanks for commenting.
[…] Scrap Wood Storage Cart – The Average Craftsman […]