Making a Big Cutting Board
A cutting board is a staple of the novice woodworker as they are great projects that can be built with minimal tools. They can also be extremely intricate and elaborate. You can make beautiful cutting boards going either the simple or complex route.
The Design
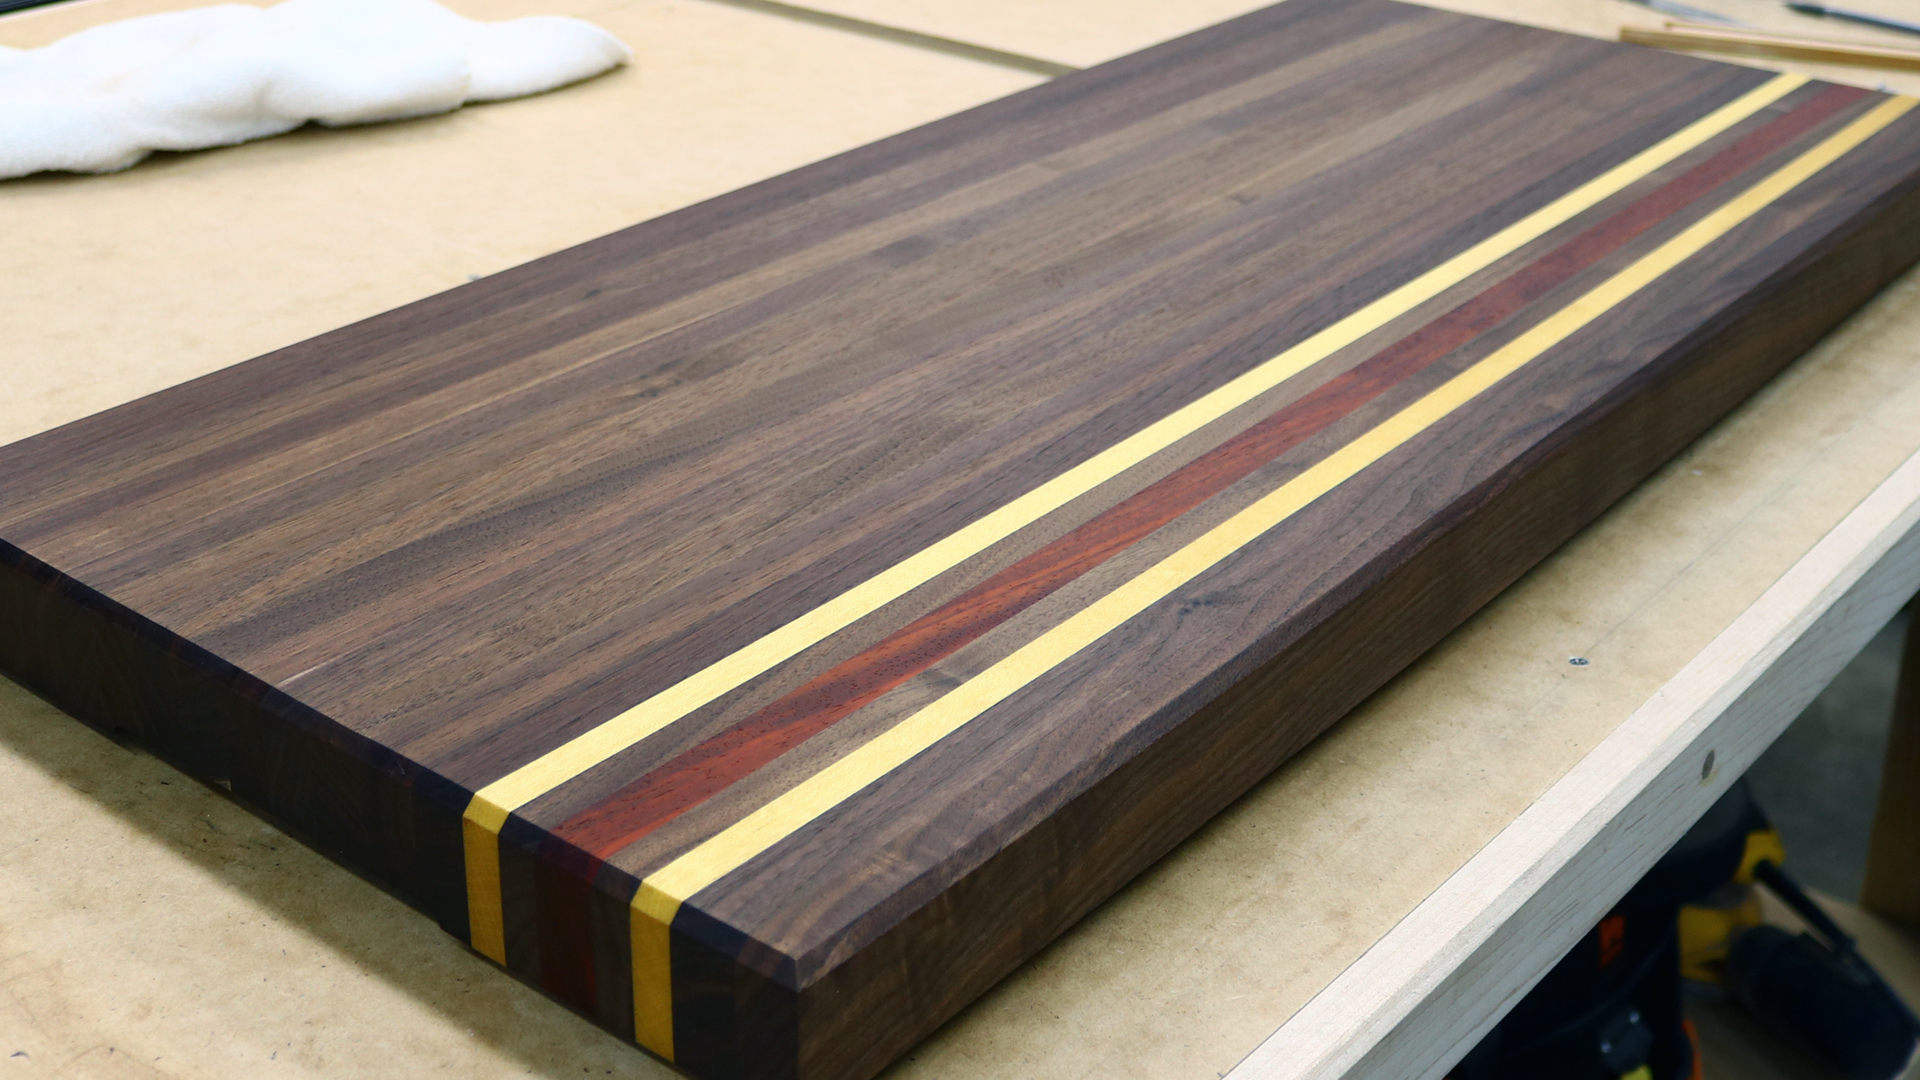
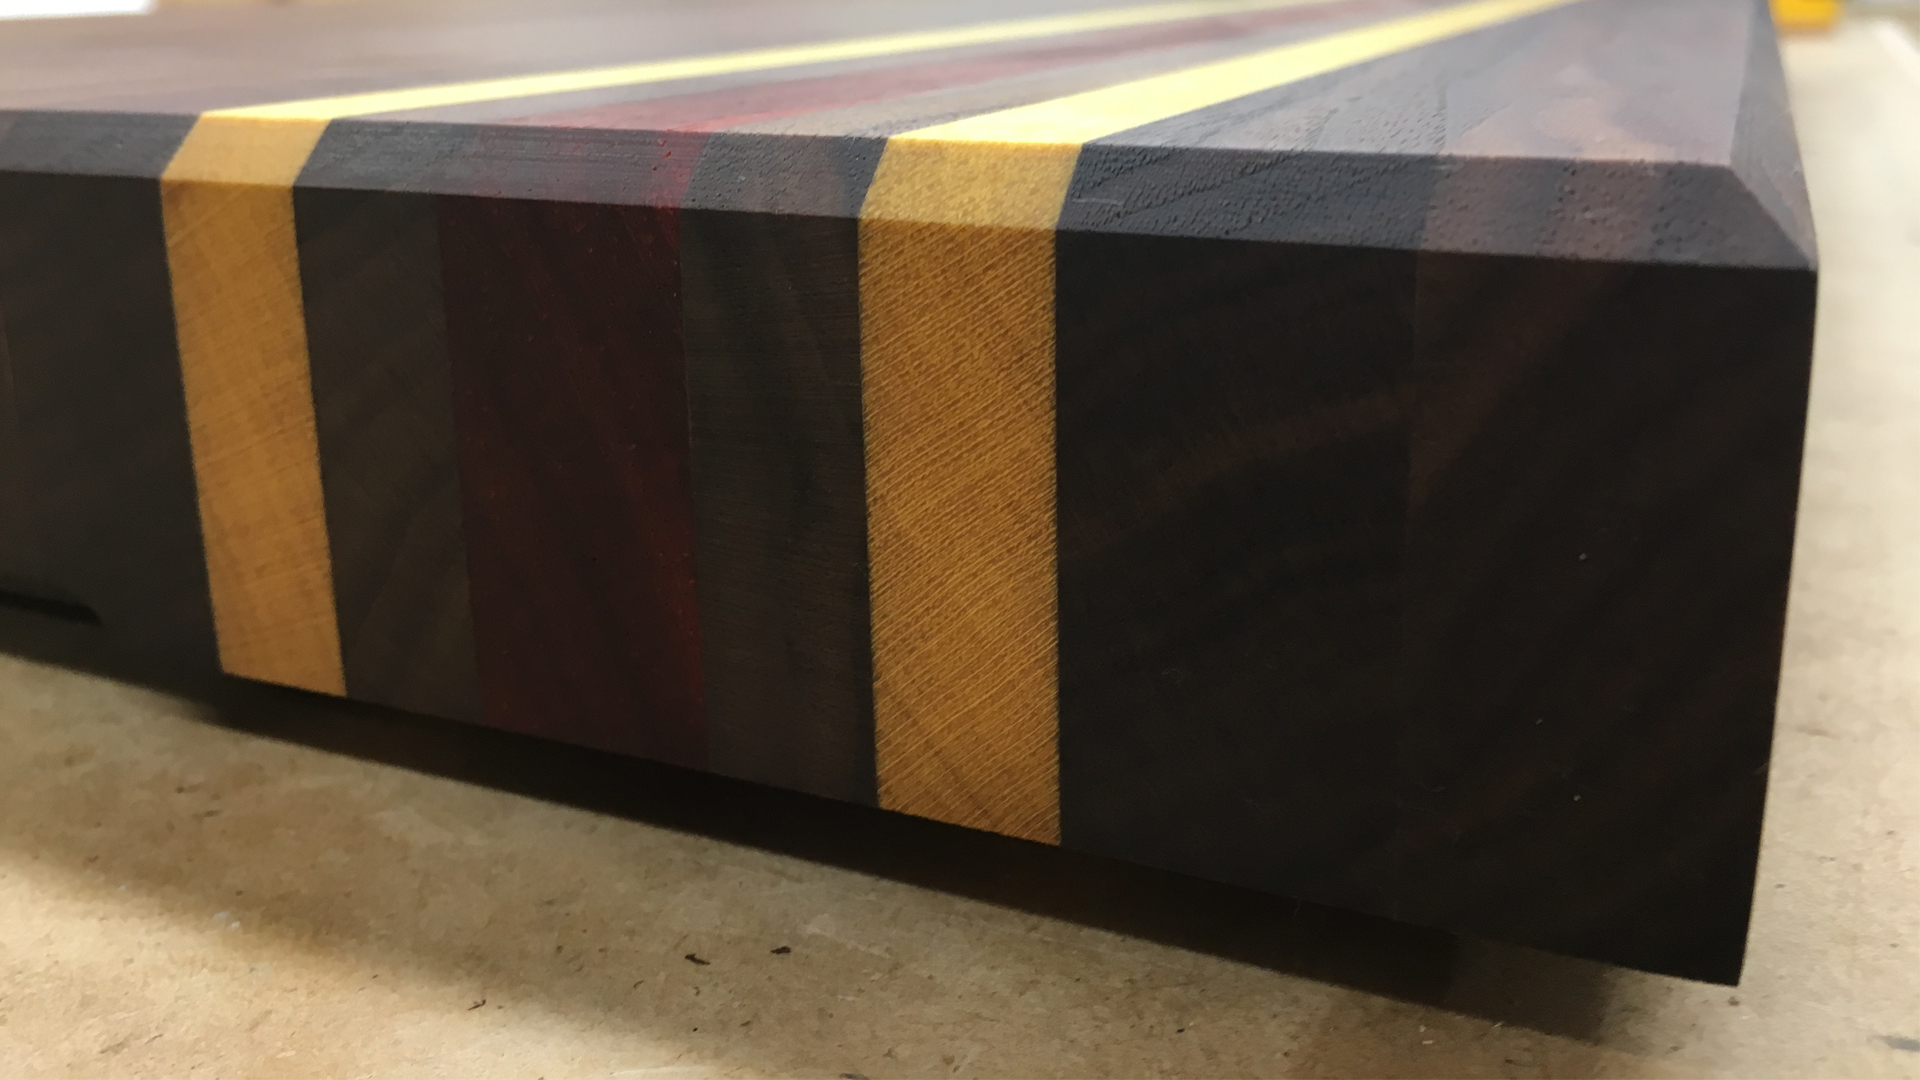
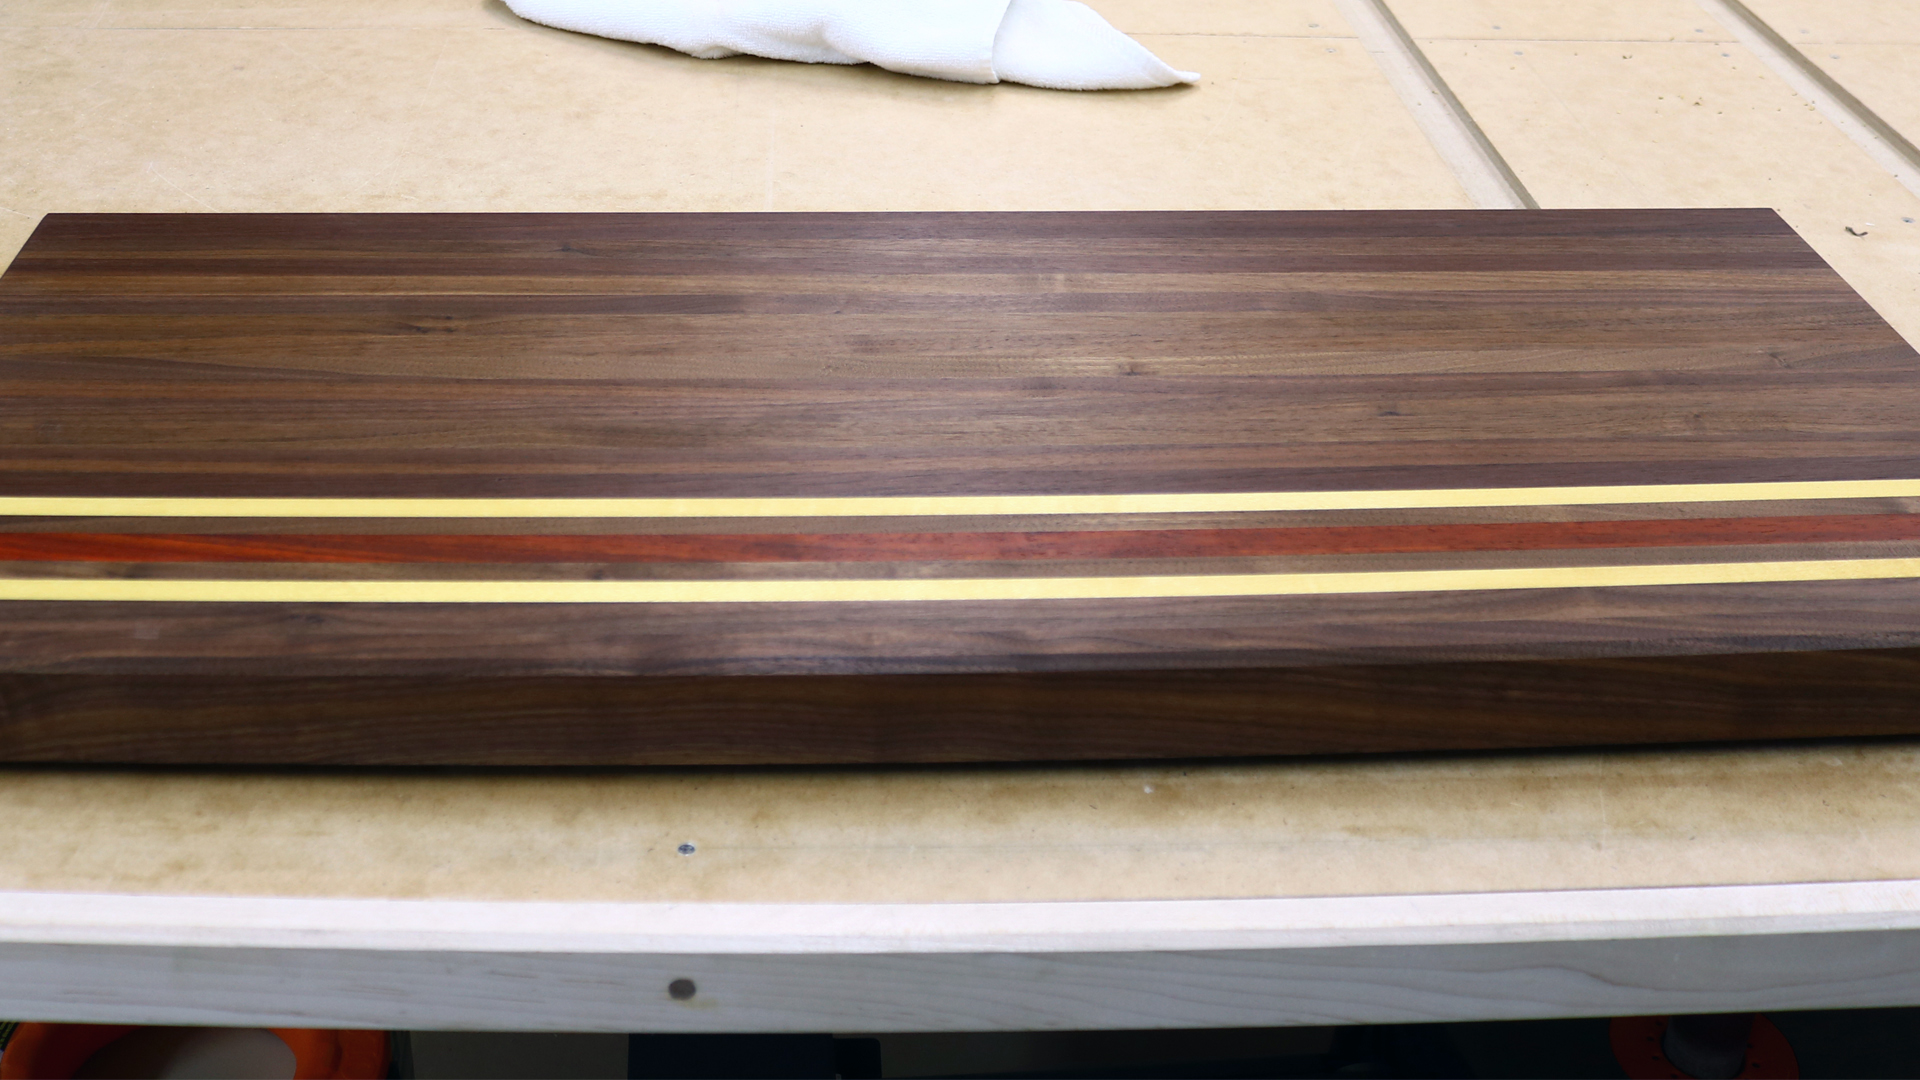
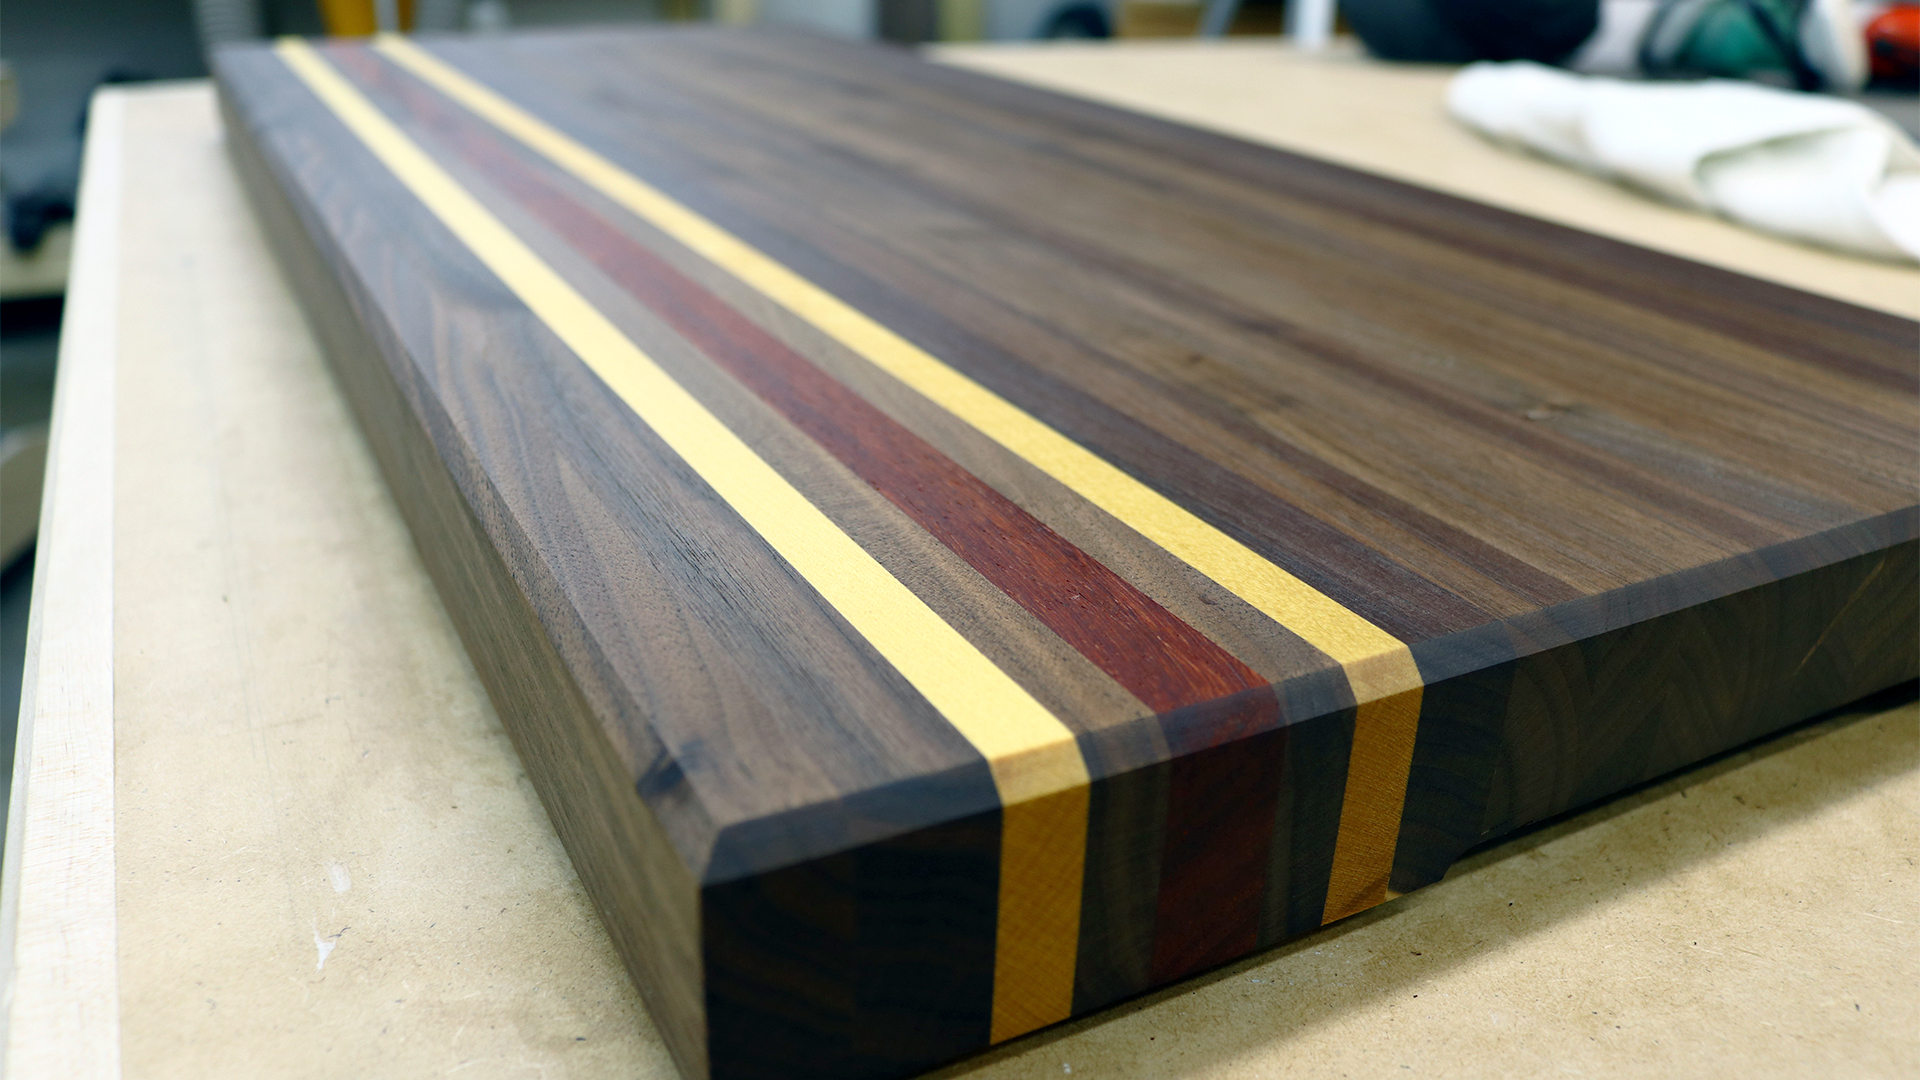
My cousin texted me one day and asked if I could make him a cutting board. I said “sure” and then asked for some specifics as to what he wanted. He said he wanted it big enough for two people to use at one time but didn’t have much to go on as far as looks. I perused Google and came across a few I liked and sent them over to him so he could tell me what he liked. We ended up going with an offset stripe pattern. The bulk of the board would be walnut with yellowheart and padauk accents. And it would be big. Probably the biggest cutting board I’ve seen. It came in at 36″ x 16″ and 1-3/4″ thick. I’d guess it weighed around 25 pounds.
To get a cutting board that thick I had two options:
- Buy 8/4 lumber, or
- Cut 4/4 lumber into a bunch of strips and then turn them on end.
At first I wanted to go the 8/4 route as I thought it would look better with the walnut being one or two slabs rather than a bunch of strips. Due to cost, I ended up going with 4/4. I can get 4/4 walnut for about $4/board foot. If I went with 8/4 it would have been over $9. In the end, I am actually glad I went with 4/4 and the board turned out really well.
Some cutting boards have what is called a juice groove which is a little channel that goes around the edge so juices and water don’t spill over and onto the counter. I am not really a fan of the look of juice grooves so it was left off of this board. It’s not my counter, what do I care?
Materials and Tools
Lumber
- 4 – 6″ – 8″ wide, 8′ long boards of 4/4 walnut
- 2 – 2″ wide, 4′ long boards of 4/4 yellowheart
- 1 – 2″ wide, 4′ long board of 4/4 padauk
Hardware/Fasteners/Other Supplies
- 1 – 12 pack rubber feet – http://amzn.to/2FpriZT
- 1 – pack #8 x 3/4″ stainless steel wood screws – http://amzn.to/2Fk9O0T
- Wood Glue – http://amzn.to/2rqPB7E
- Howard Cutting Board Oil – http://amzn.to/2Ee68hP
- Howard Butcher Block Conditioner – http://amzn.to/2BzFWv7
Tools I will be using in this build
- Craftsman Drill and Impact Driver – http://amzn.to/2mt5nJj
- SawStop CNS Contractor Table saw – http://amzn.to/2mr6Lw2
- Dewalt Random Orbital Sander – http://amzn.to/2D1j8Wy
- Bosch Glide 12″ Miter Saw – http://amzn.to/2F061Wk
- Microjig GRR-RIPPER – http://amzn.to/2ruNUWM
- Steelex 8″ Jointer – https://tinyurl.com/y9m75a4u
- Dewalt 735 13″ Planer – http://amzn.to/2GnfOYd
- Bessey 24″ K Body Revo Parallel Clamp – http://amzn.to/2DPPd7H
- Irwin 12″ Quick Clamp – http://amzn.to/2Fmv3zc
- Silicone Glue Roller – http://amzn.to/2nkEx6r
- Stanley Block Plane – http://amzn.to/2Ef7UiM
- Ridgid Trim Router – http://amzn.to/2Fmvhq2
theaveragecraftsman.com is a participant in the Amazon Services LLC Associates Program, an affiliate advertising program designed to provide a means for sites to earn advertising fees by advertising and linking to amazon.com
Let the Building Commence!
Milling the Lumber for the Cutting Board
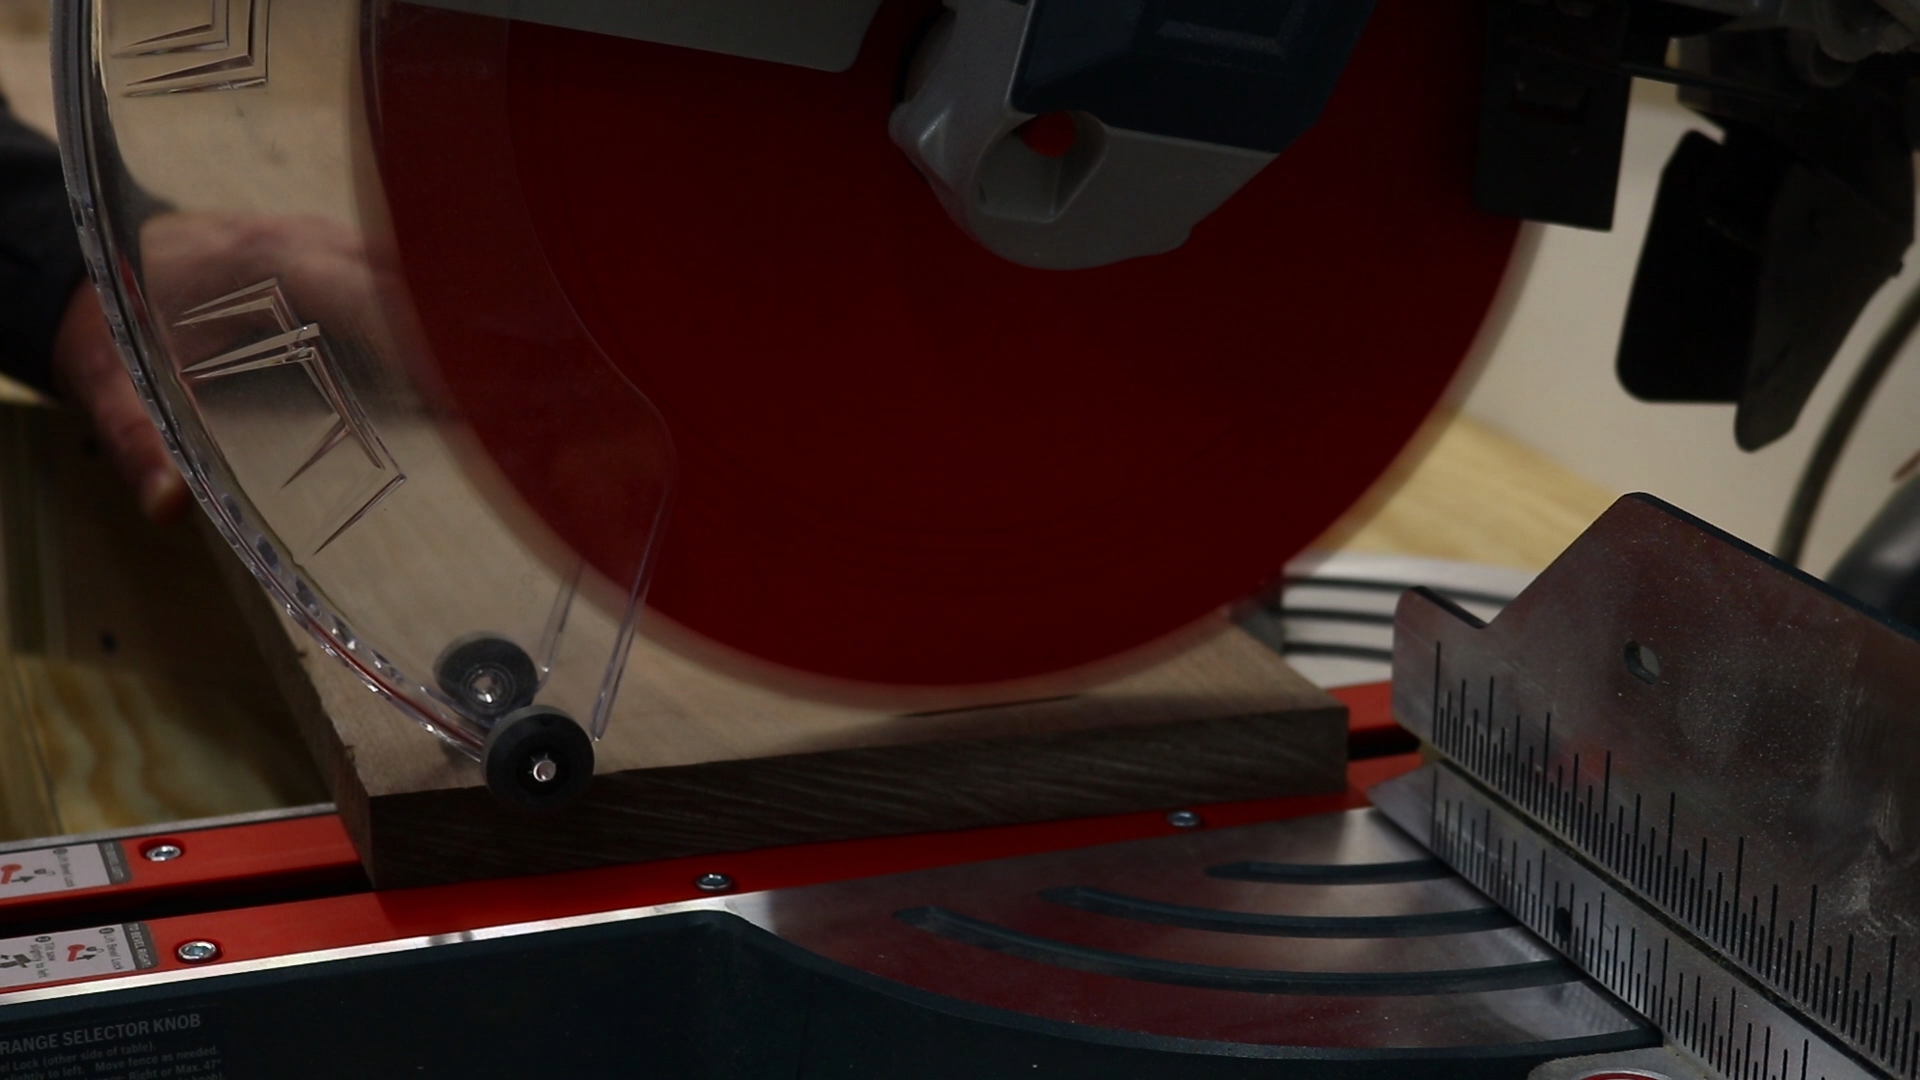
I started out at the miter saw to cut the rough boards into more manageable lengths. I left them about an inch longer than the desired final size of the board.
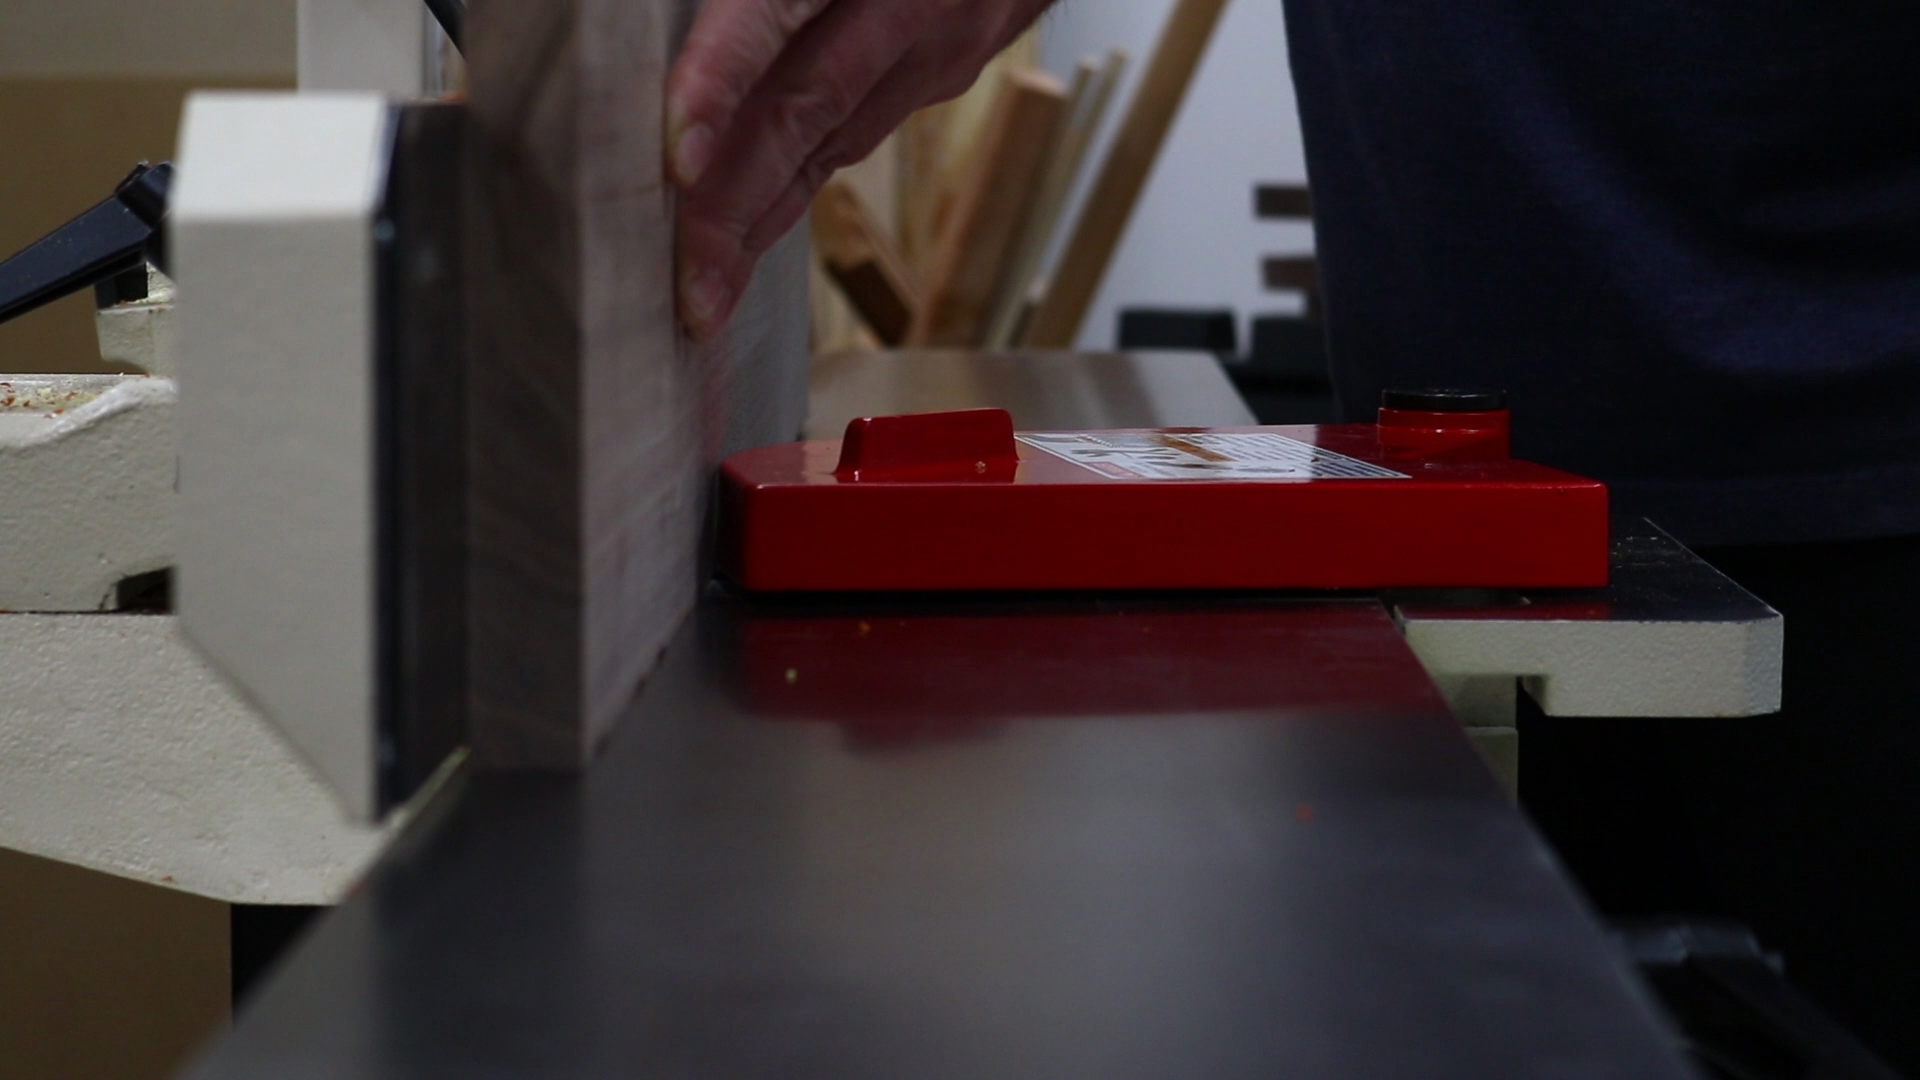
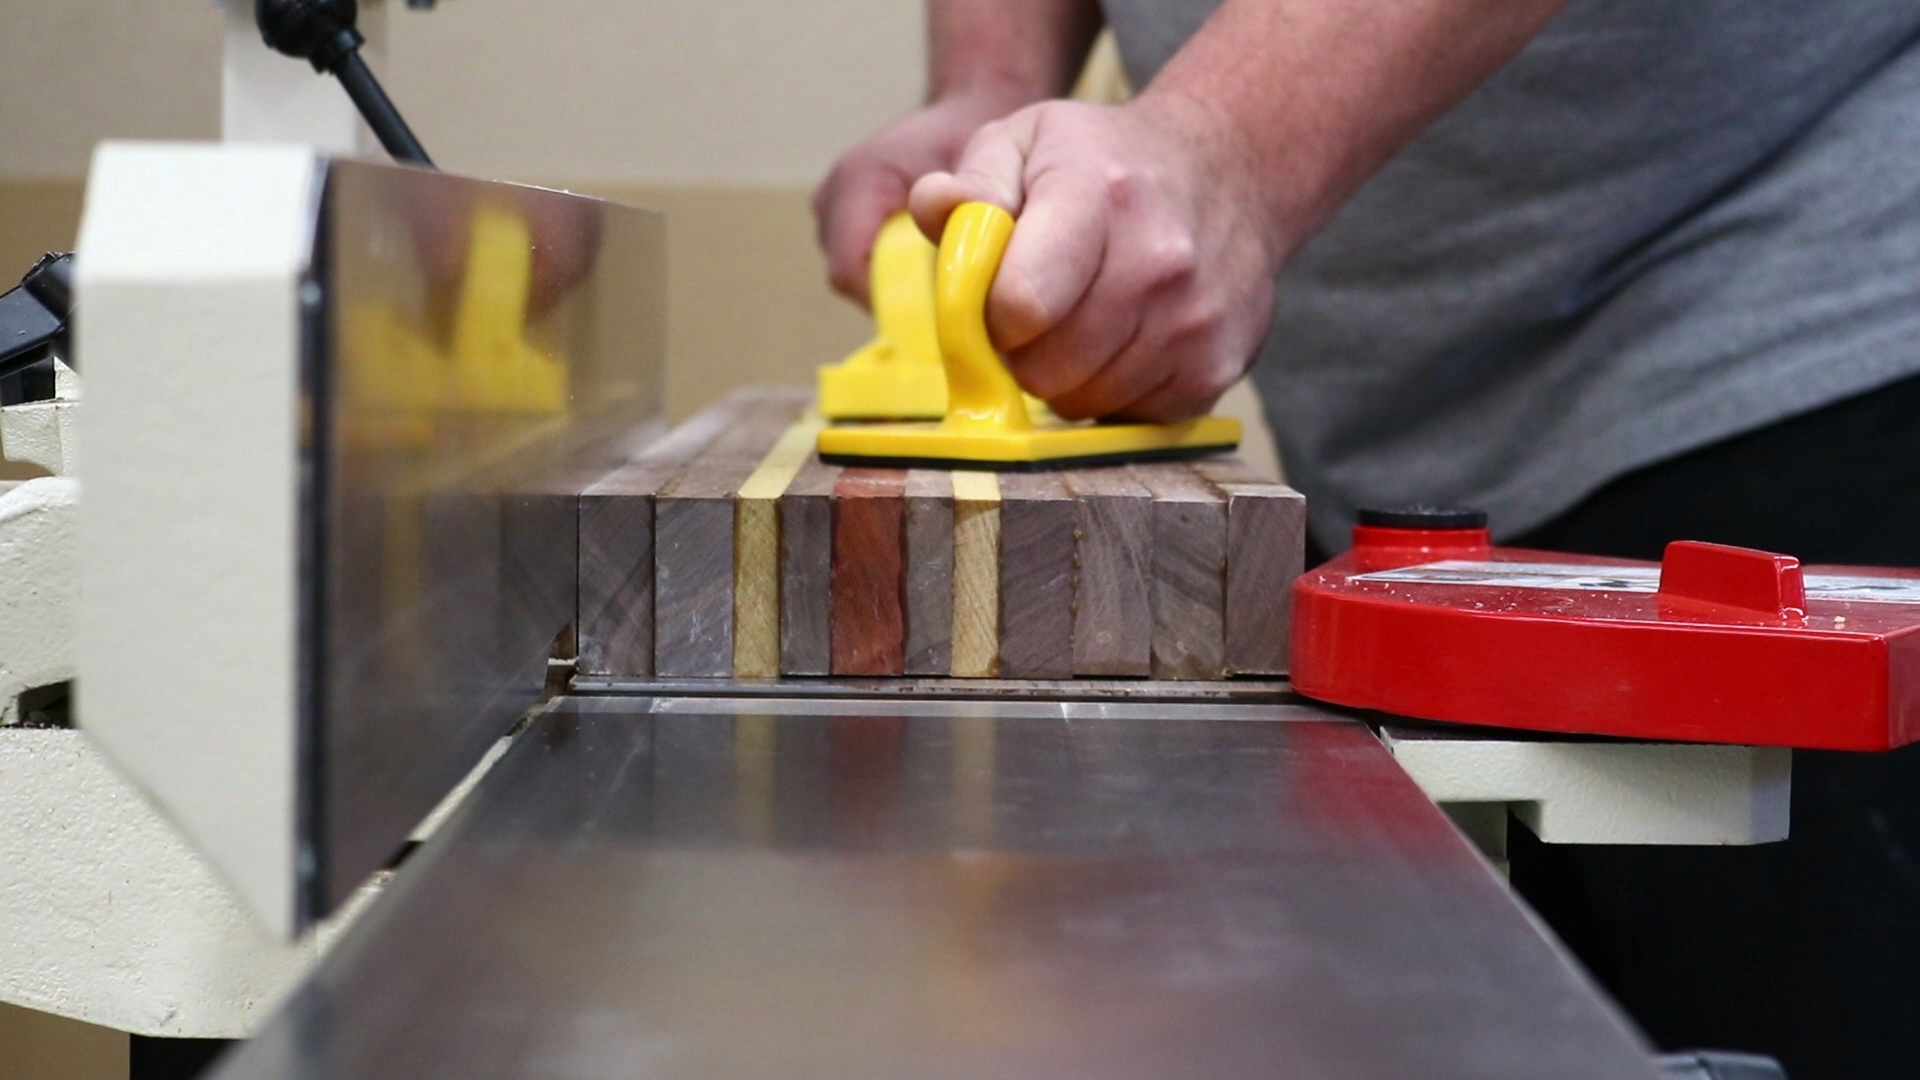
It was then over to the jointer to get one straight edge.
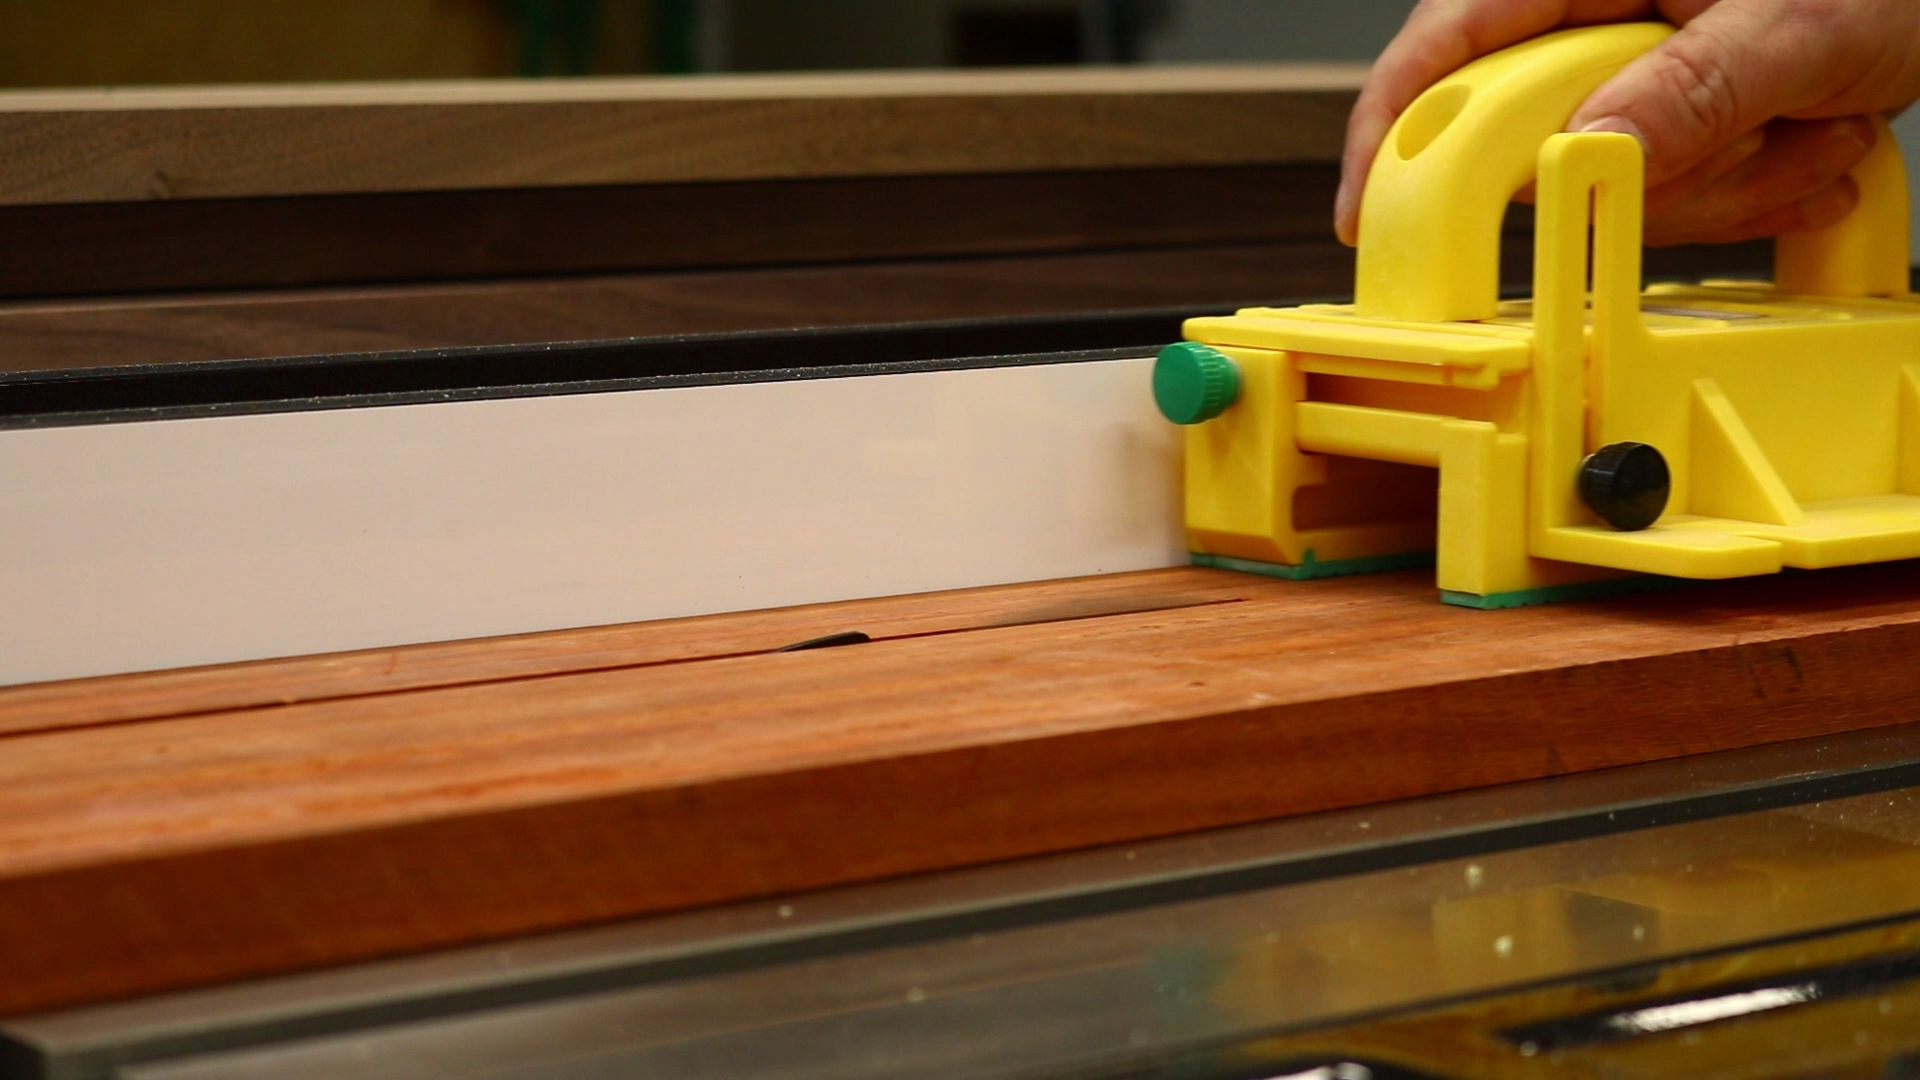
After I had a straight edge on all of the boards I was able to rip them down into 2″ strips on the table saw.
With all of the pieces cut to width I ran them through the planer. Most of the walnut pieces were just skip planed as I didnt need them to be any particular thickness. For the paduak, yellowheart and two strips of walnut, I planed them down to the exact thickness I needed which was 3/4″ for the padauk and 1/2″ for the yellowheart and walnut. These 1/2″ walnut pieces were placed between the padauk and yellowheart in the stripe pattern.
First Glue Up
With all of the strips prepped it was time for glue up.
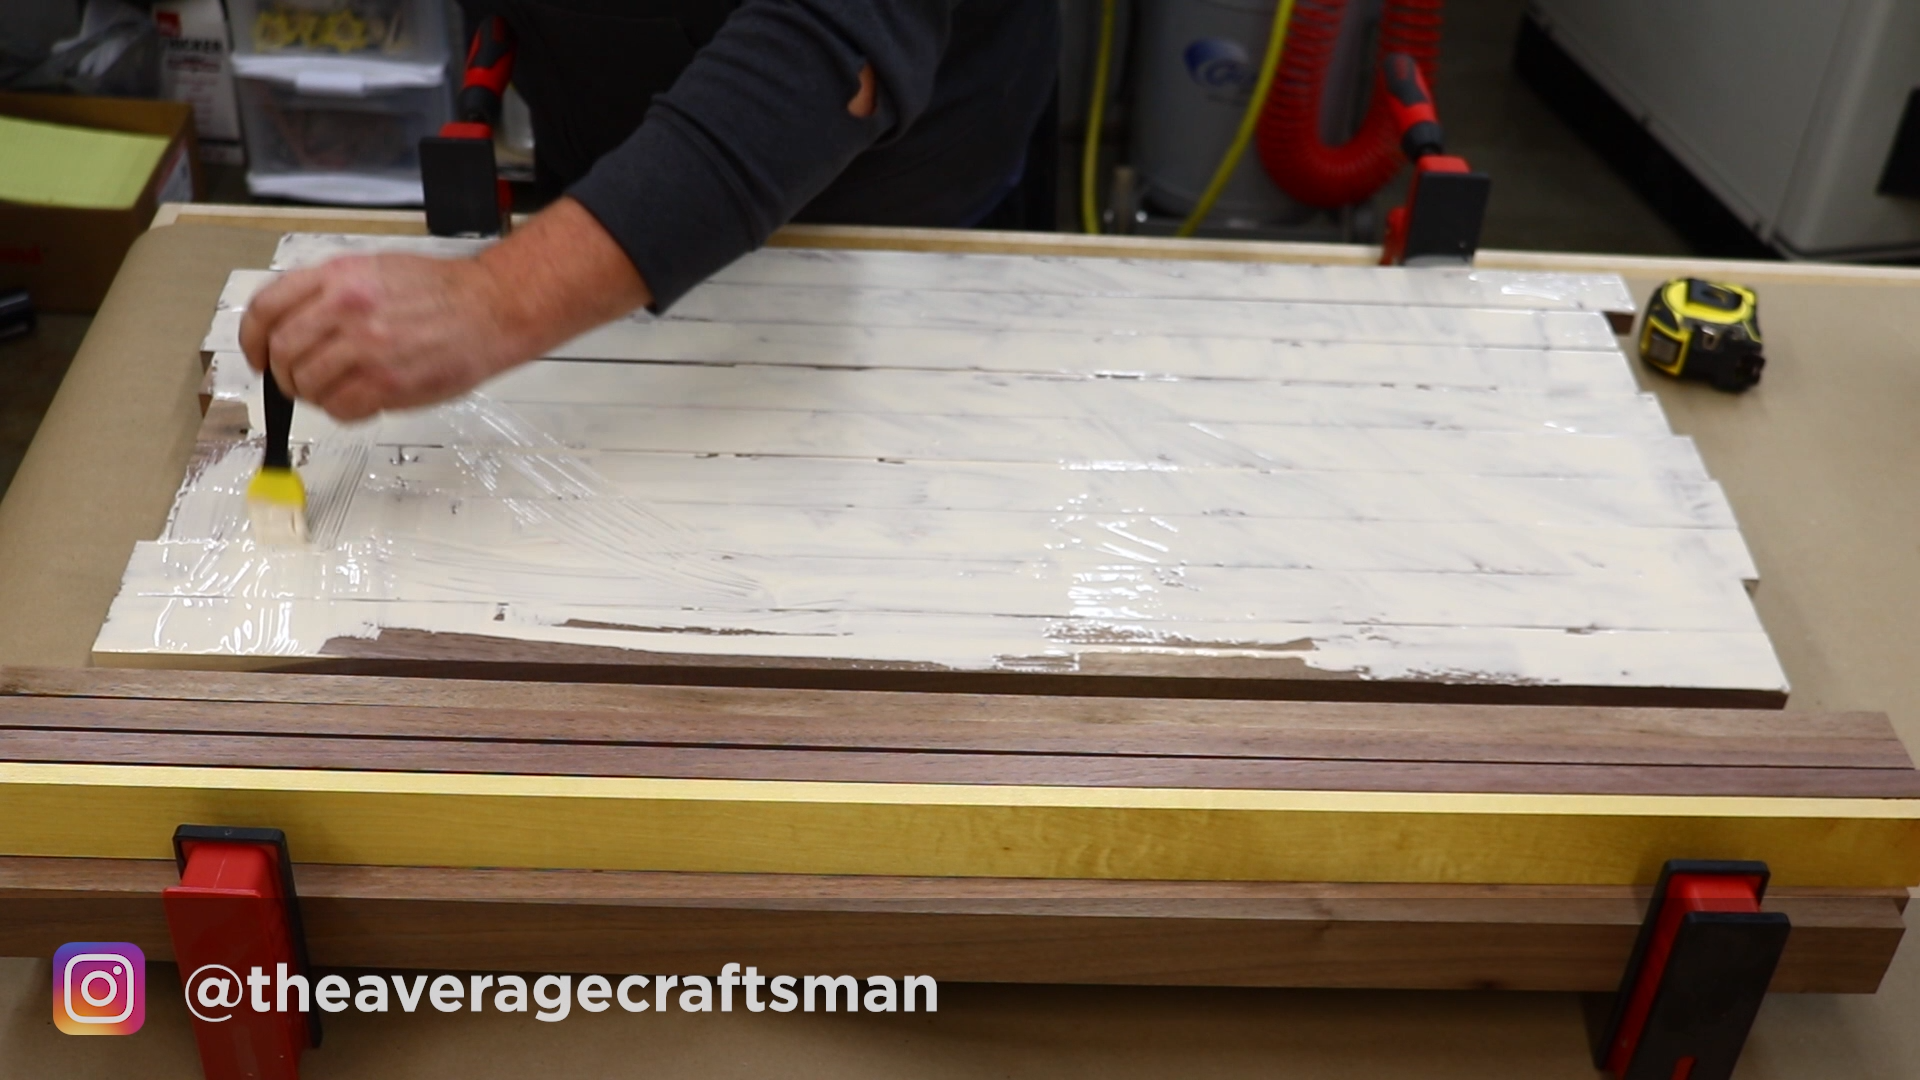
Since the final width of the board was going to be 16″, which is wider than my planer capacity, I decided to do the initial glue up in two parts which were about 8″ wide. This allowed me to joint and plane the bulk of the board and only have to worry about using a hand plane and a sander to get the two halves to meet flush.
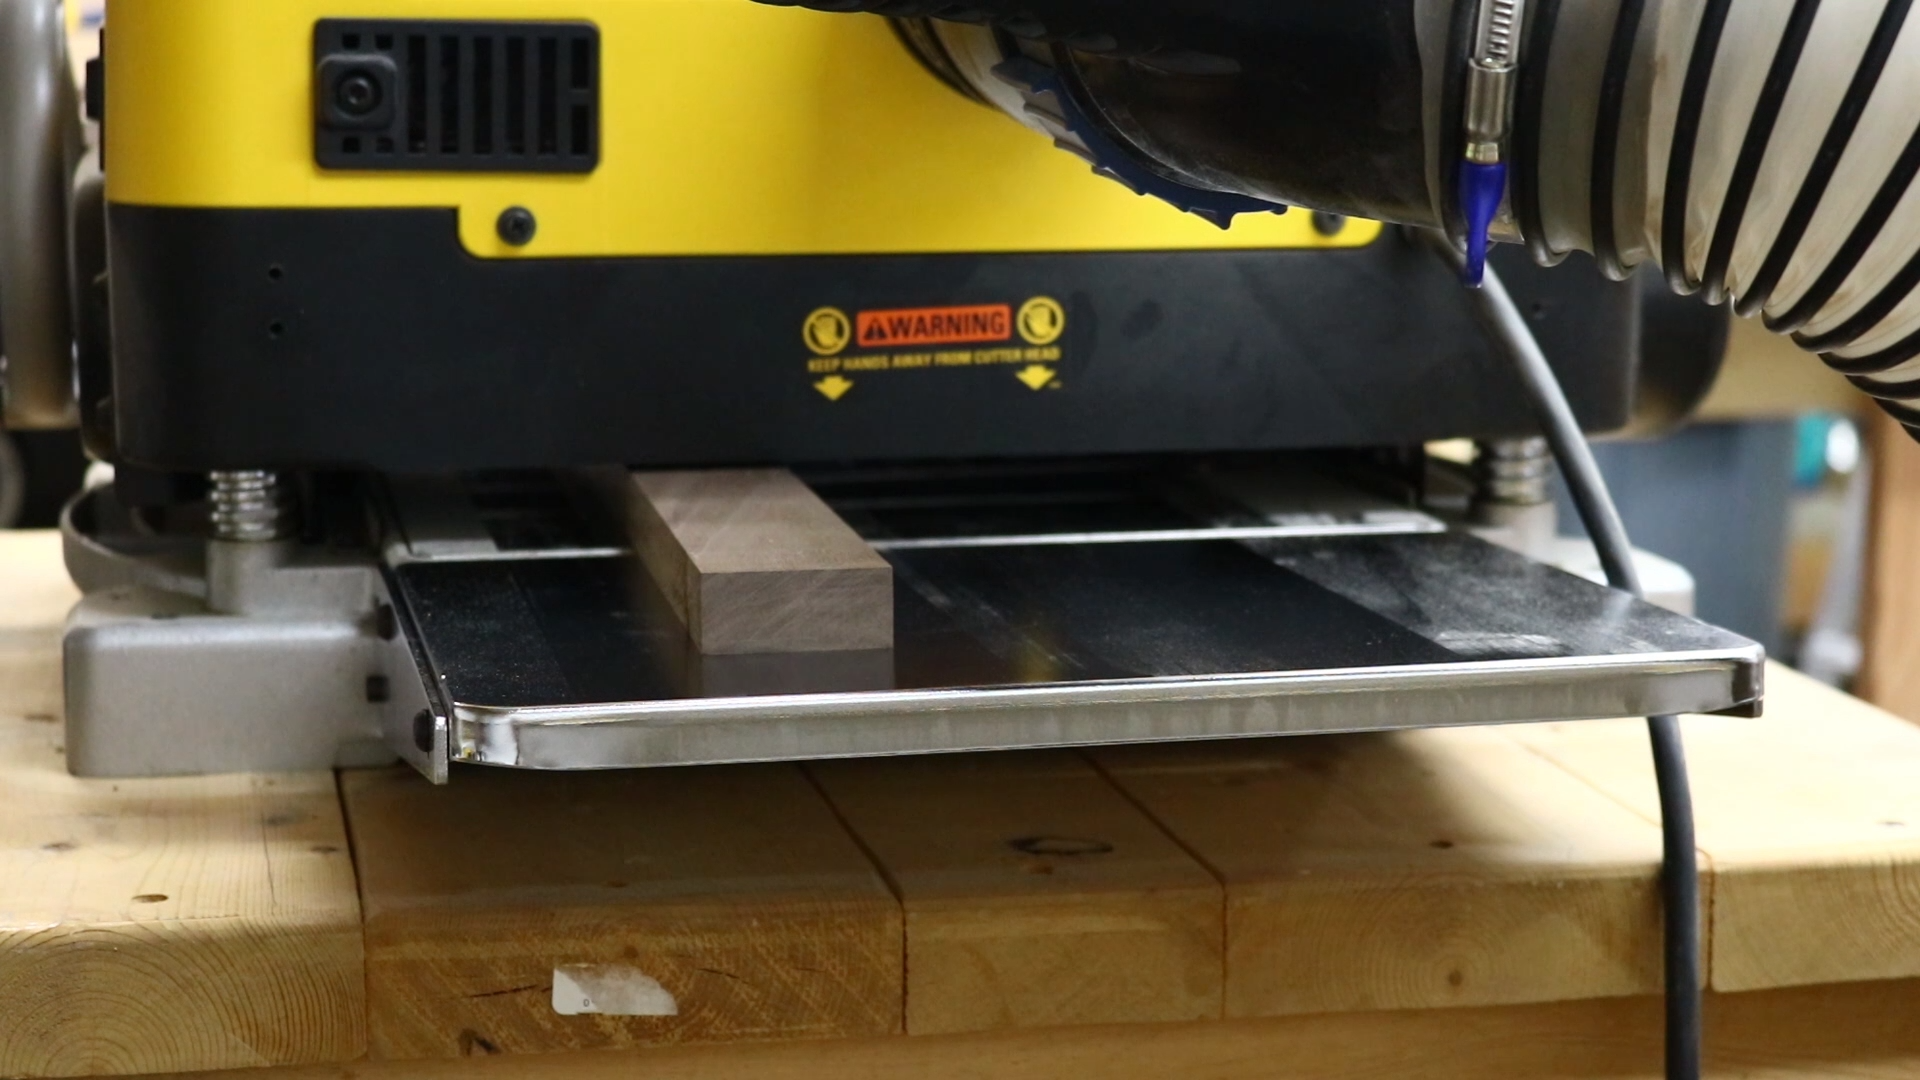
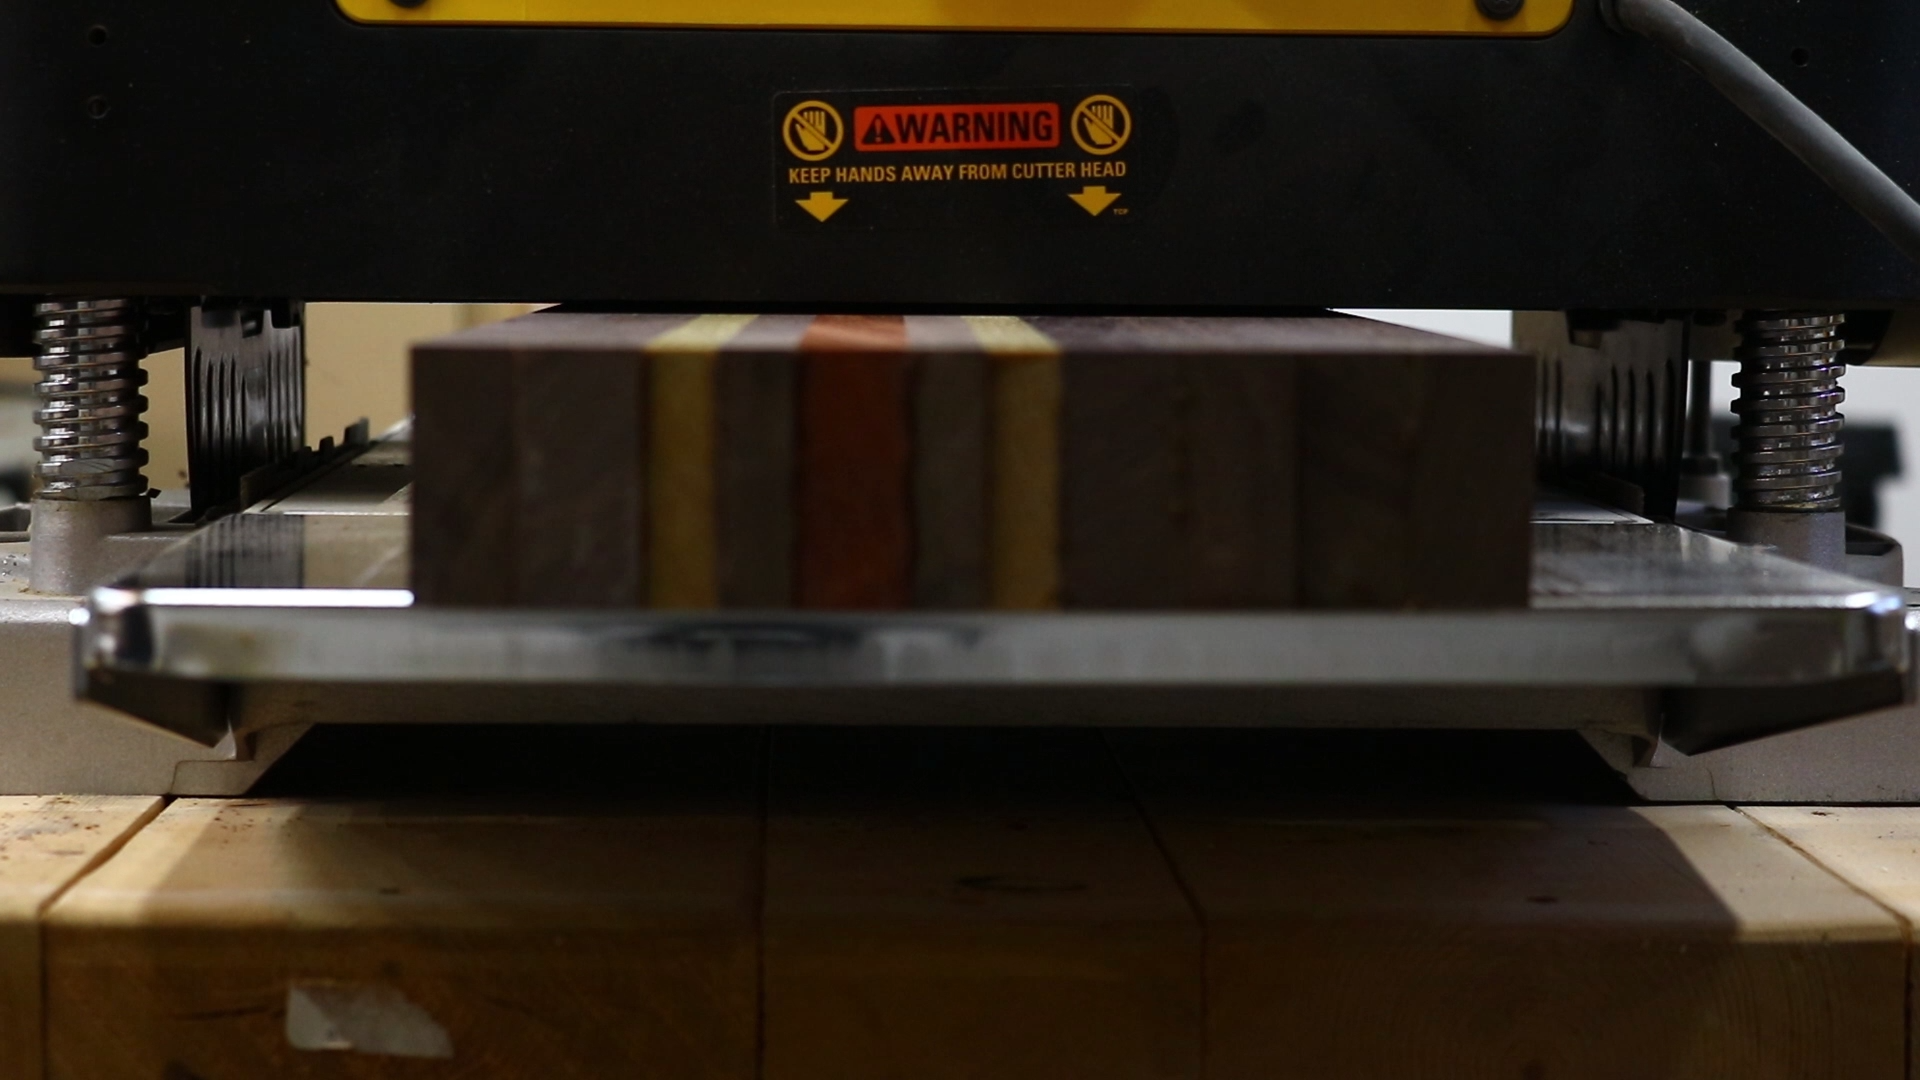
After jointing each half I ran them through the planer to get them down to their final thickness of 1-3/4″.
Final Glue Up
I was then able to glue the two halves together.
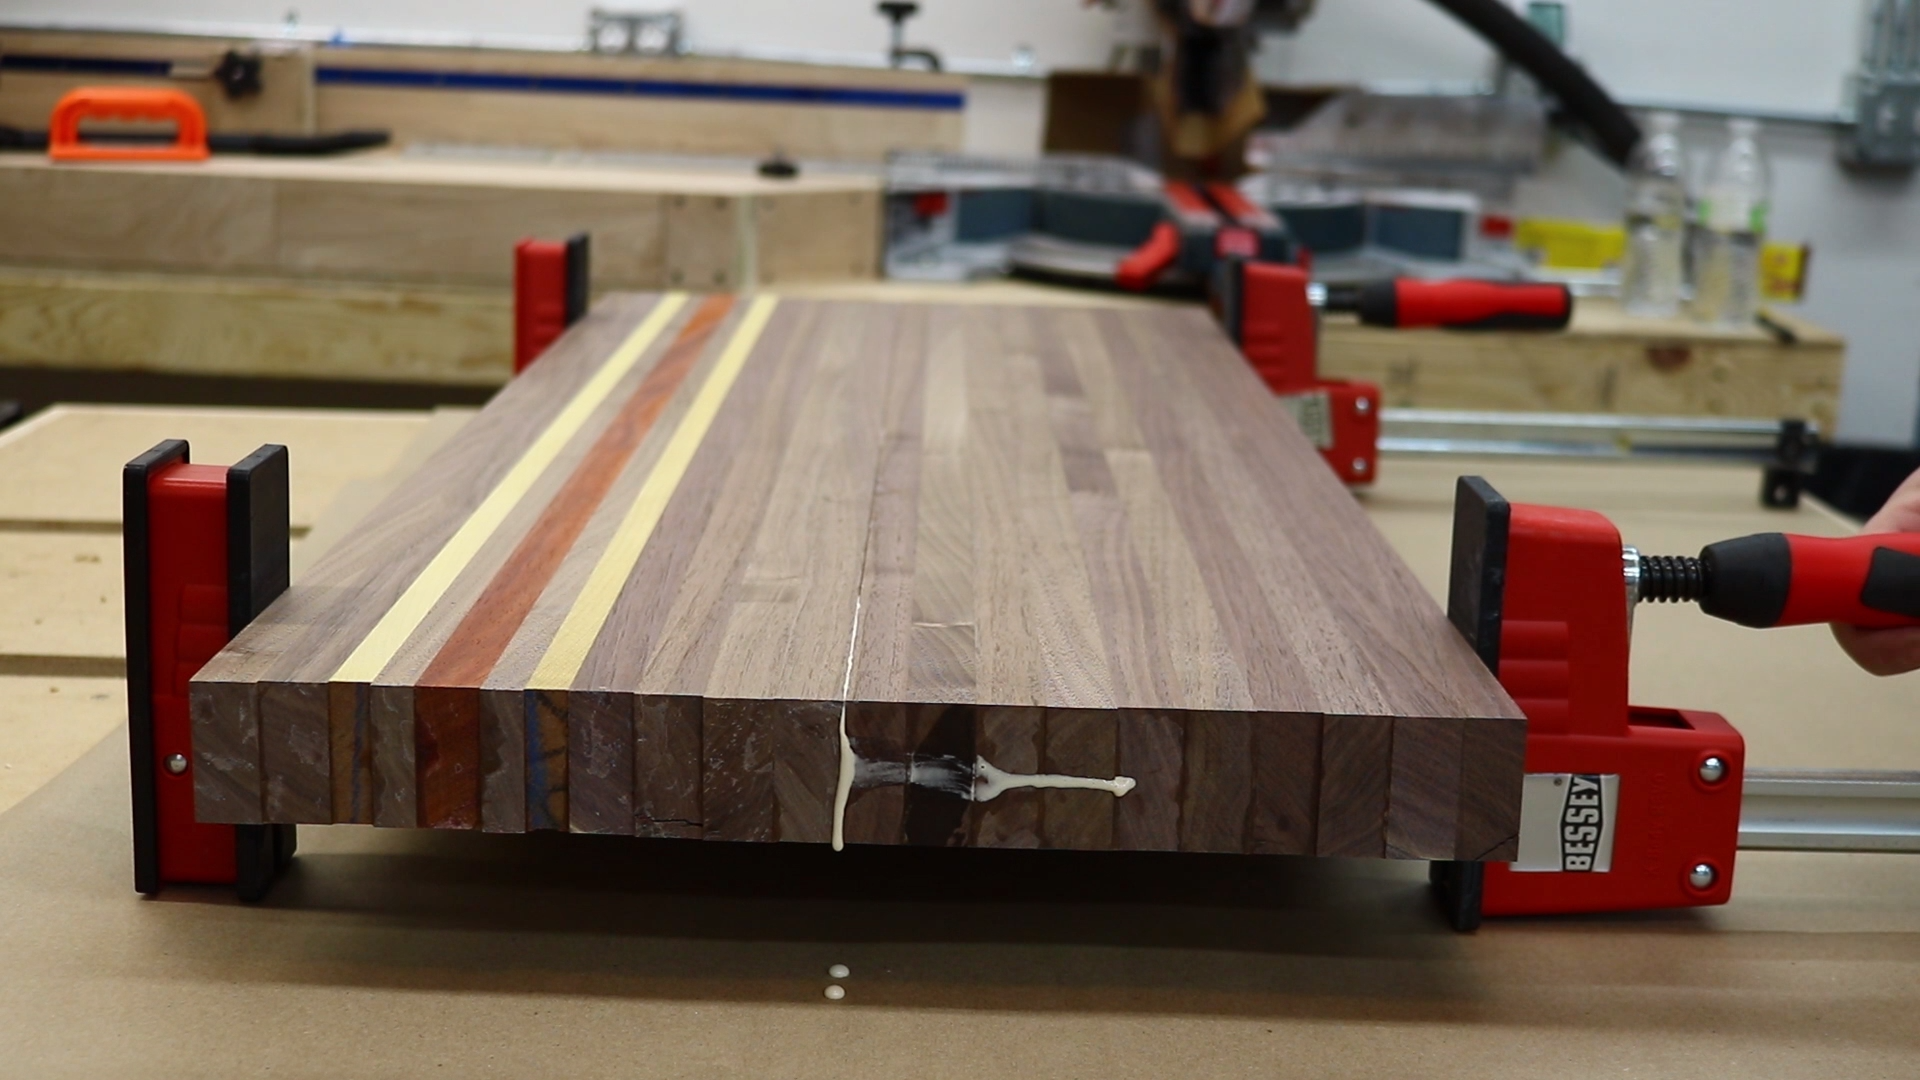
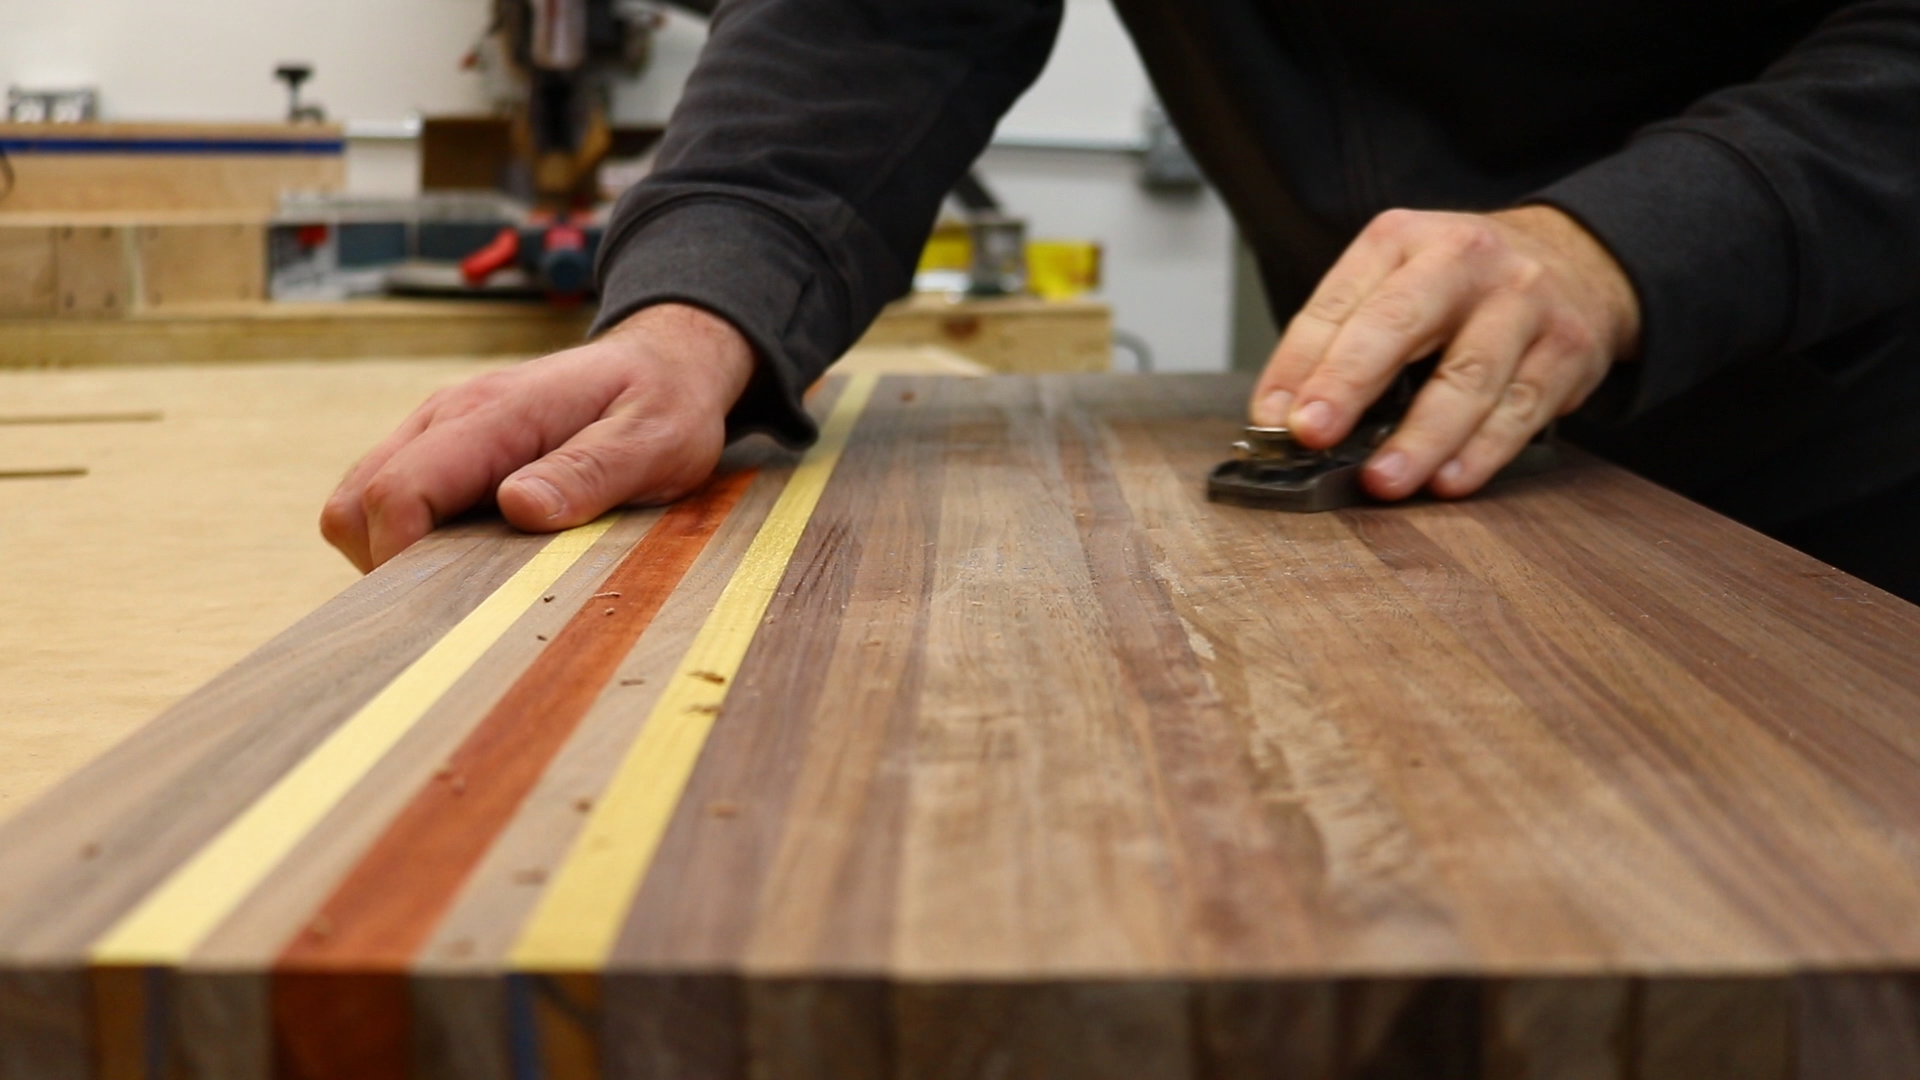
The two halves went together quite well but there was just a little bit I had to clean up with the block plane.
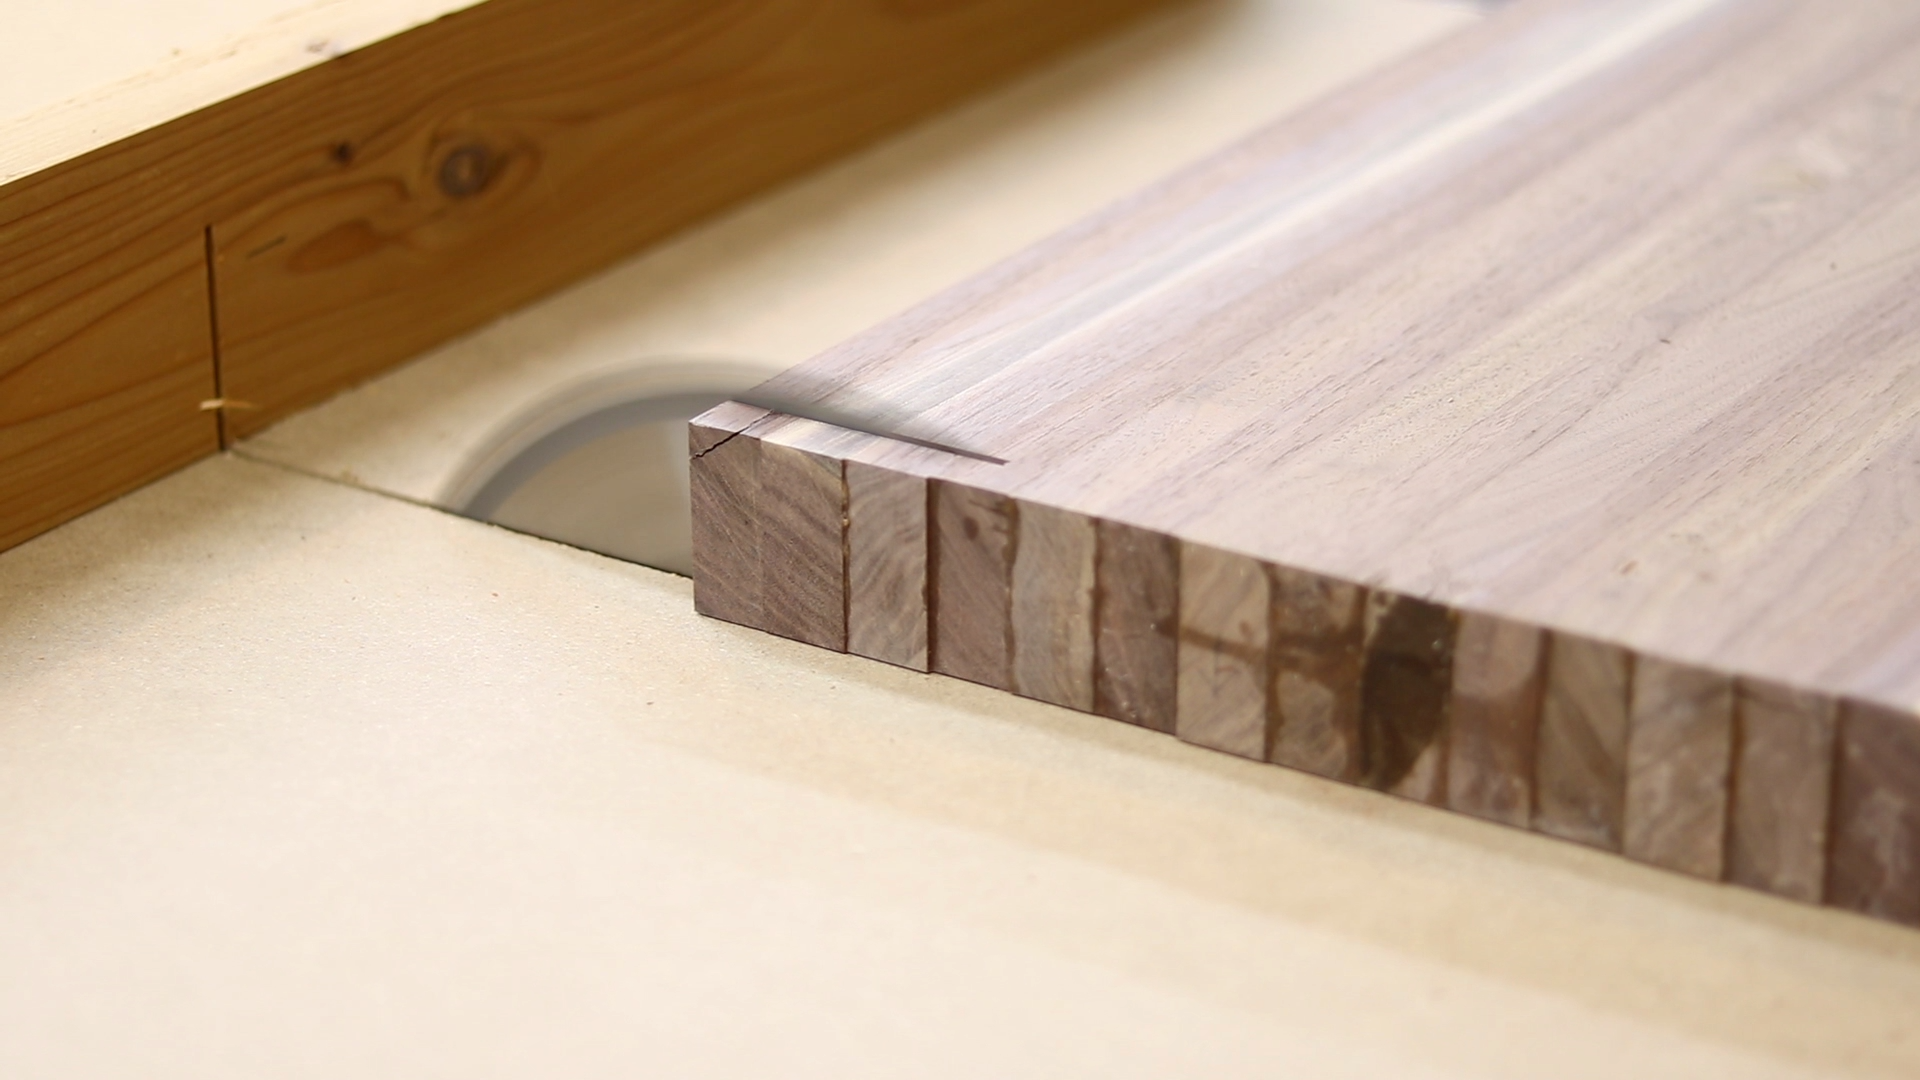
Cutting to Size and Routing Some Features
Back to the table saw to cut it to final length using my crosscut sled.
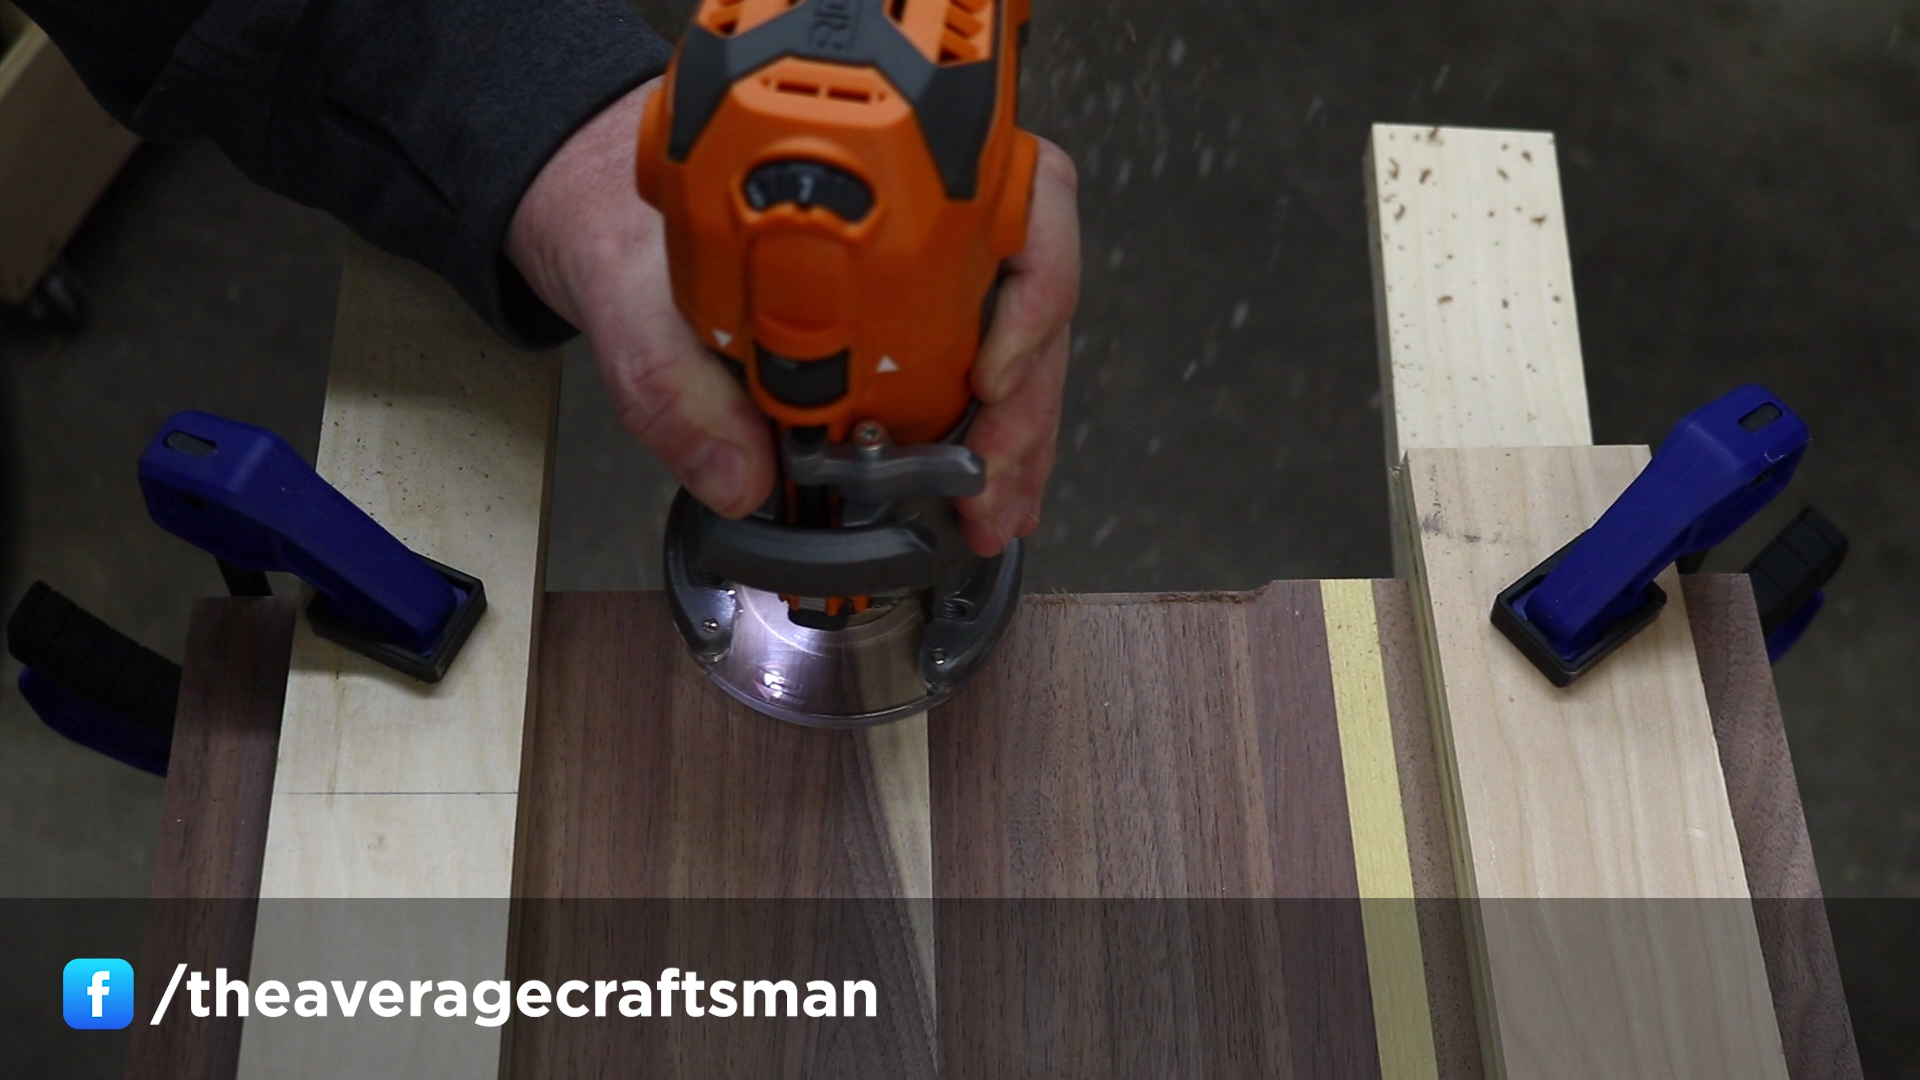
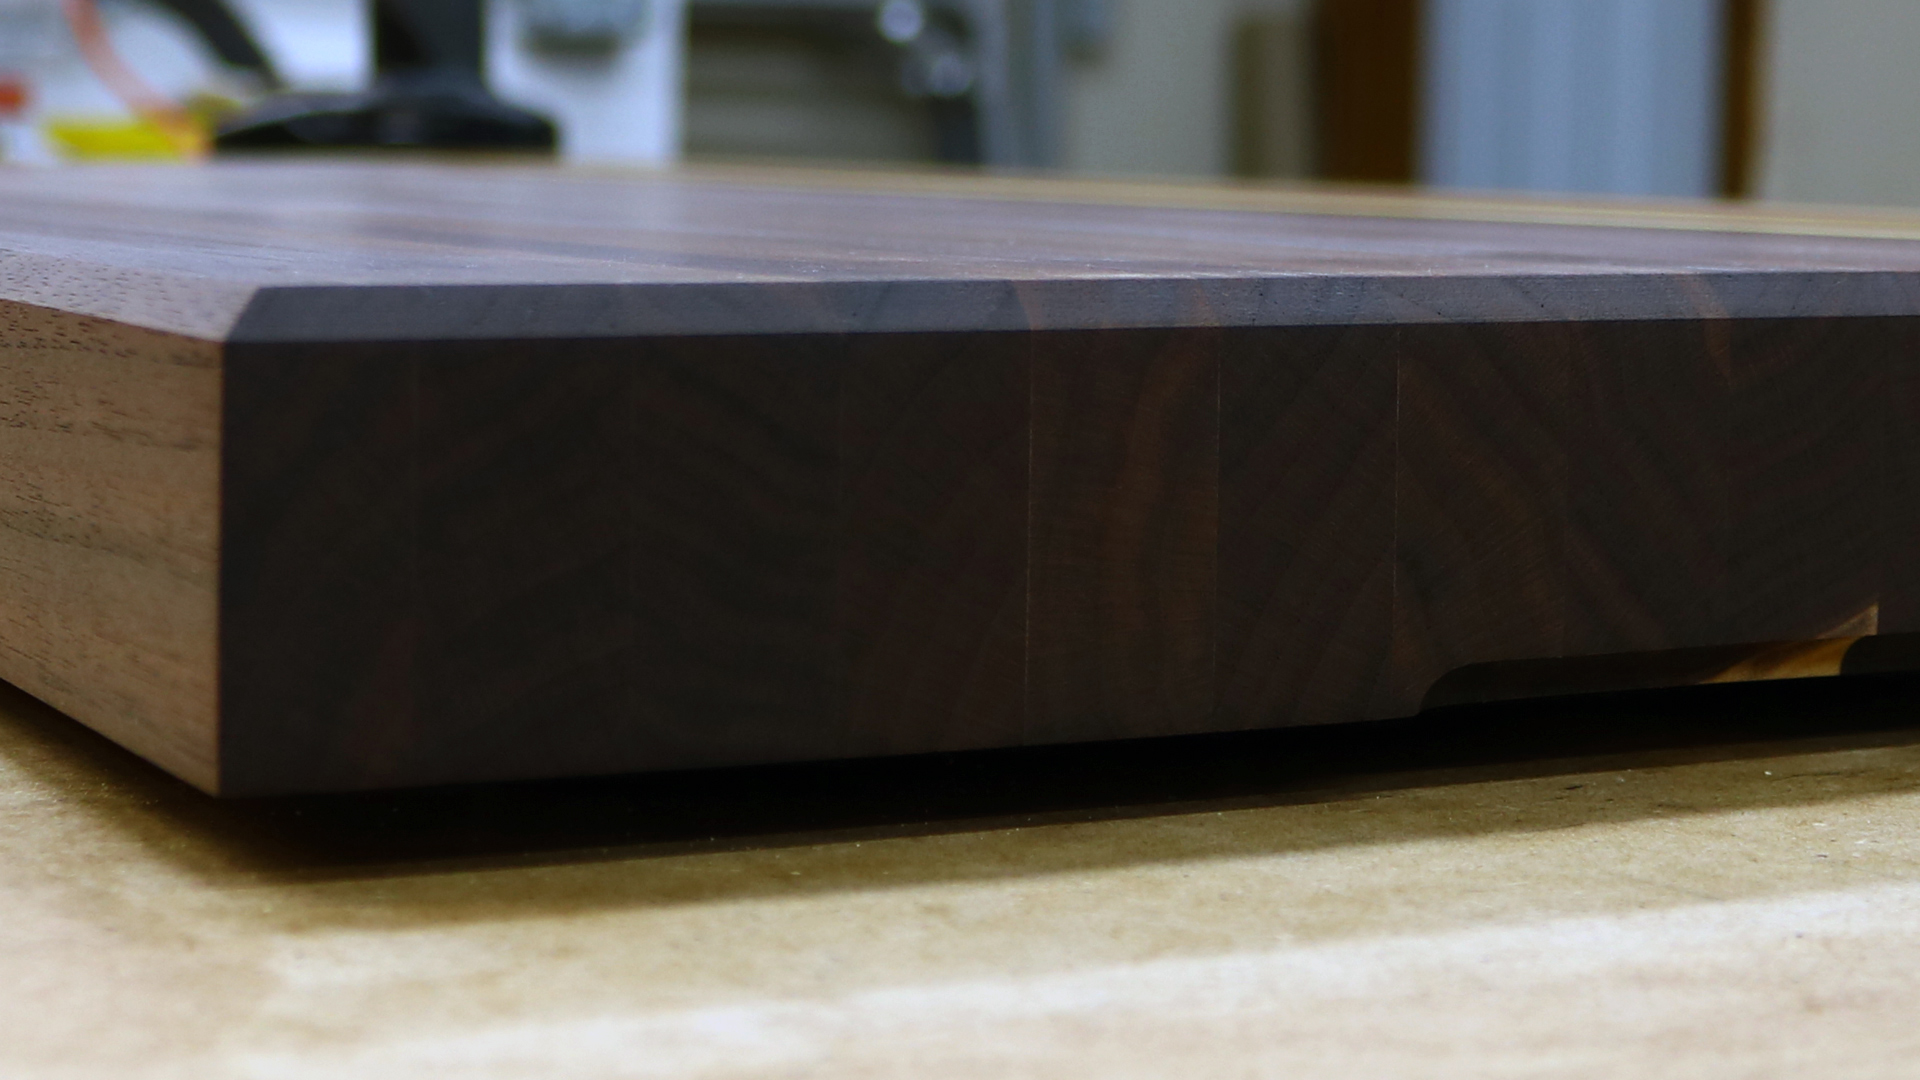
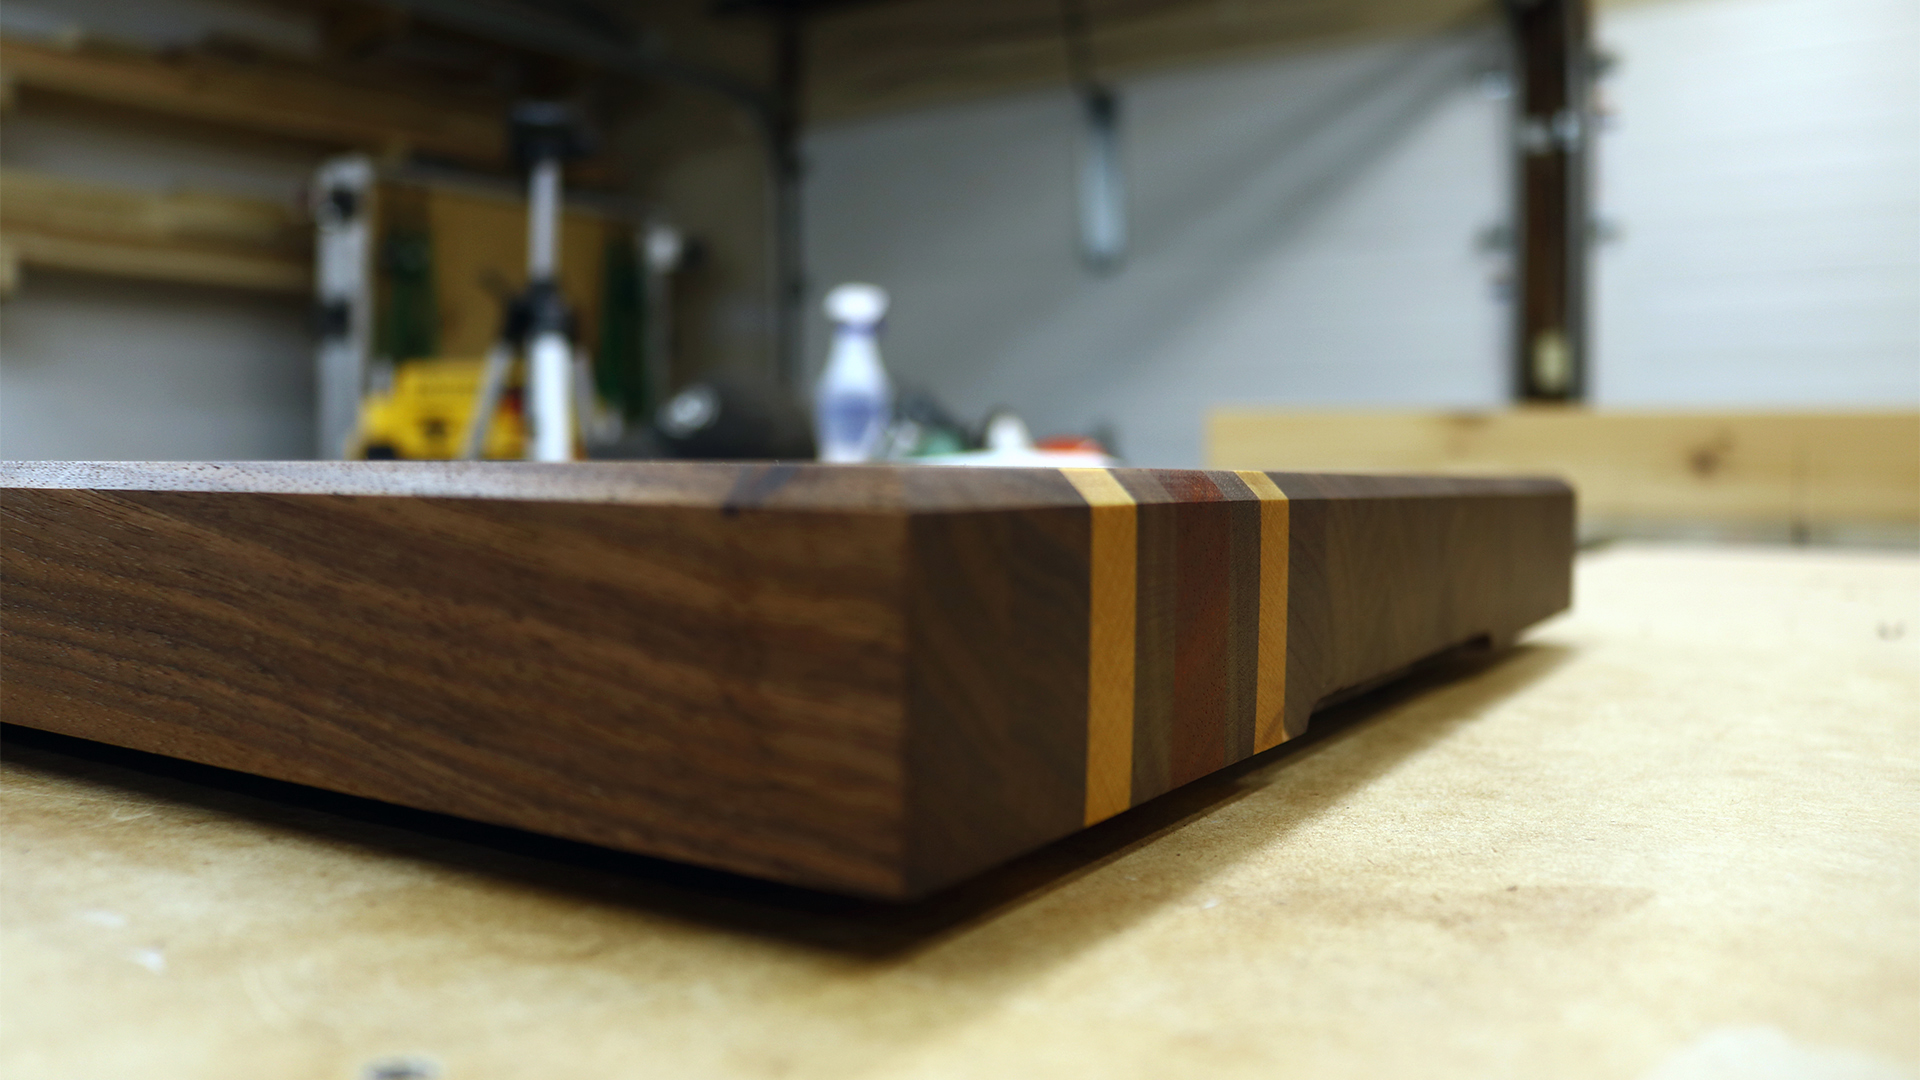
I used my trim router to put a chamfer on the top edge of the cutting board.

I also routed a finger slot to make picking the up the cutting board a little easier.
Finishing the Cutting Board
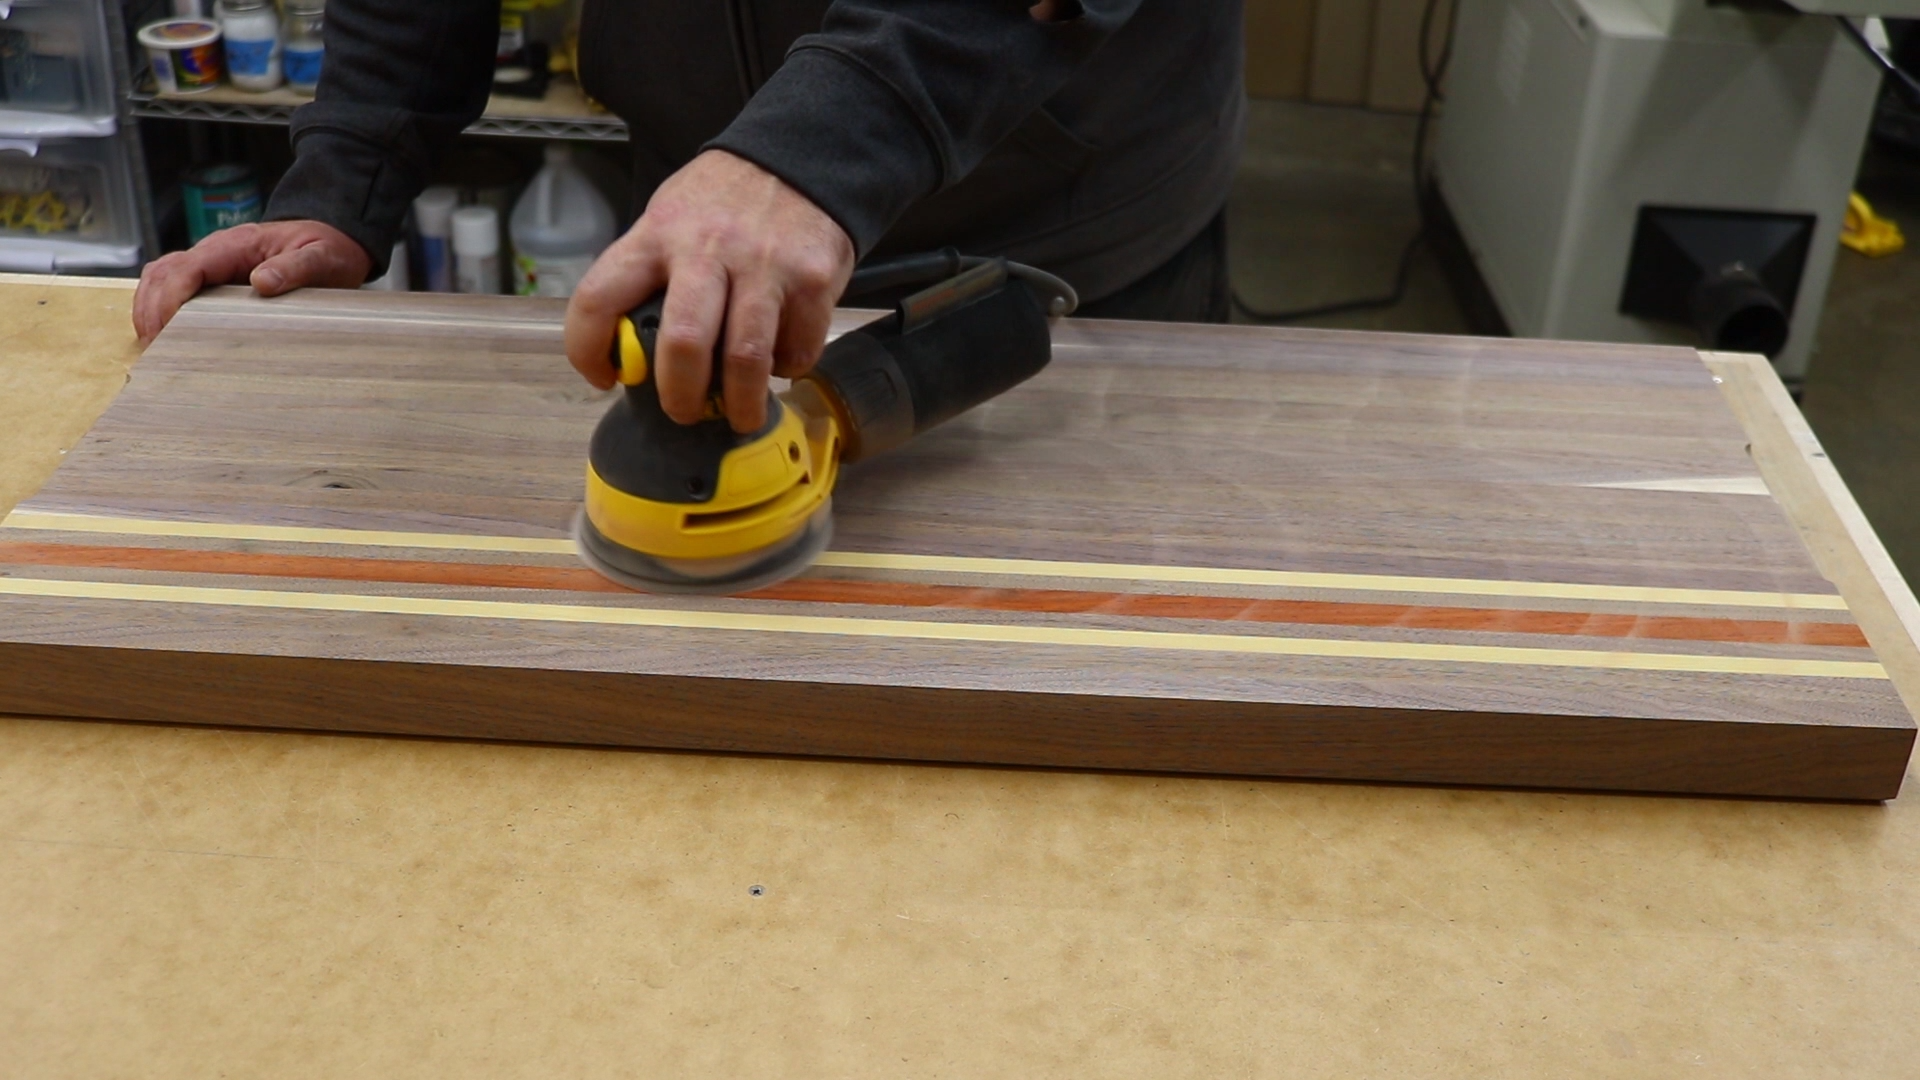
It was now time to sand. The planer and jointer leave a really nice surface so I started with a quick few passes of 120 grit and then finished with 220.
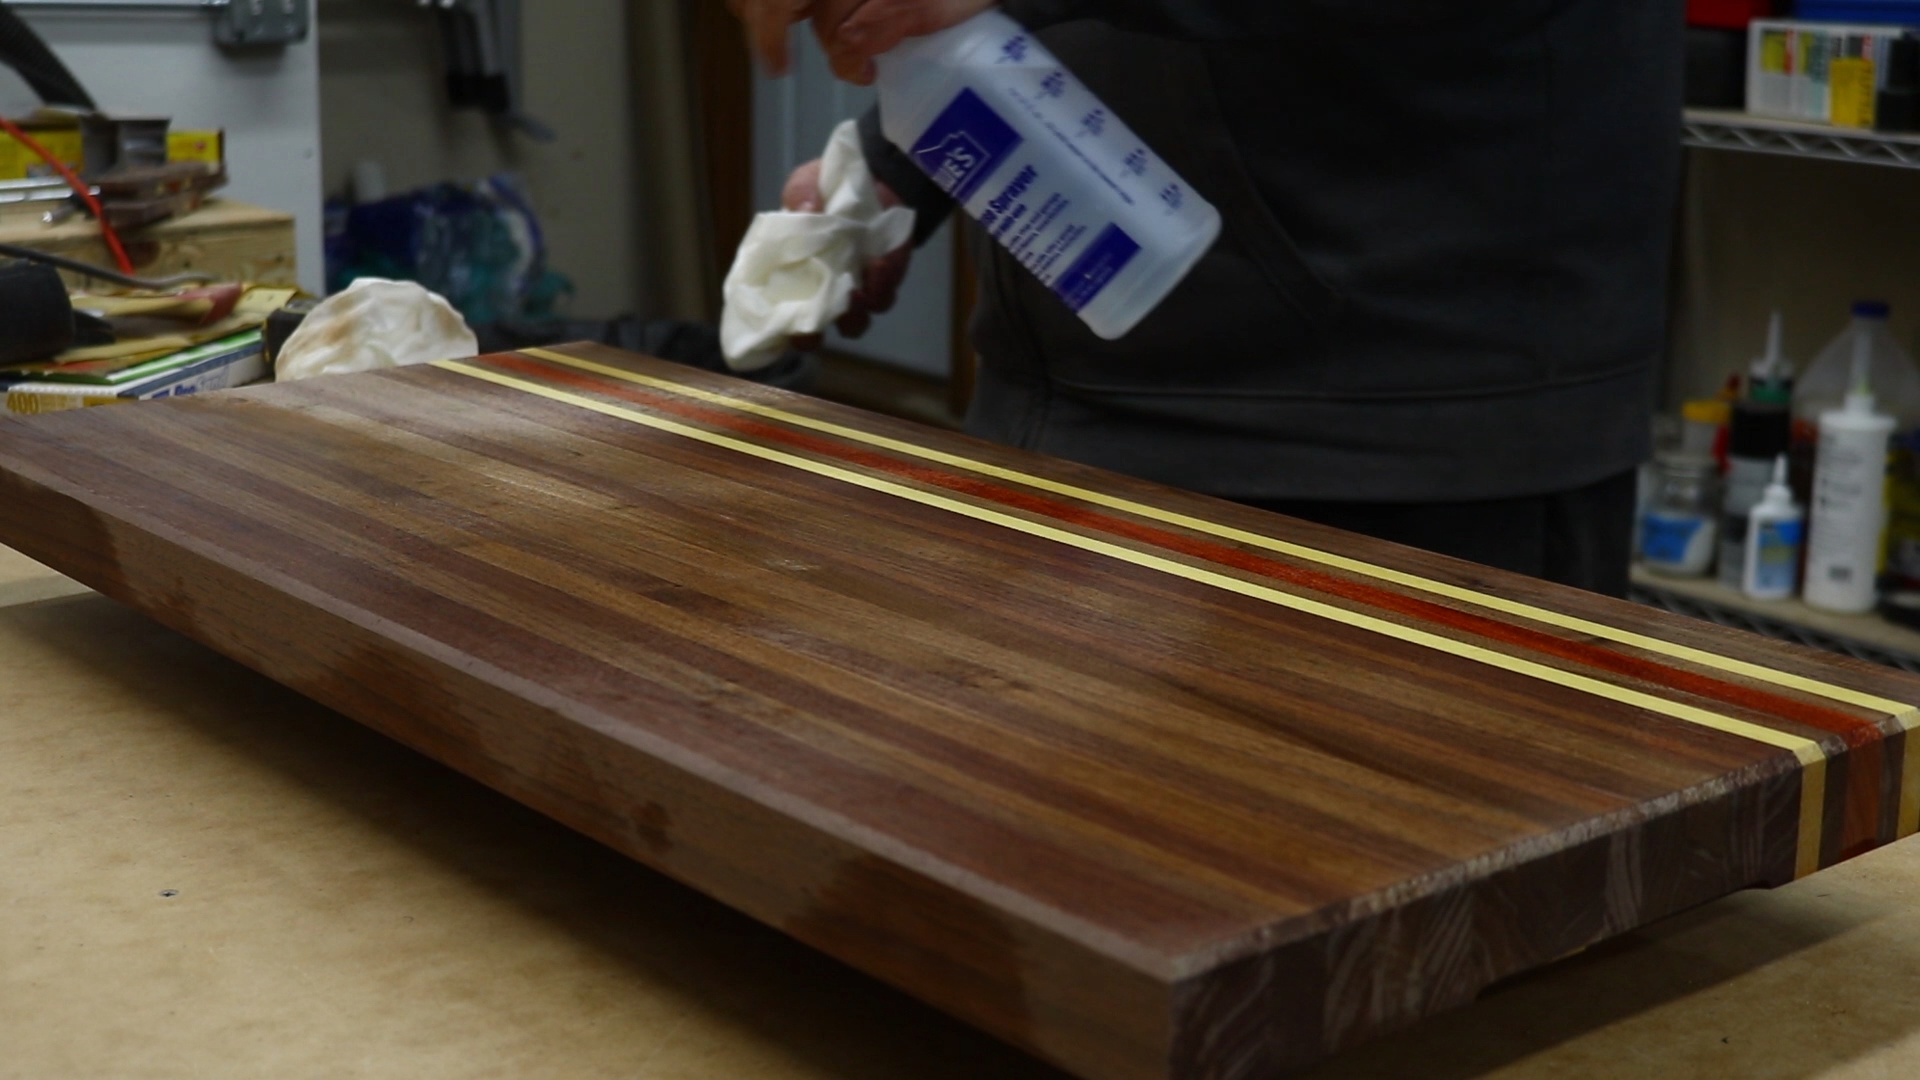
***IMPORTANT STEP ALERT***
This step is called raising the grain. When you sand a piece of wood, 1000s of tiny fibers breaks off and embed into the wood. Then when the wood gets wet, as is the case when you use and clean a cutting board, those fibers absorb water, swell and stick up making the board feel rough or hairy. By raising the grain with water you can get these little fibers to stand up and then hit them with a very light pass of the last used grit of sandpaper. Cutting boards don’t require a super smooth finish so most people only go to 220 or so on their sanding. Since that was the case here as well, I decided to use 320 for those light passes to remove the fiber left behind after raising the grain.
Here’s a detailed article on raising the grain: Woodworking Network
This step is not only important with cutting boards, it’s vital when using any waterborne finish such as polyurethane. I found this out the hard way on the first piece I finished when I started woodworking.
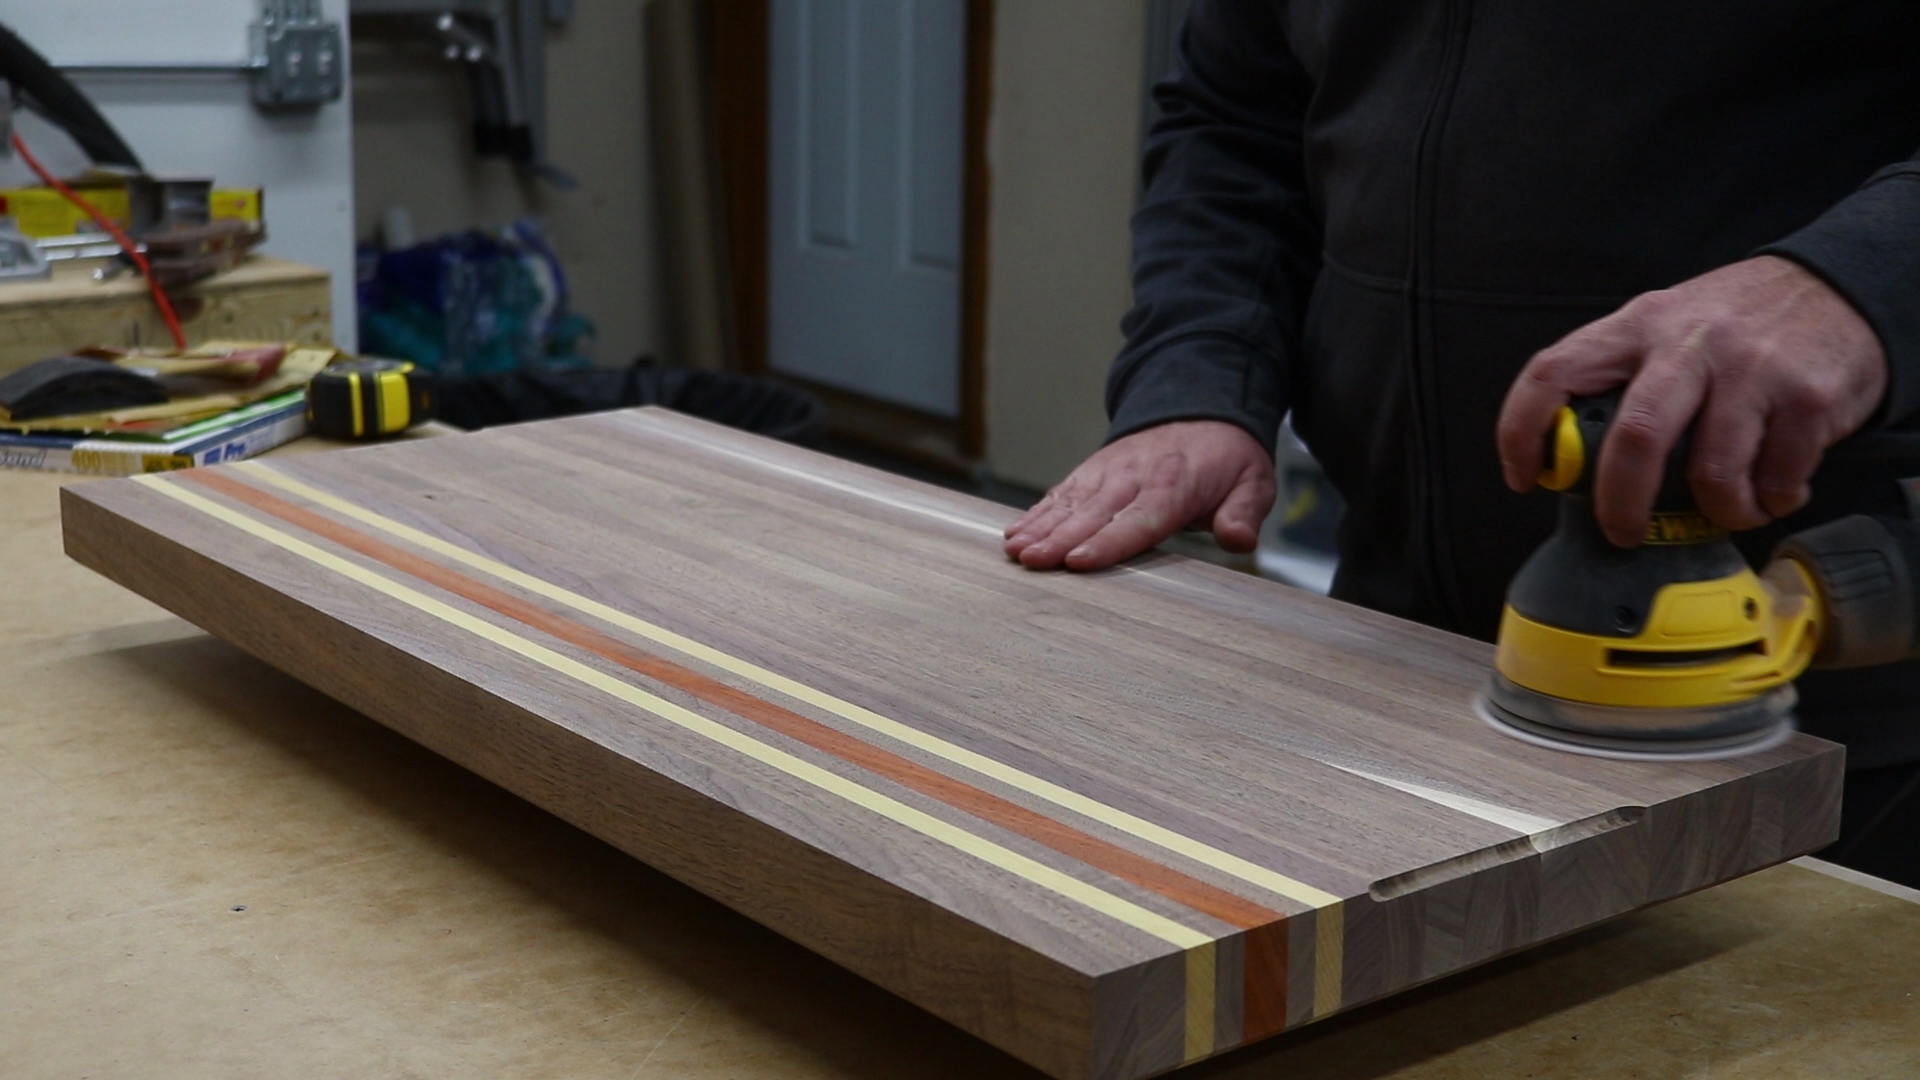
Light sanding pass with 320 grit sandpaper.
Oiling and Waxing
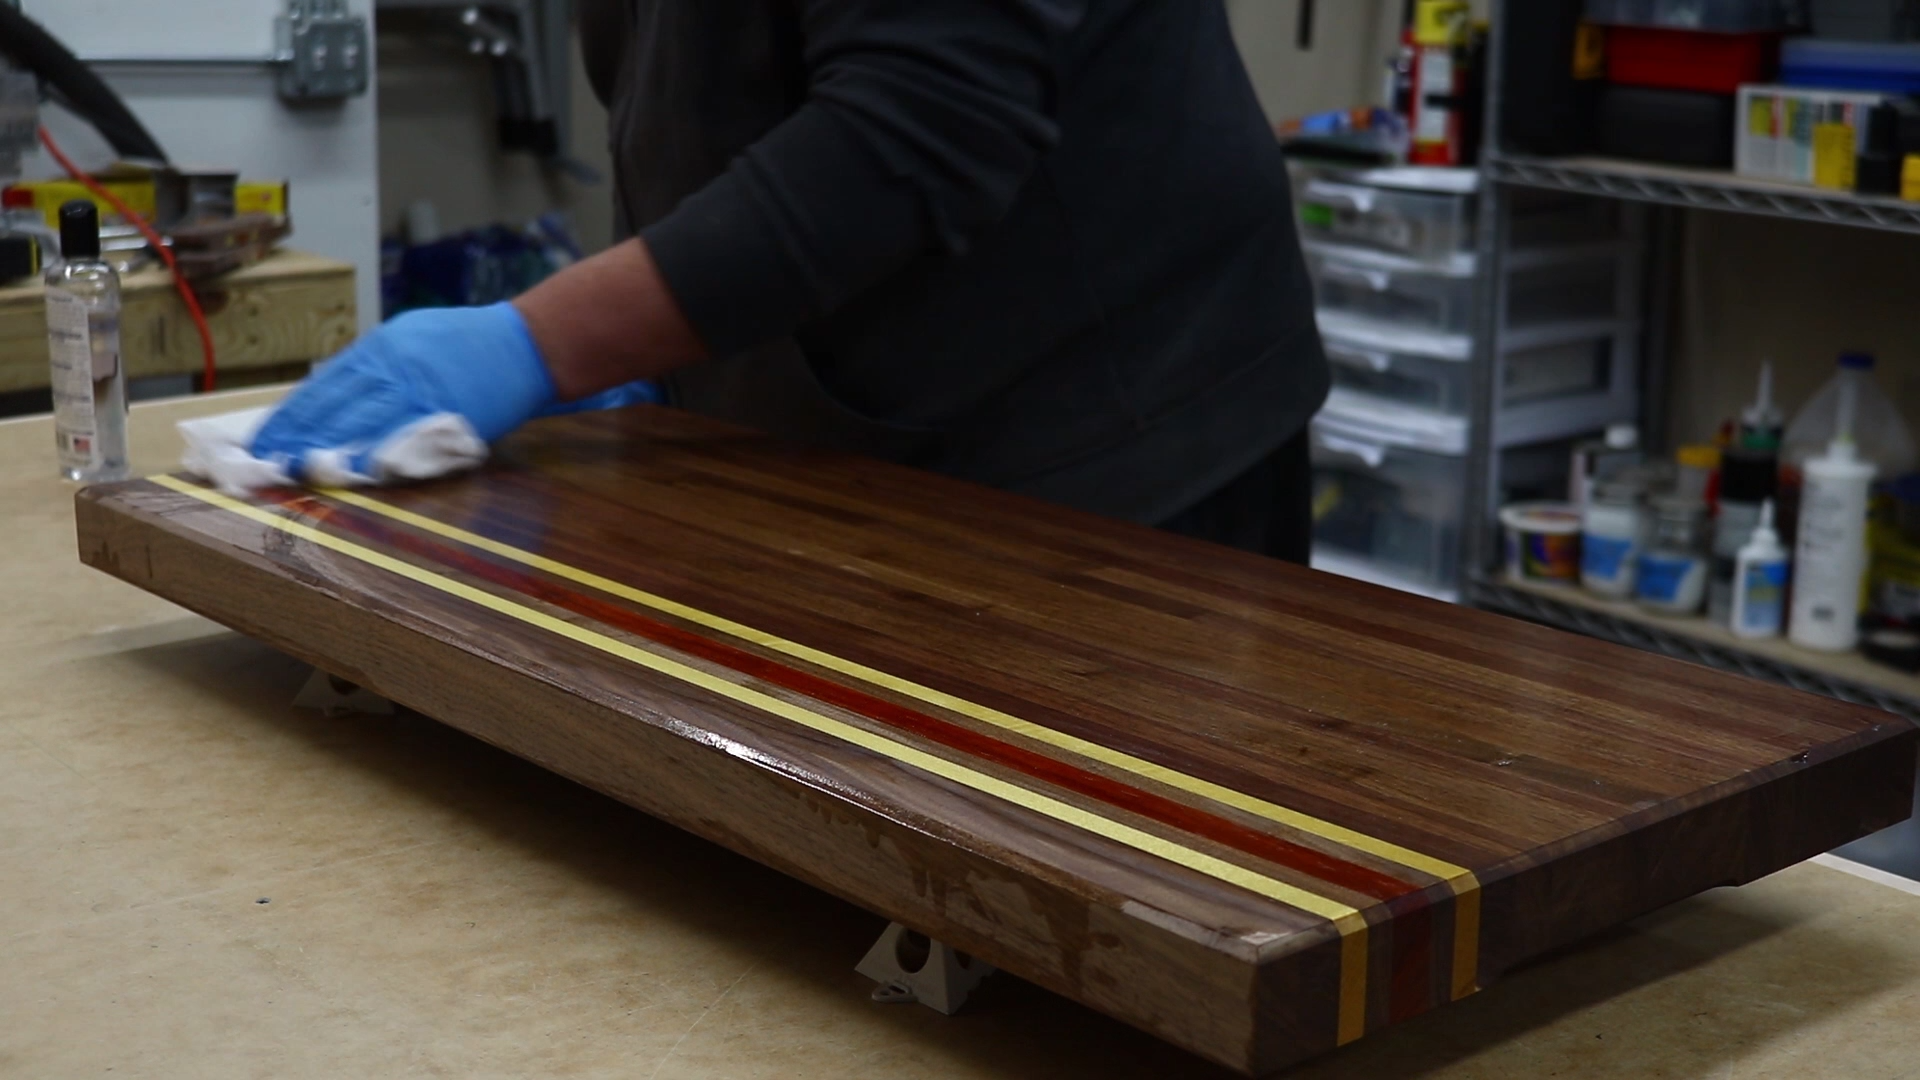
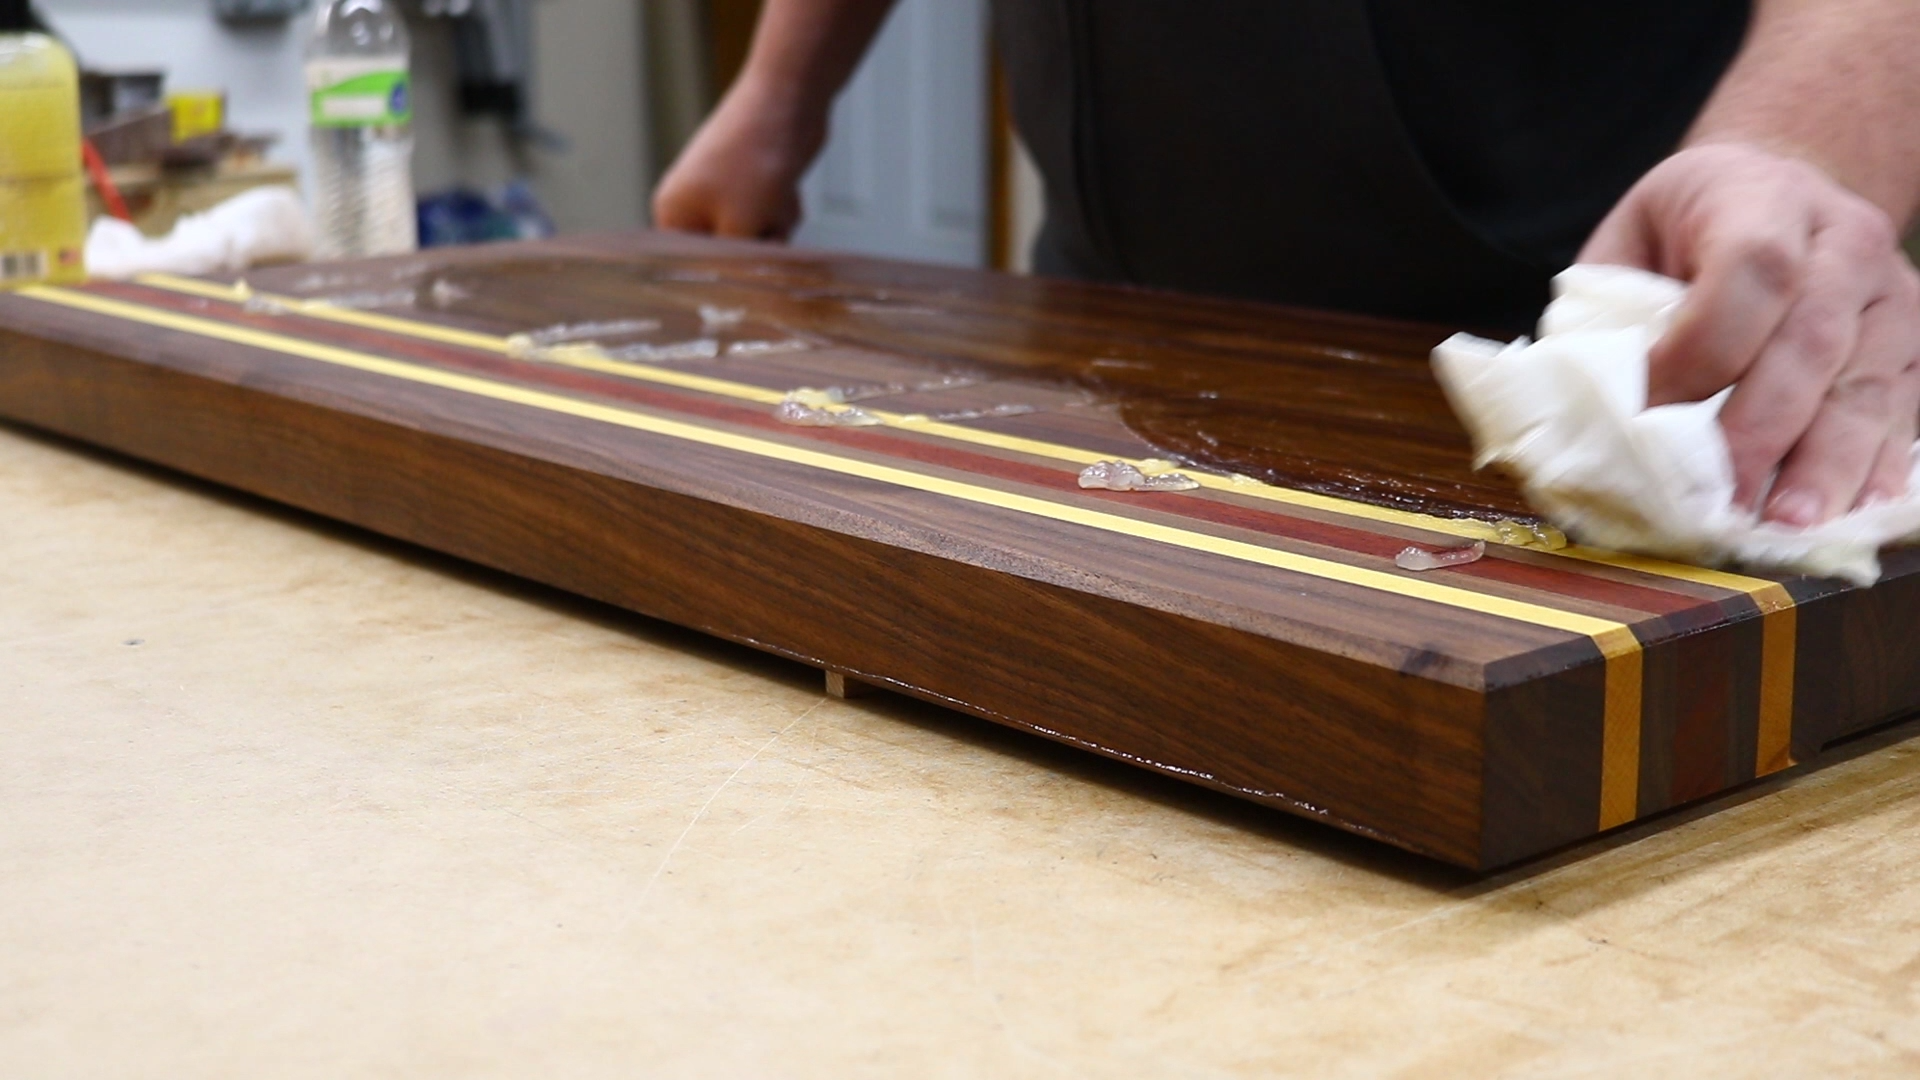
When I finished sanding I used a dry rag, my air compressor and a vacuum to clean the board of dust as much as possible before applying the first coat of oil. I soaked the board in Howard’s Cutting Board Oil (http://amzn.to/2nmHuno) till it wouldn’t take anymore and then let it sit for about an hour and then repeated and let it sit overnight. Howard’s Cutting Board Oil is a food safe mineral oil made specifically for cutting boards.
One thing to note in this picture below, it was a huge mistake to use painter’s triangles! The board was too heavy and it left small dents in the surface of the board.
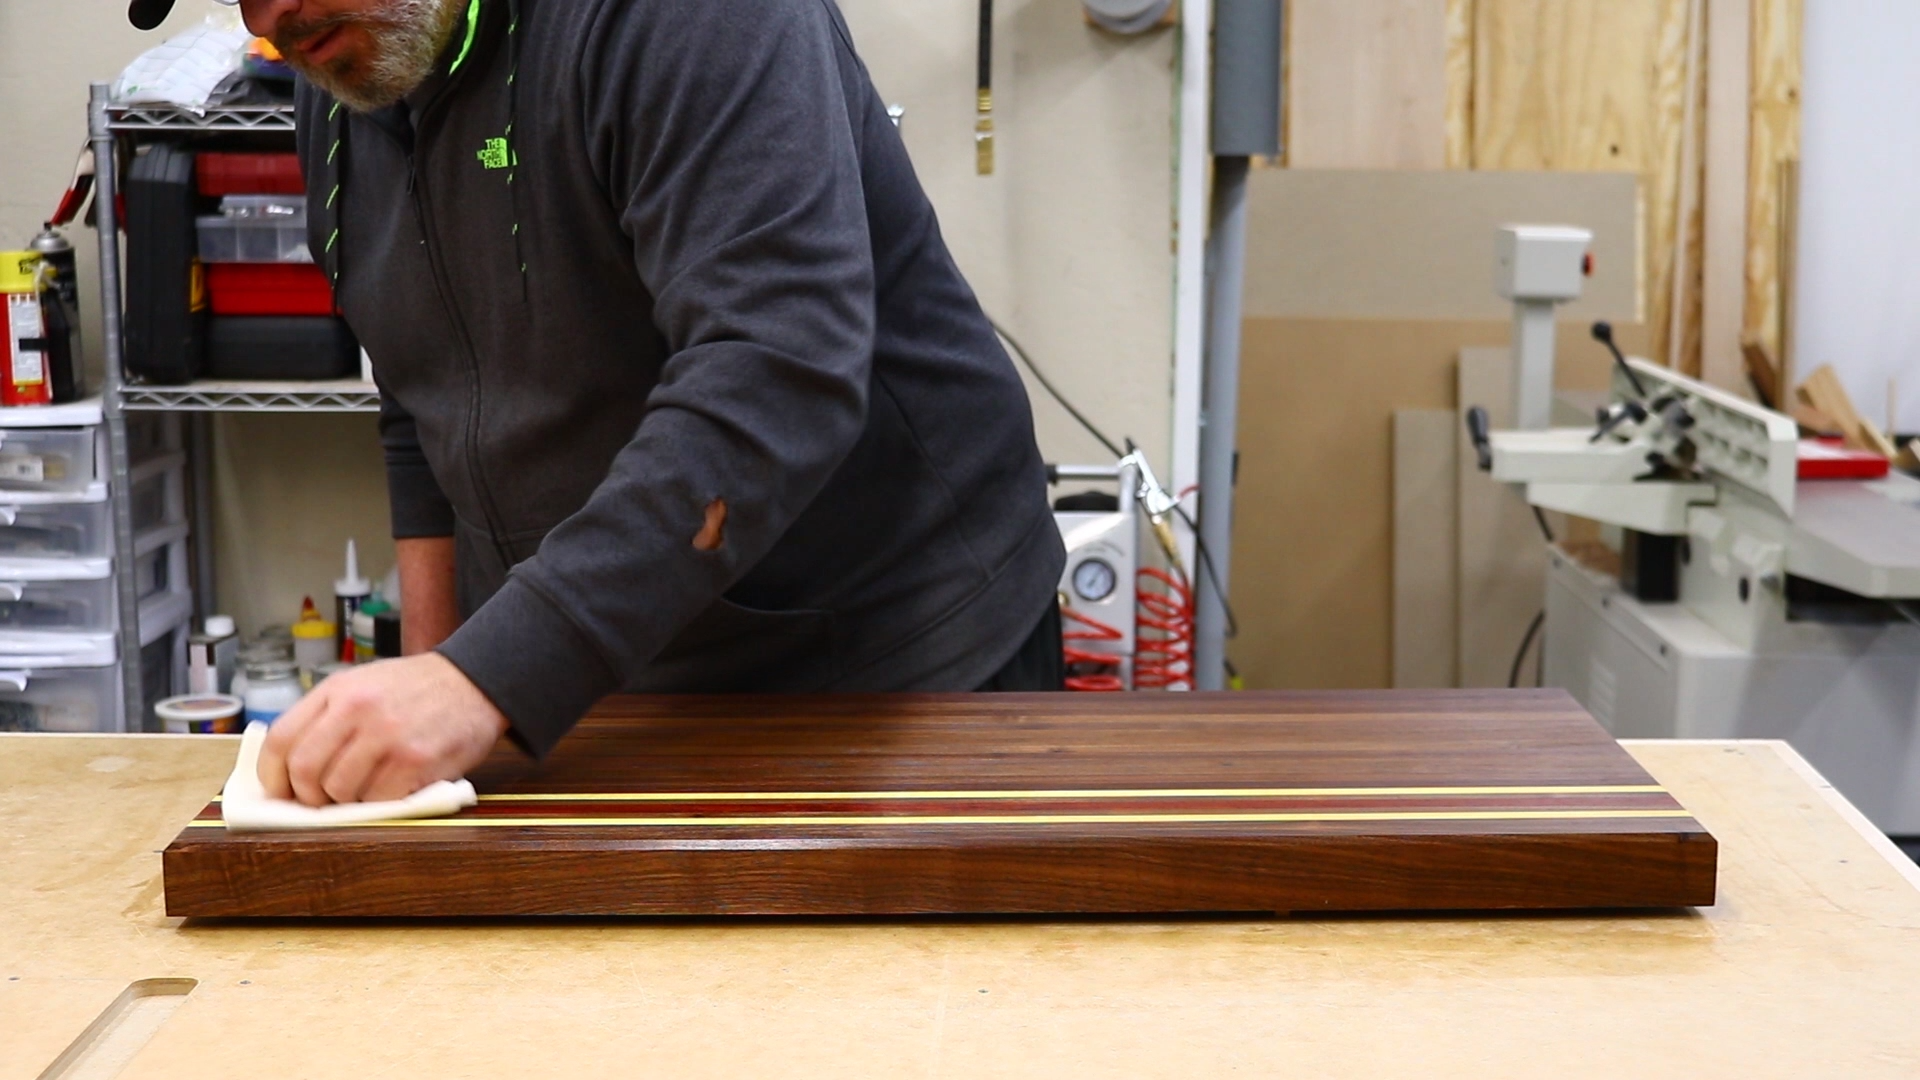
The next day I wiped down the board with a clean rag and then applied a coat of Howard’s Butcher Block Conditioner (http://amzn.to/2nm4ClA). I applied one coat and let it sit for an hour and then followed it up with another coat.
This conditioner is made from a blend of mineral oils and bees wax and buffs out to a nice sheen.
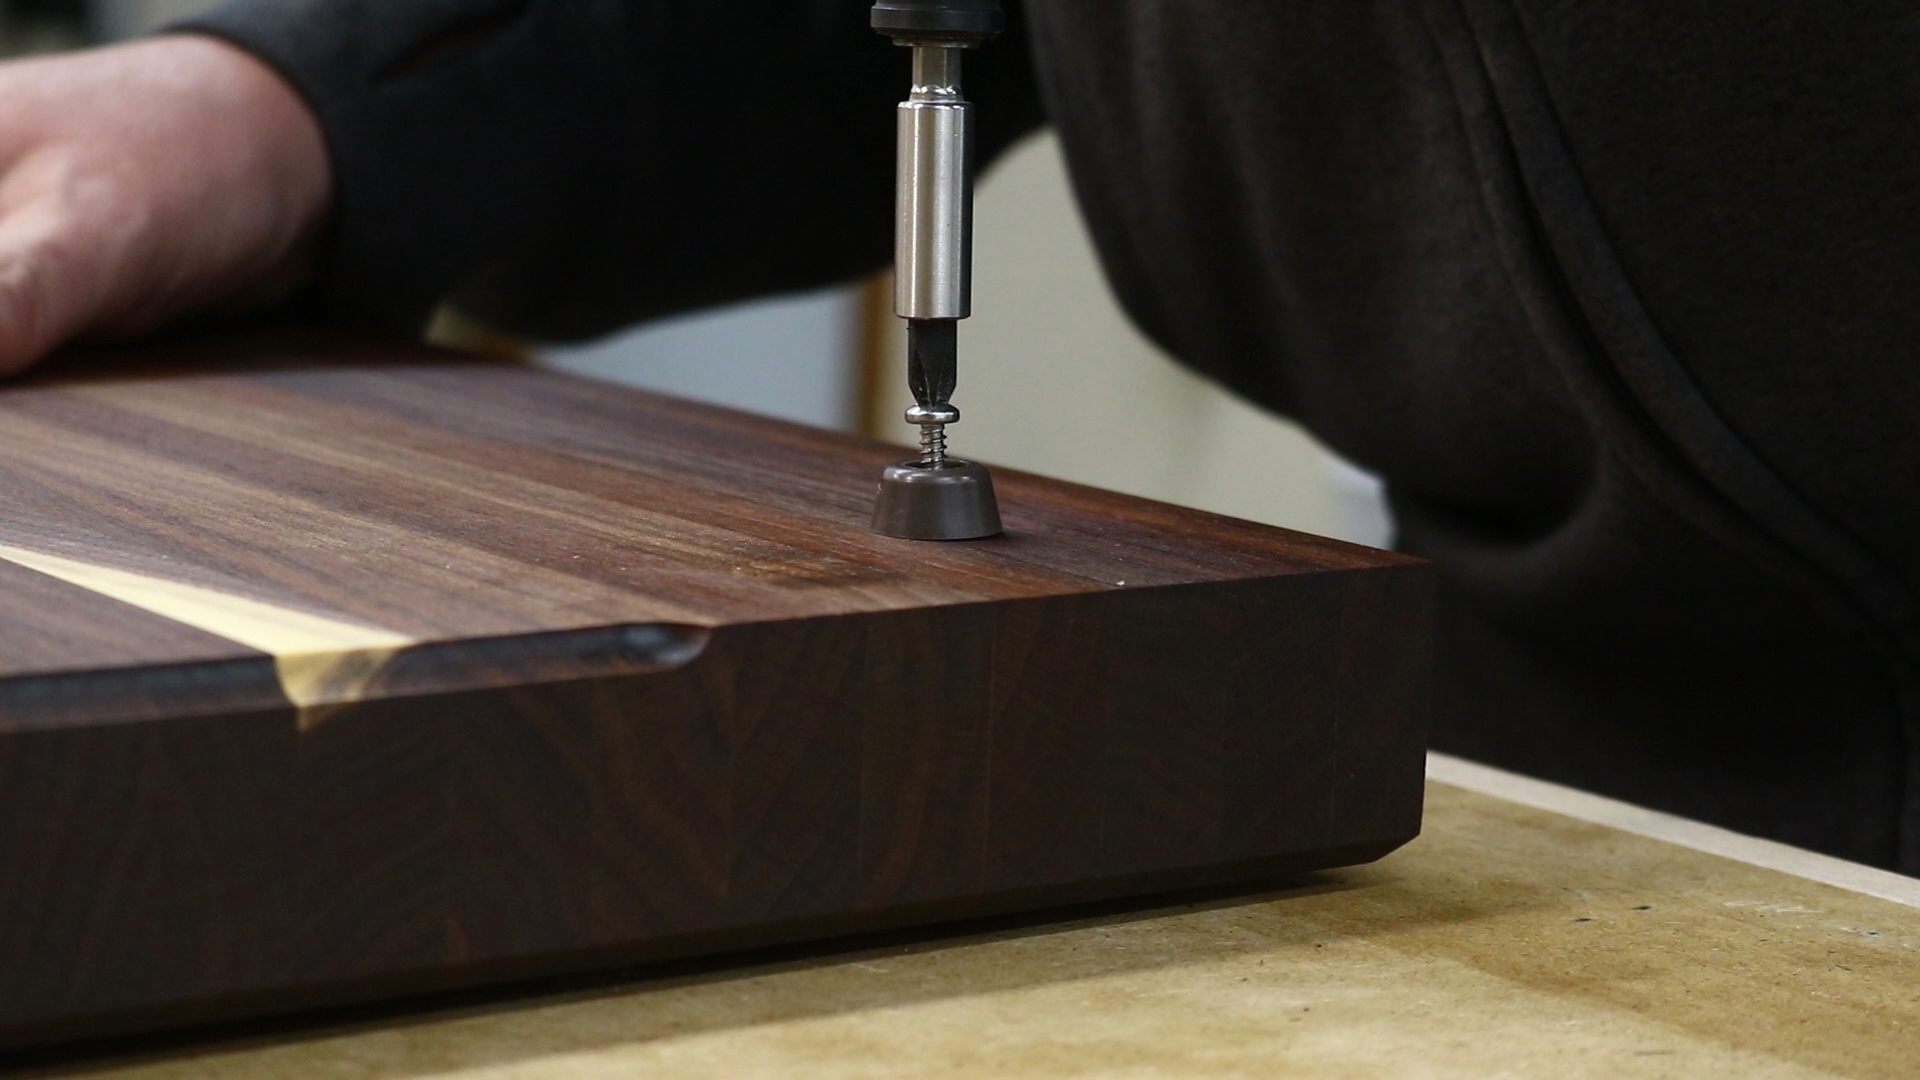
Attaching the Feet
I flipped the board over and attached some plastic feet. These should be rubber but I couldn’t find anything anywhere in Kansas City! I went to numerous stores and these plastic ones were all I could find. I didn’t have time to get rubber feet shipped before I handed this off to my cousin so I ordered some off of Amazon and replaced them later. The ones I specify in the materials list up top are really nice. If you’re putting feet on cutting boards make sure the screws are stainless steel. Most of the screws that come with these feet will rust so get some stainless steels screws and you’ll never have to worry about them.
A final wipe down with a clean cloth and the board was all done.
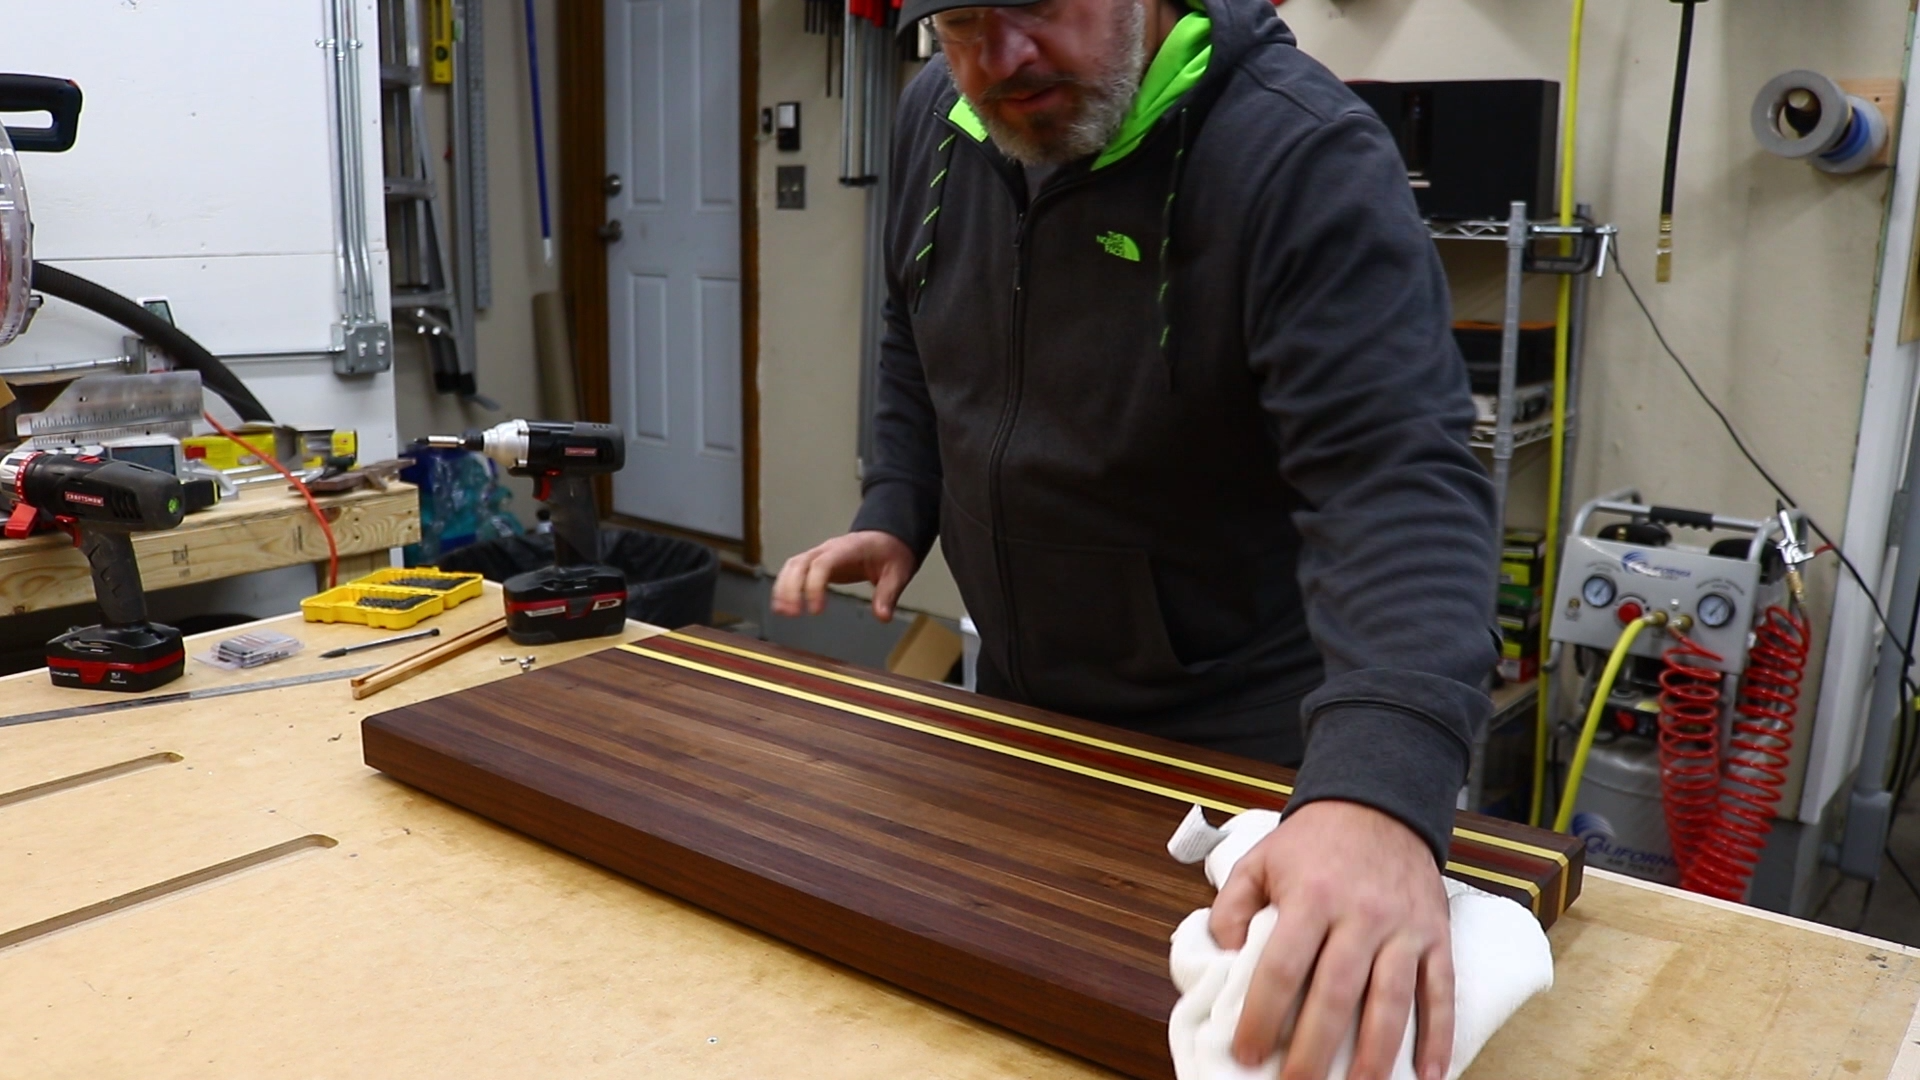
This project was a lot of fun. It allowed me to use a lot of my favorite tools in the shop and was a pretty quick and easy build. The real treat when building this board was working with yellowheart. That stuff cut like a dream. I loved working with it on this project and look forward to using it with future cutting boards.
Have you made some awesome cutting boards? Let me know in the comments. I love seeing the variety of designs and woods used for cutting boards.


1 Comment
Bedankt voor dit artikel!